Lab 14: Poster Presentation and Abstract Submission (4/26/19)

Purpose: The purpose of this lab was to discuss how we improve and revise our posters using the comments we received from the TA/instructor, and input our soil meta-data into a shared excel sheet. We also gathered all the information and samples we had so we can send our samples to be sequenced so it can analyzed later.
Procedure:
- Vote on Ciliate logo
- Fill out soil meta-data excel sheet
- Do final edits on poster for presentation next week
- Revise and edit abstract for the poster
- Insert poster and abstract into class Box file
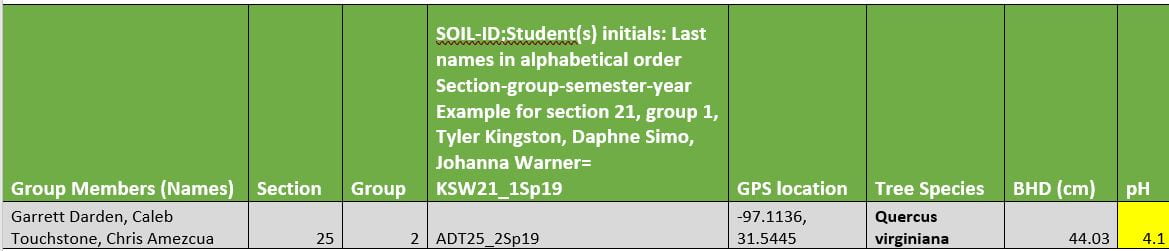
Soil Meta-data:
Meta-data 1:
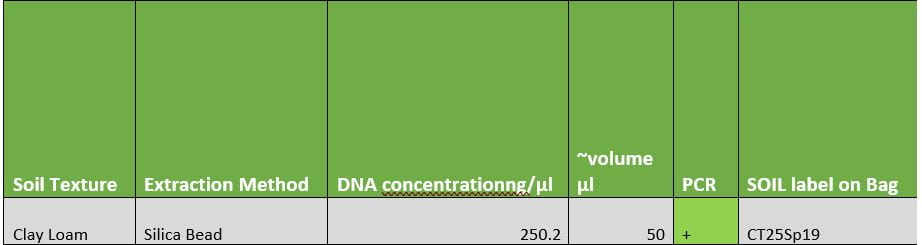
Meta-data 2:
Poster:

Abstract:
Title: Analysis of eDNA from a Soil Sample in the Search for Soil Ciliate DNA
Soil ciliates are crucial organisms in the rhizosphere as they perform many important roles contributing to soil health. Currently, research concerning topics related to soil ciliate diversity is limited. Conventionally, ciliates have been identified and categorized through morphological characteristics and behaviors due to a lack of a standard genomic method for easy identification. This study aims to explore a standard method for ciliate identification through metabarcoding. For this, soil was collected and environmental DNA was extracted using the Silica Bead grinding method followed by Column Purification. Polymerase Chain Reaction was used to amplify the V4 region of the 18s rRNA subunit. Gel electrophoresis results showed that PCR amplified the eDNA. The image taken of the gel showed a concentrated band of DNA from the eDNA sample. Nano-drop analysis of the eDNA showed a 250.2 ng/ml of the DNA while it had a purification of 1.46 A260/280. The eDNA extraction method conducted appears to be the best option for extracting DNA due to the amount of DNA replicated. Metabarcoding of the V4 region of the 18s rRNA subunit was conducted using the eDNA to identify what kind of ciliates were extracted from the environmental sample and sequence. Bioinformatics (Cyverse/QIIME2) will be used to analyze how successful the V4 region can be in the identification of ciliates.
Conclusion/Future Steps: After this lab, we plan to do a practice presentation of our poster to the class next week to do last minute critique for how its presented. We also plan on presenting the poster at CURE so we can share our data to other people on what we learned from our research. After we send our samples to be sequenced, we can later analyze these samples using Cy-verse/QIIME2, seeing what kind of ciliates were found in the DNA solution. This lab should prepare us for the presentation so we know all the information we must present to our peers. This lab help us make crucial changes to the poster so we won’t make any major mistakes on our poster presentation.


