Lab #13: Soil Ciliate Discovery; Photomicroscopy; Presentation Design

Lab #13: Soil Ciliate Discovery; Photomicroscopy; Presentation Design
11/15/18
Haiden Jordal
Objective:
Finish observing and isolating ciliates and try to classify them under one of the 11 classes using morphological characters and prepare for presentations.
Procedure:
Soil Composition Continued:
- Collect the soil samples that were prepared in lab last week.
- Use a ruler to measure (in mm) the respective heights of the three soil types: sand (on bottom), silt (in the middle), and clay (on top).
- Use the measurements to calculate the percentages of each type.
- Use the soil identifier chart to figure out which soil type most closely identifies your soil.
Ciliate Classification:
- Transfer 5 ul of liquid sample to a concavity slide.
- View the slide underneath the compound microscope with the scanning, 10x and 40x lenses.
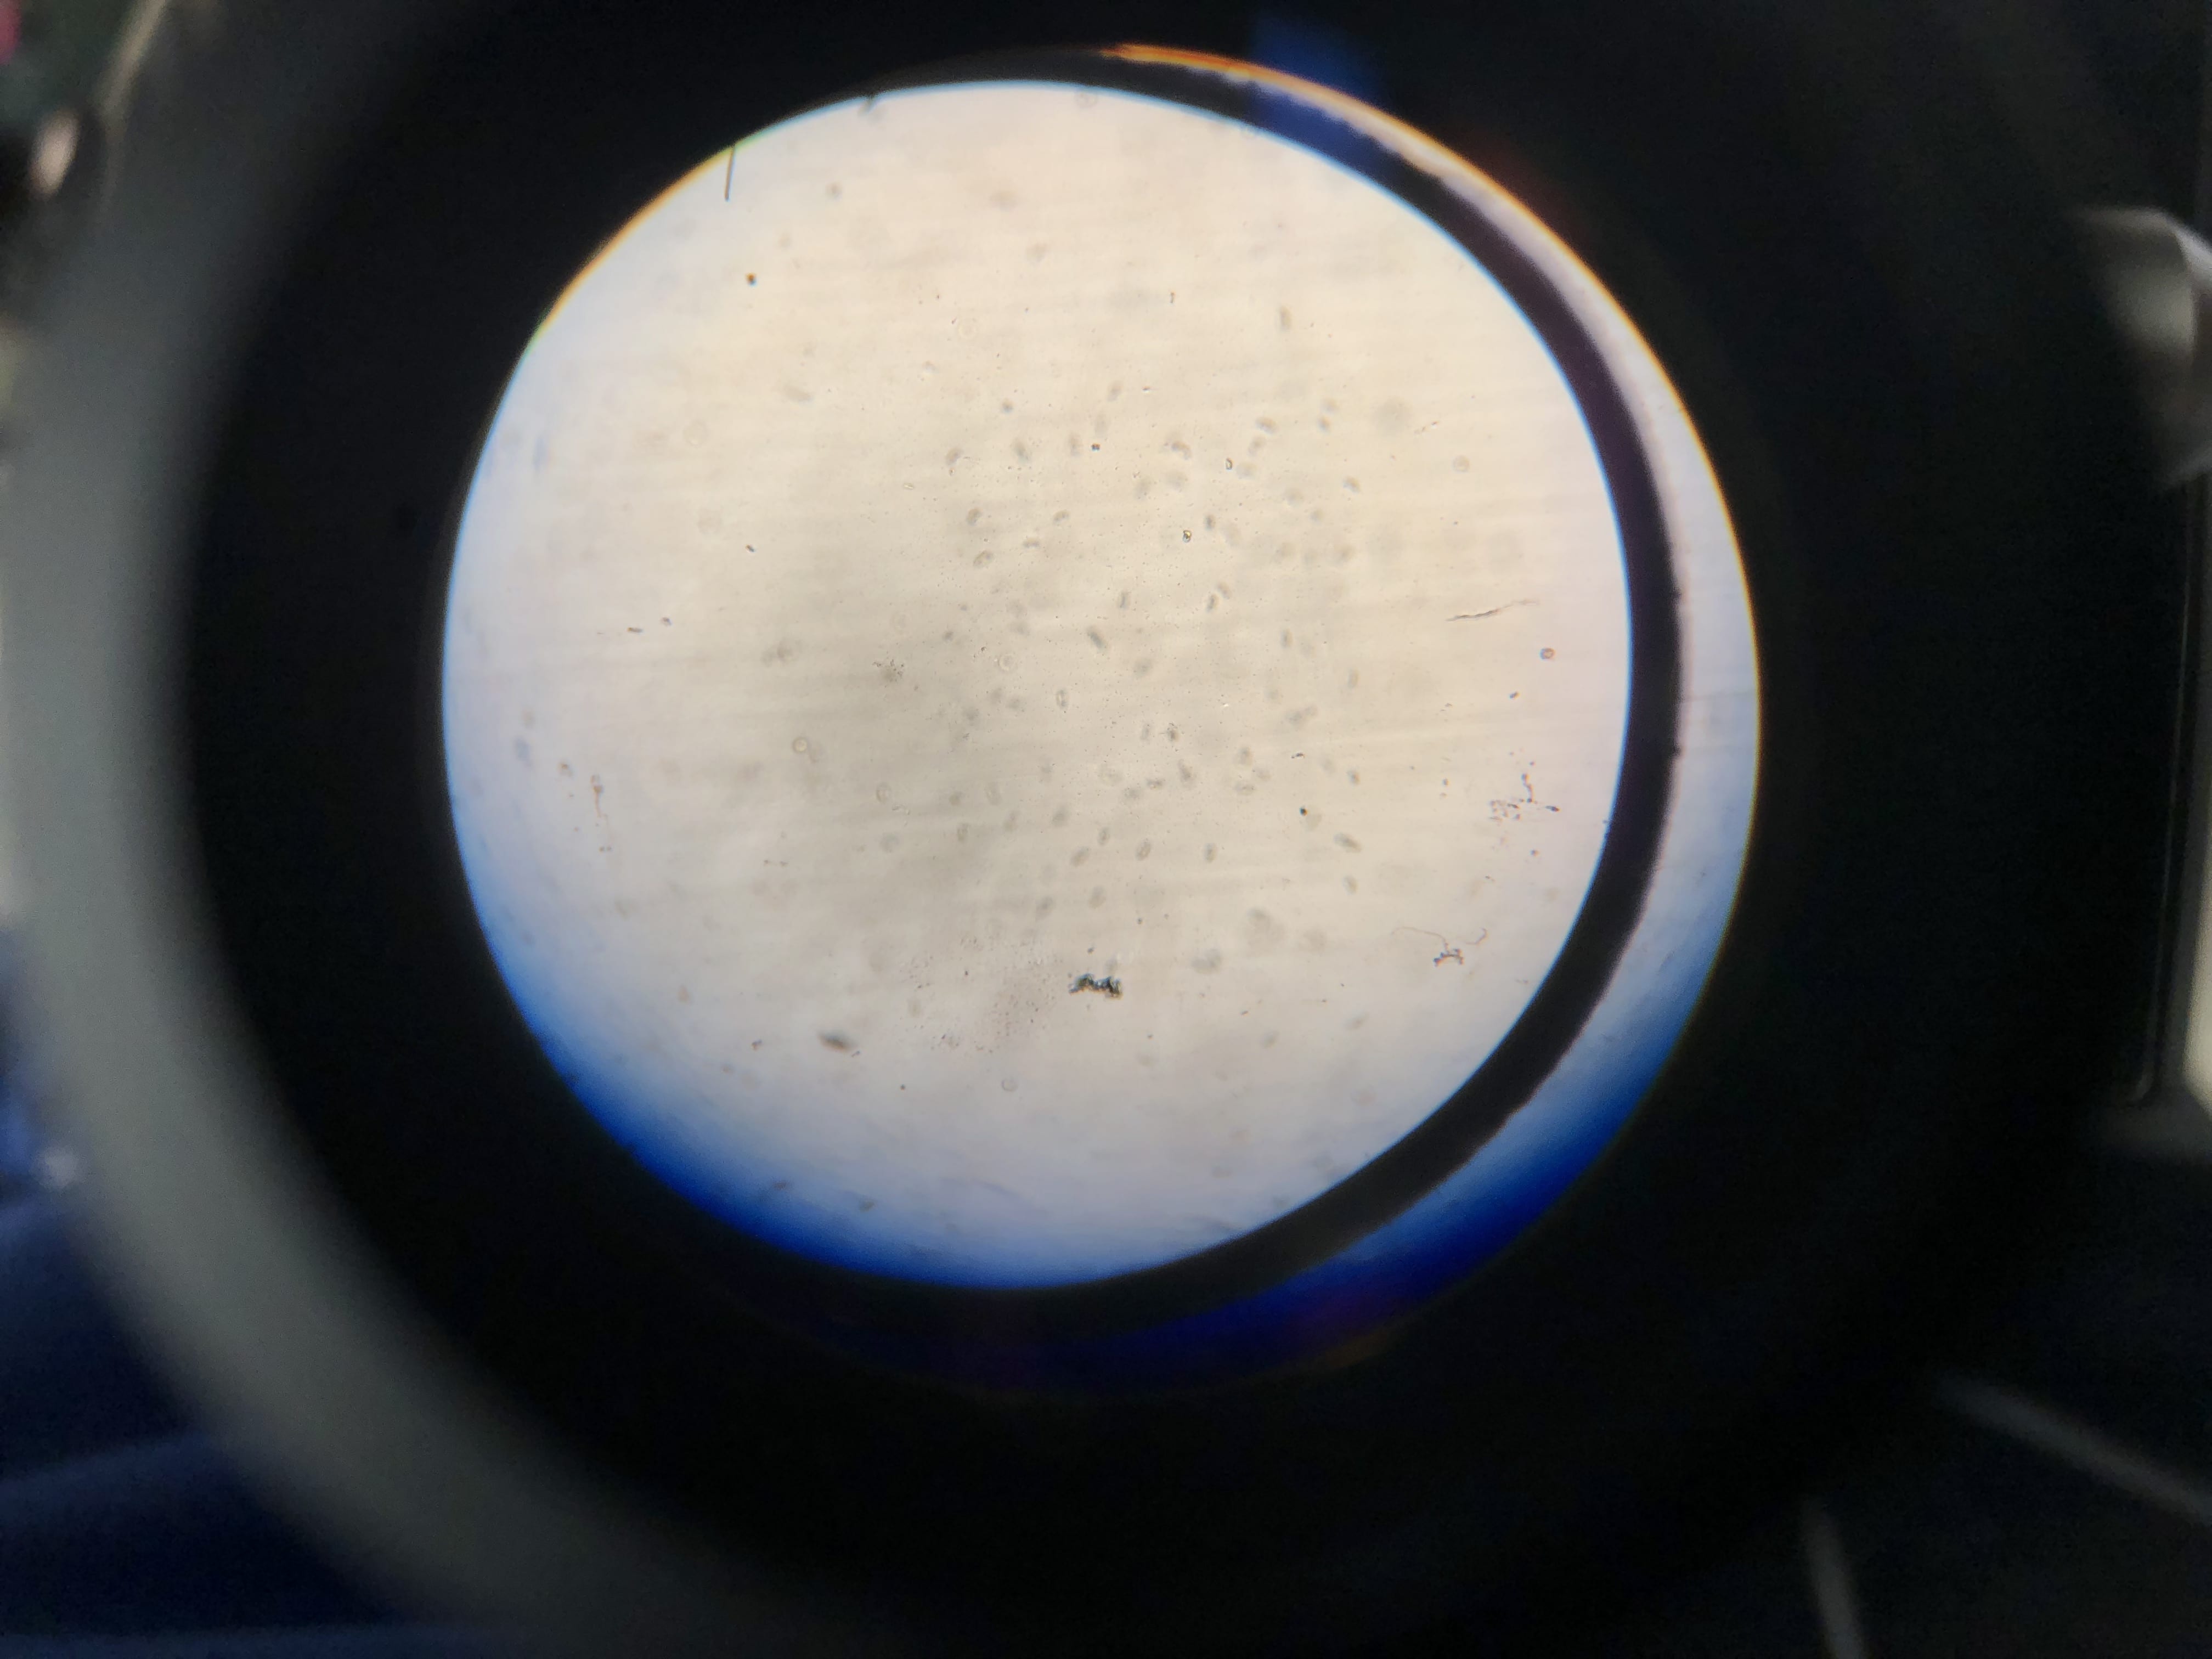
- Record the number and diversity of ciliates found on the slide. Take pictures and videos of the observed ciliates.
- Attempt to either isolate or culture a ciliate by removing it from the soil contaminated drop into a drop of clean water in order to better observe its features.
- Try to classify any observed ciliates.
Observations:
Soil Sedimentation Test:
| Soil Type | Height (mm) | Percentage |
| Clay | 1mm | 3.8% |
| Silt | 2mm | 7.7% |
| Sand | 23mm | 88.5% |


Soil Sedimentation Results: Loamy Sand
Isolated Ciliate Description: No ciliates were isolated strictly speaking. However, many ciliates were observed by video and picture.
Storage:
The concavity slides were cleaned and stored on the counter to dry. The micro pipettes were put back on the racks and the used tips were disposed into the tip cups. The microscope was turned off, covered and moved back to the center of the lab table. The petri dishes of soil were covered with the lid and stored away again. The falcon tubes were put back in the test tube rack.
Conclusions:
The soil was identified as being a loamy sand, presumably because the majority of the sediment found in the falcon tube after separation turned out to be sand. It seemed as though the majority of the soil collected from the area off the bank of the creek was loamy sand. For my sample, the loamy sand provided many different ciliates from all shapes and sizes. My theory is that the sandier the sample, the more the soil had been exposed to water from the creek. Areas of soil that are closer to water would have more encysted ciliates than other areas. Each week we came back to lab and rehydrated the soil plate, more and more ciliates seemed to become active. The sample drops that I observed under the microscope always had more observable ciliates when the drop contained heavy amounts of soil particles. When I drew water from the Petri dish from clear areas, there were little to no ciliates. This fact proved to be an issue as it was difficult to separate the ciliate from the area of soil particles to observe more closely. My lab partners had less success than I did when finding ciliates so our group observations were minimal.
Future Steps:
Meet with our groups and share our collective data. We will have to present our soil ciliate findings to the class during next lab. We will have to explain our background, preparation, procedure, and results in a cohesive and professional manner. We will all add equally to the entire presentation so that it is an entire group effort from start to finish.