April
27

April
20
4/20/2018

Purpose:
Today we were given time to work on our research posters and ask any questions we had to our professor and lab assistants. By the end of the day we finished our lab poster.
Procedure:
- Review our previously made abstracts and introductions, and amend them to best suit our poster.
- Choose an agreeable template and edit the format to work with our particular poster.
- Fill in each section of the poster
An image of our poster rough draft
Title:
Constructing a Working Protocol for Soil Ciliate DNA Analysis
Abstract:
Currently, there is a lack of a reliable, standardized procedure for the extraction of soil ciliate DNA for subsequent metabarcoding analysis. The purpose of this research experiment was to find the most suitable protocol for ciliate DNA extraction and analysis. Our classroom tested Chelex, Ludox centrifugation, and Powersoil DNA Extraction protocols in groups of three to determine the most efficient DNA Extraction method. We found that using the Chelex DNA Extraction method, along with PCR Amplification using V4 Primers was the best DNA Extraction method in that it was quick and easy to perform, and yielded DNA in the 400 – 500 base pair region. Next steps include troubleshooting our procedure, because many groups had negative results after following are final agreed upon procedure.
Conclusion:
I am fairly happy with our poster’s content however I will definitely be changing some of the visual aspects of it, so that it is more eye catching and less unsightly.
April
12
4/12/18
Purpose:
Today we completed gel electrophoresis on our samples that went through PCR last time. We also Imaged them using an ultraviolet imager. Lastly, we began to prepare our posters to present our findings.
Procedure:
- Remove the previously prepared 1.8% agarose gel from storage.
- Place the gel in the electrophoresis chamber and fill the chamber with 1x TAE until the gel is covered.
- Place 10 μl each of the samples into their own wells in the gel.
- Place 5 μl of the ladder in one of the wells
- Place the lid on the chamber.
- Connect the electrodes to the power supply unit.
- Run at 100v for 30 minutes
- Turn off the power supply and remove the gel.
- Image the gel with a UV imaging device.
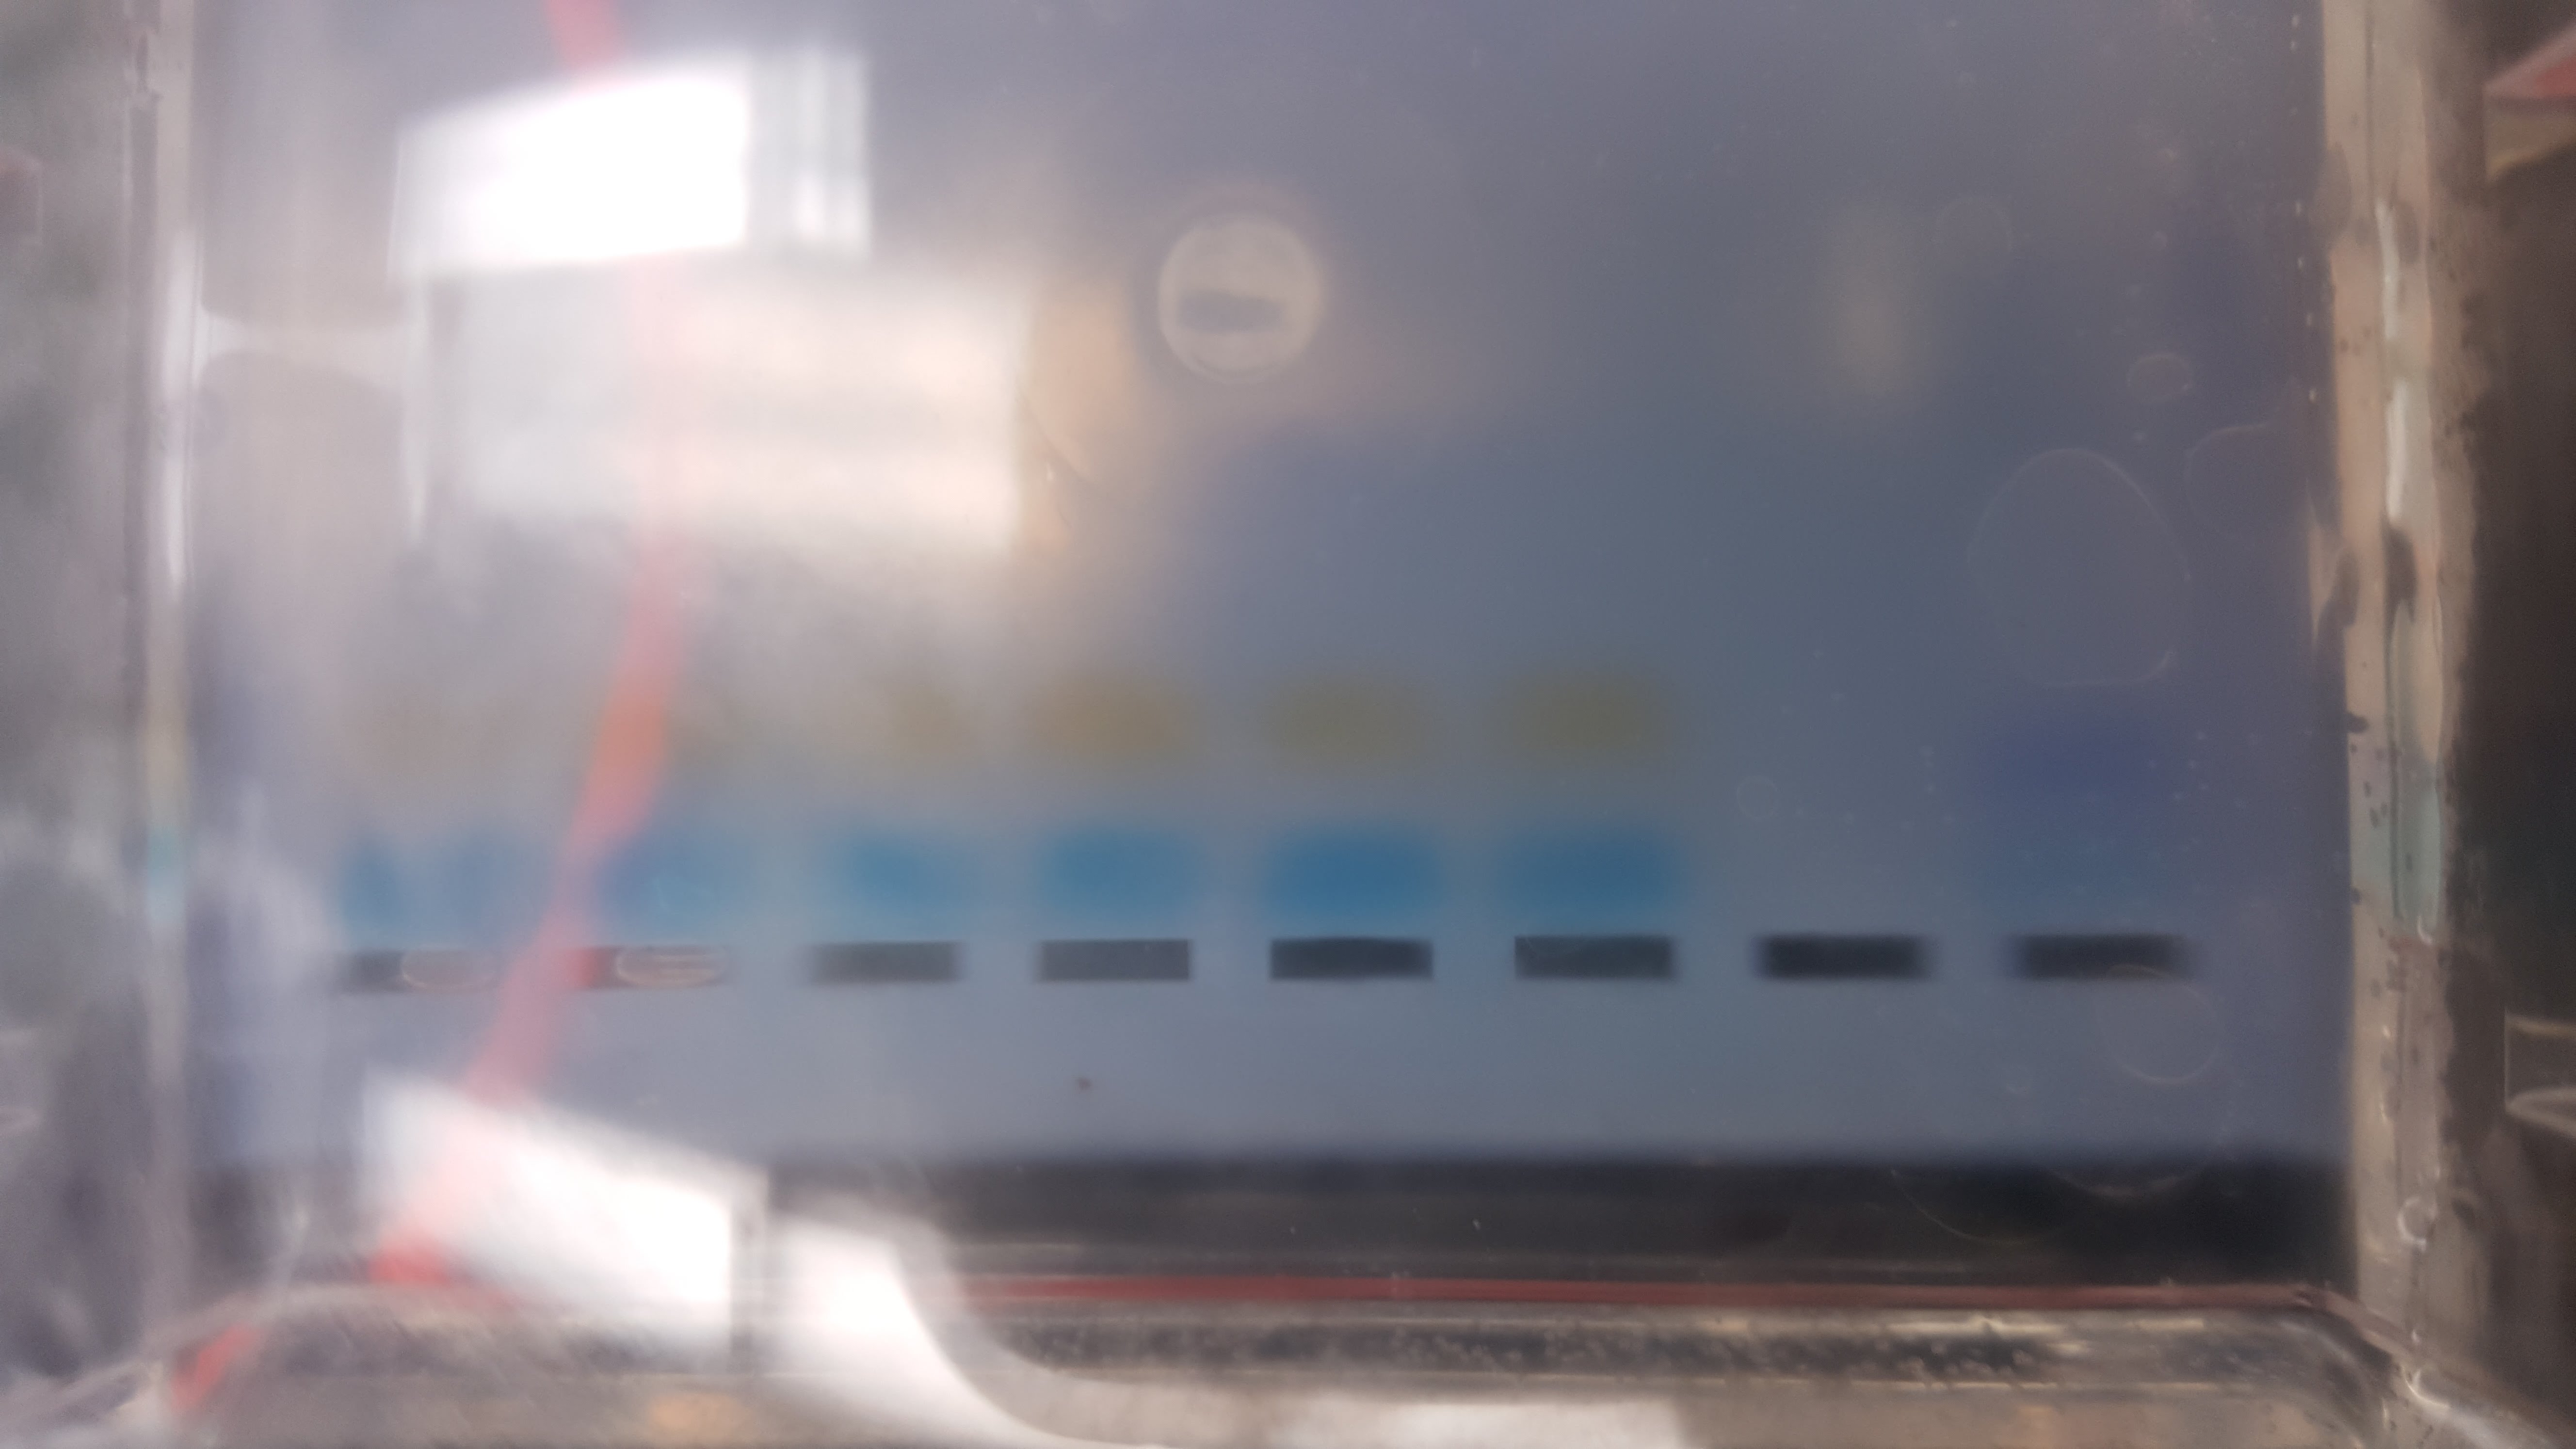
Results :
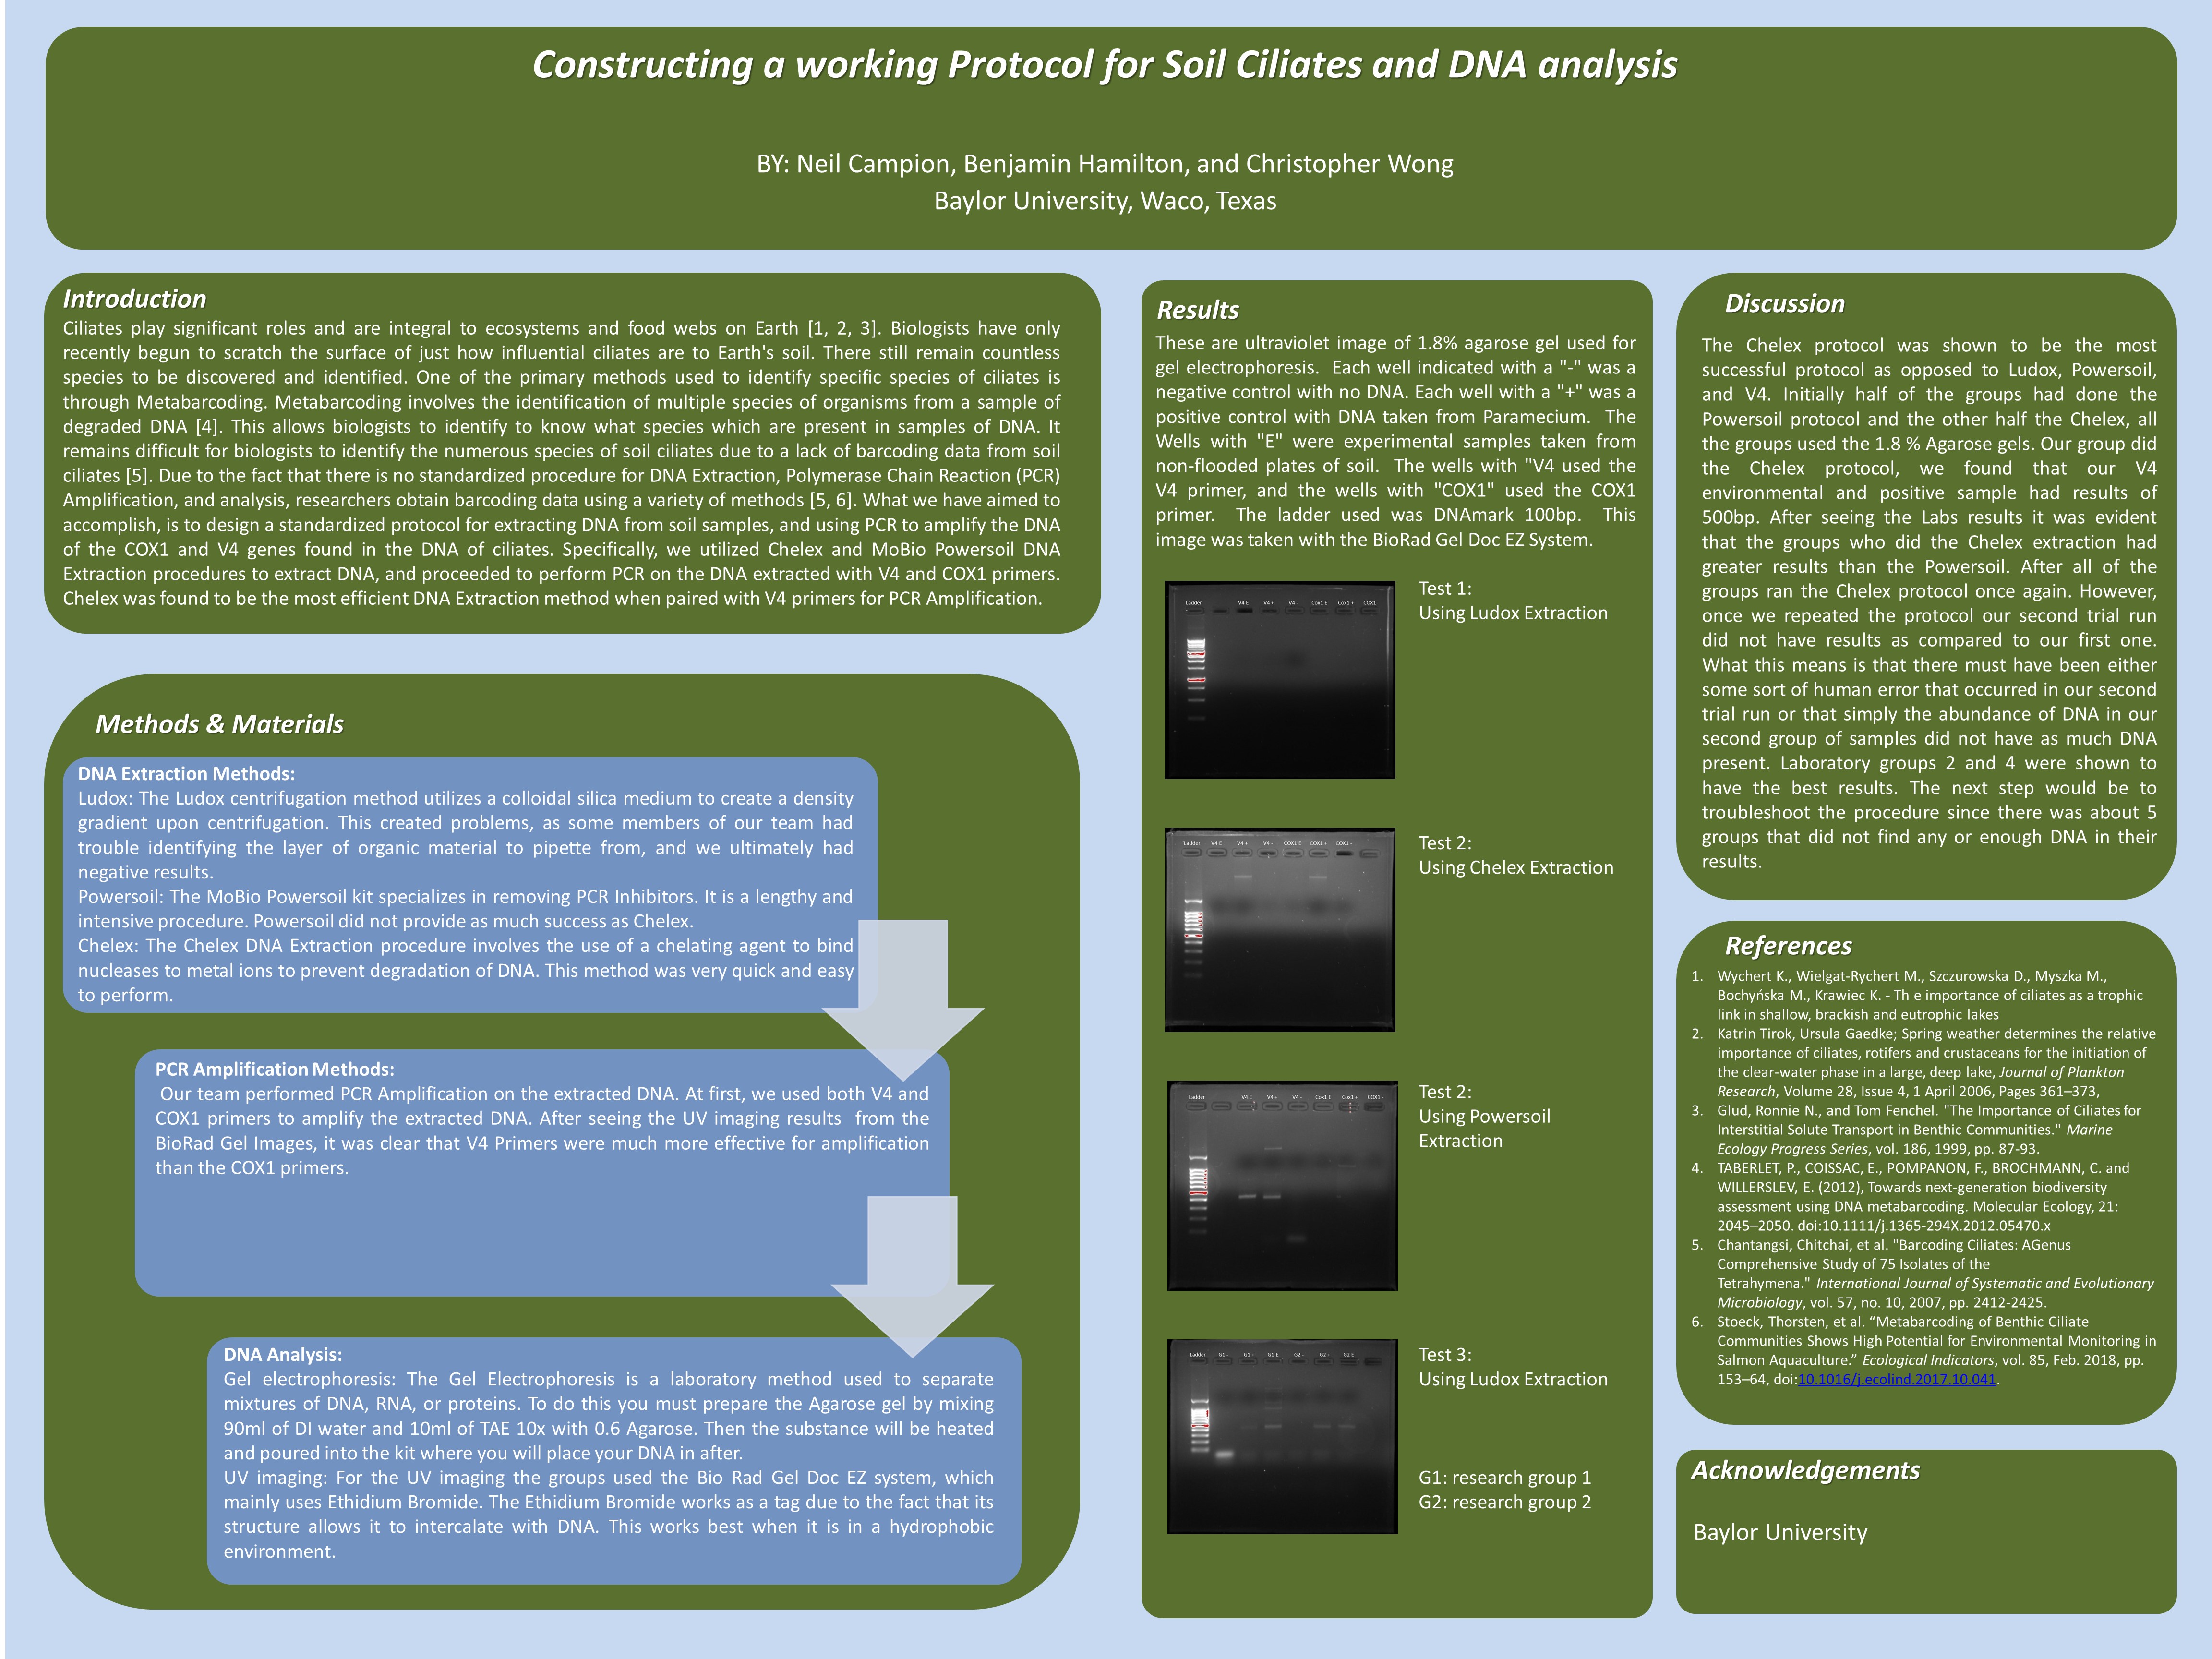
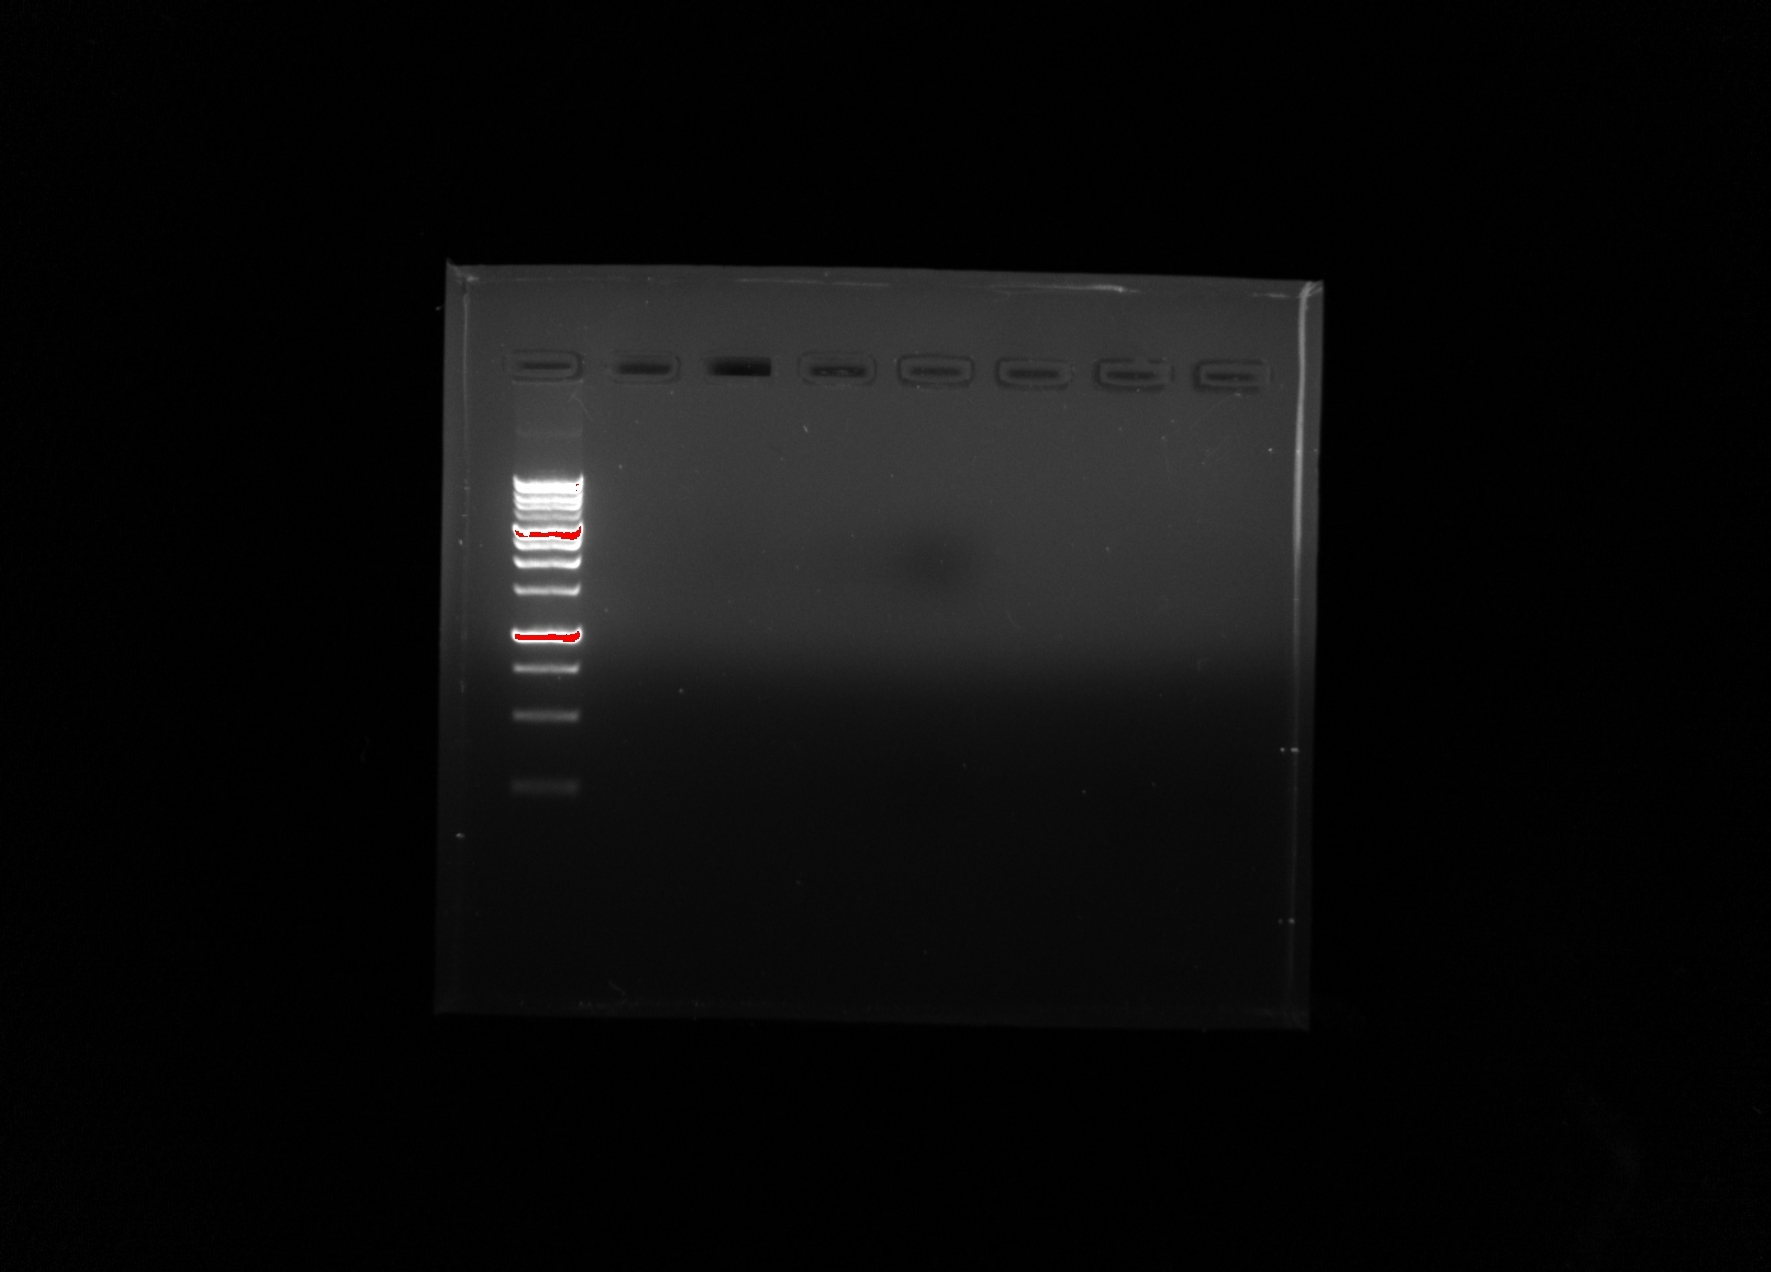
Our imaged agaros gel after electrophoresis. From left to right: Ladder, Group 5 Negative Control, Group 5 Positive Control, Group 5 Environmental Sample, Empty, Group 6 Negative Control, Group 6 Positive Control, Group 6 Environmental Sample.
Our group did not have an DNA show up in the imaging. However, group six had some show up in their experimental sample.
Conclusion:
I do not know why we had no positive results in our test. The only explanation I can think of, that would explain both the positive control and the experimental sample showing up negative, is that we did something wrong when preparing them for PCR. If the polymerase chain reaction did not work properly then nothing would show up during the imaging. However, I do not know what step we would have done incorrectly for both samples that would cause PCR not to work. I am especial curious about what went wrong, because our group used almost the exact same protocol for the previous test and we did have a positive result.
April
6
4/6/2018
During this lab we conducted a modified version of Chelex DNA extraction, prepared agarose gel for gel electrophoresis, and began PCR reactions with our newly extracted environmental DNA, a positive control with DNA taken from a paramecium culture, and a negative control with the DNA replaced with D.I. water.
Procedure:
Chelex DNA Extraction
(Each member of the group performs all steps with their own sample.)
- Extract ciliates from a non flooded plate by taking a 1.5 ml sample.
- Centrifuging it at 6000xg for 5 minutes.
- Remove the supernatant.
- Add 1.5 ml more to the sample and repeat steps 2 and 3.
- Add 200 µL 5% Chelex to the sample (it is necessary to cut the end of of the pipette tip in order to extract Chelex).
- Vortex for 1 minute.
- Add 15 µl of proteinase K.
- Incubate for 30 minutes in a 56°C water bath or heat block.
- Boil for 8 minutes in 100°C heat block.
- Vortex for 1 minute.
- centrifuge at 16000xg for 3 minutes.
PCR
- Each member transfer 100 µl of their supernatant to one clean microcentrifuge tube
- In 3 small tubes transfer all of the following components excluding the DNA for the environmental sample, this will be done after step 3
Negative Control Positive Control eDNA DNA template/ µL 0 1 1 2X Master mix/ µL 12.5 12.5 12.5 Stock V4 Primers (final concentration 0.5 µM)/ µL 1.25 1.25 1.25 Water/ µL 11.25 10.25 10.25 (in our experiment an error was made, and 11.25 µL of water was added to each tube)
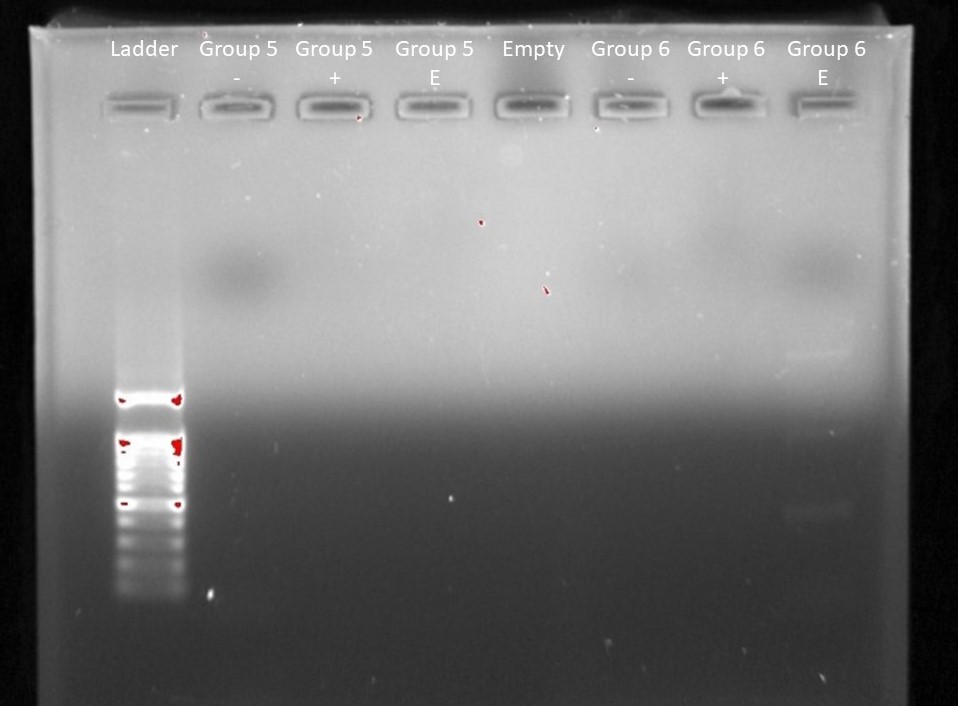
- Run a Nanodrop analysis of the environmental DNA sample.

The indicated reading was from my groups Nanodrop analysis
- Either concentrate, or dilute your DNA sample until it is approximately 50 ng/µL.
- Transfer 1µL of your environmental DNA sample into the environmental DNA tube.
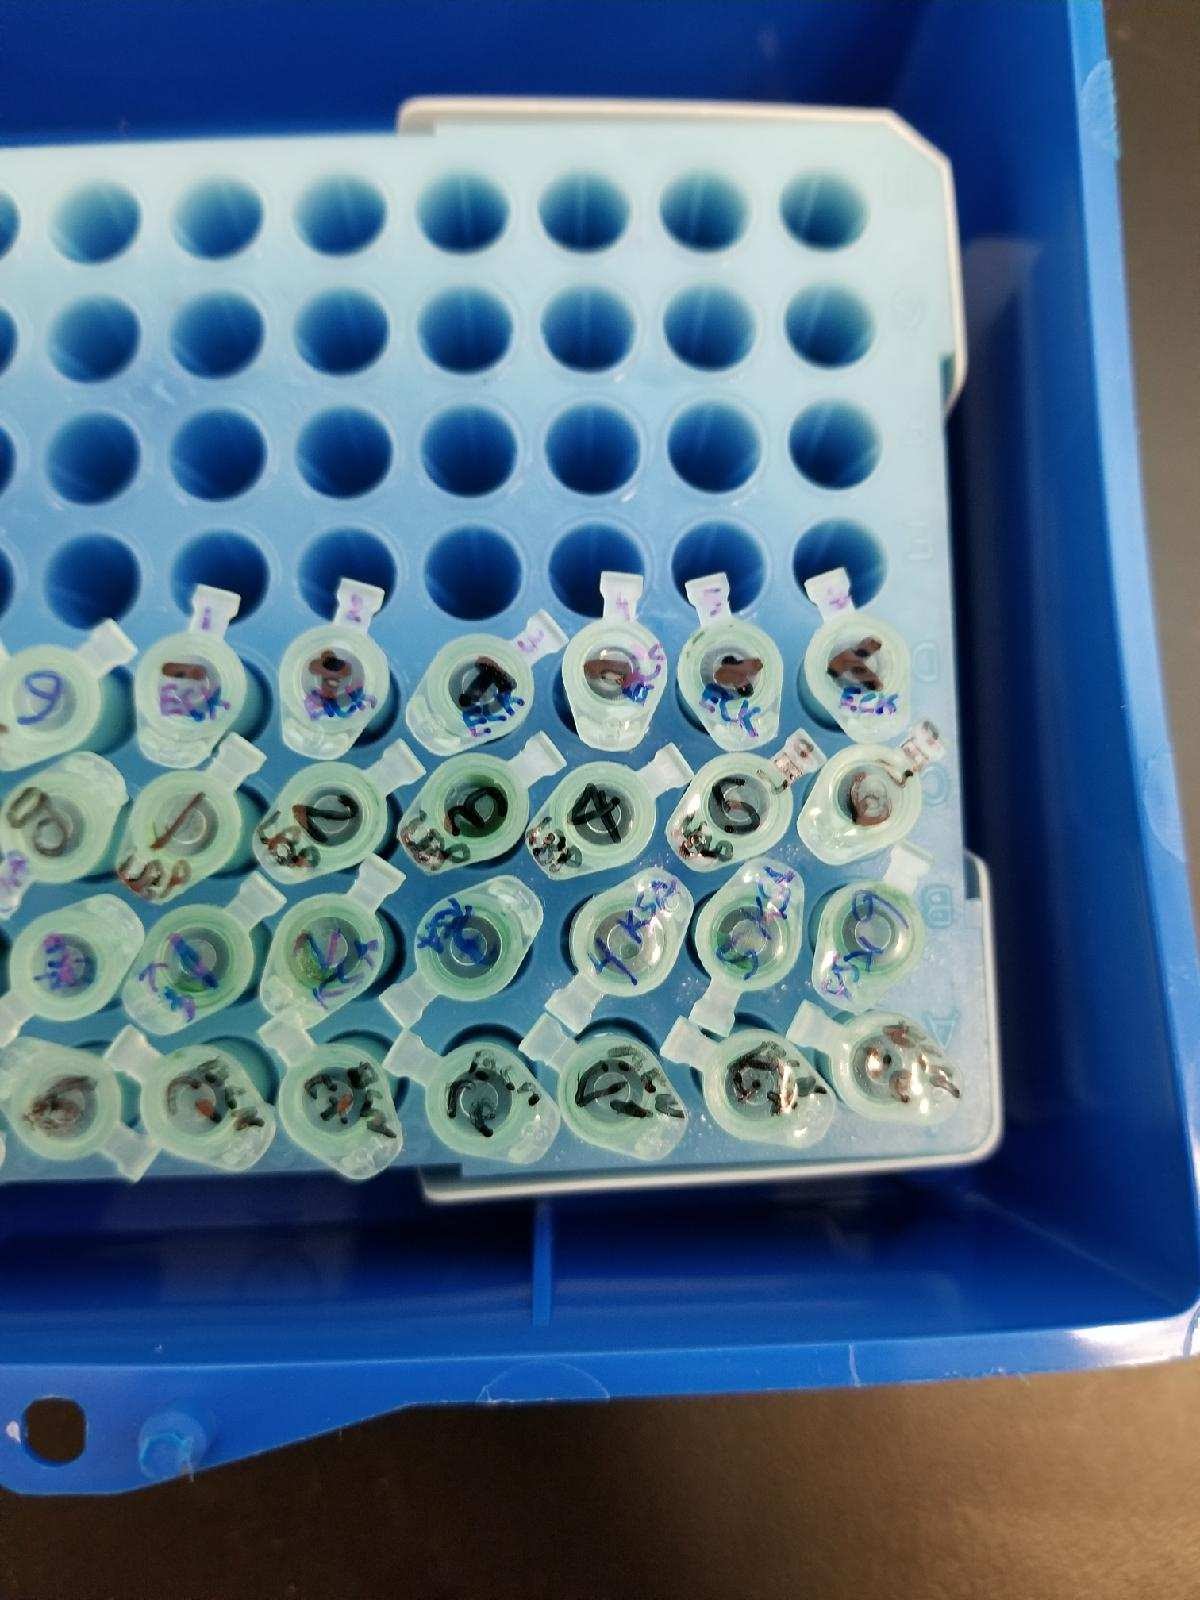
- Place all three tubes in a thermocycler.
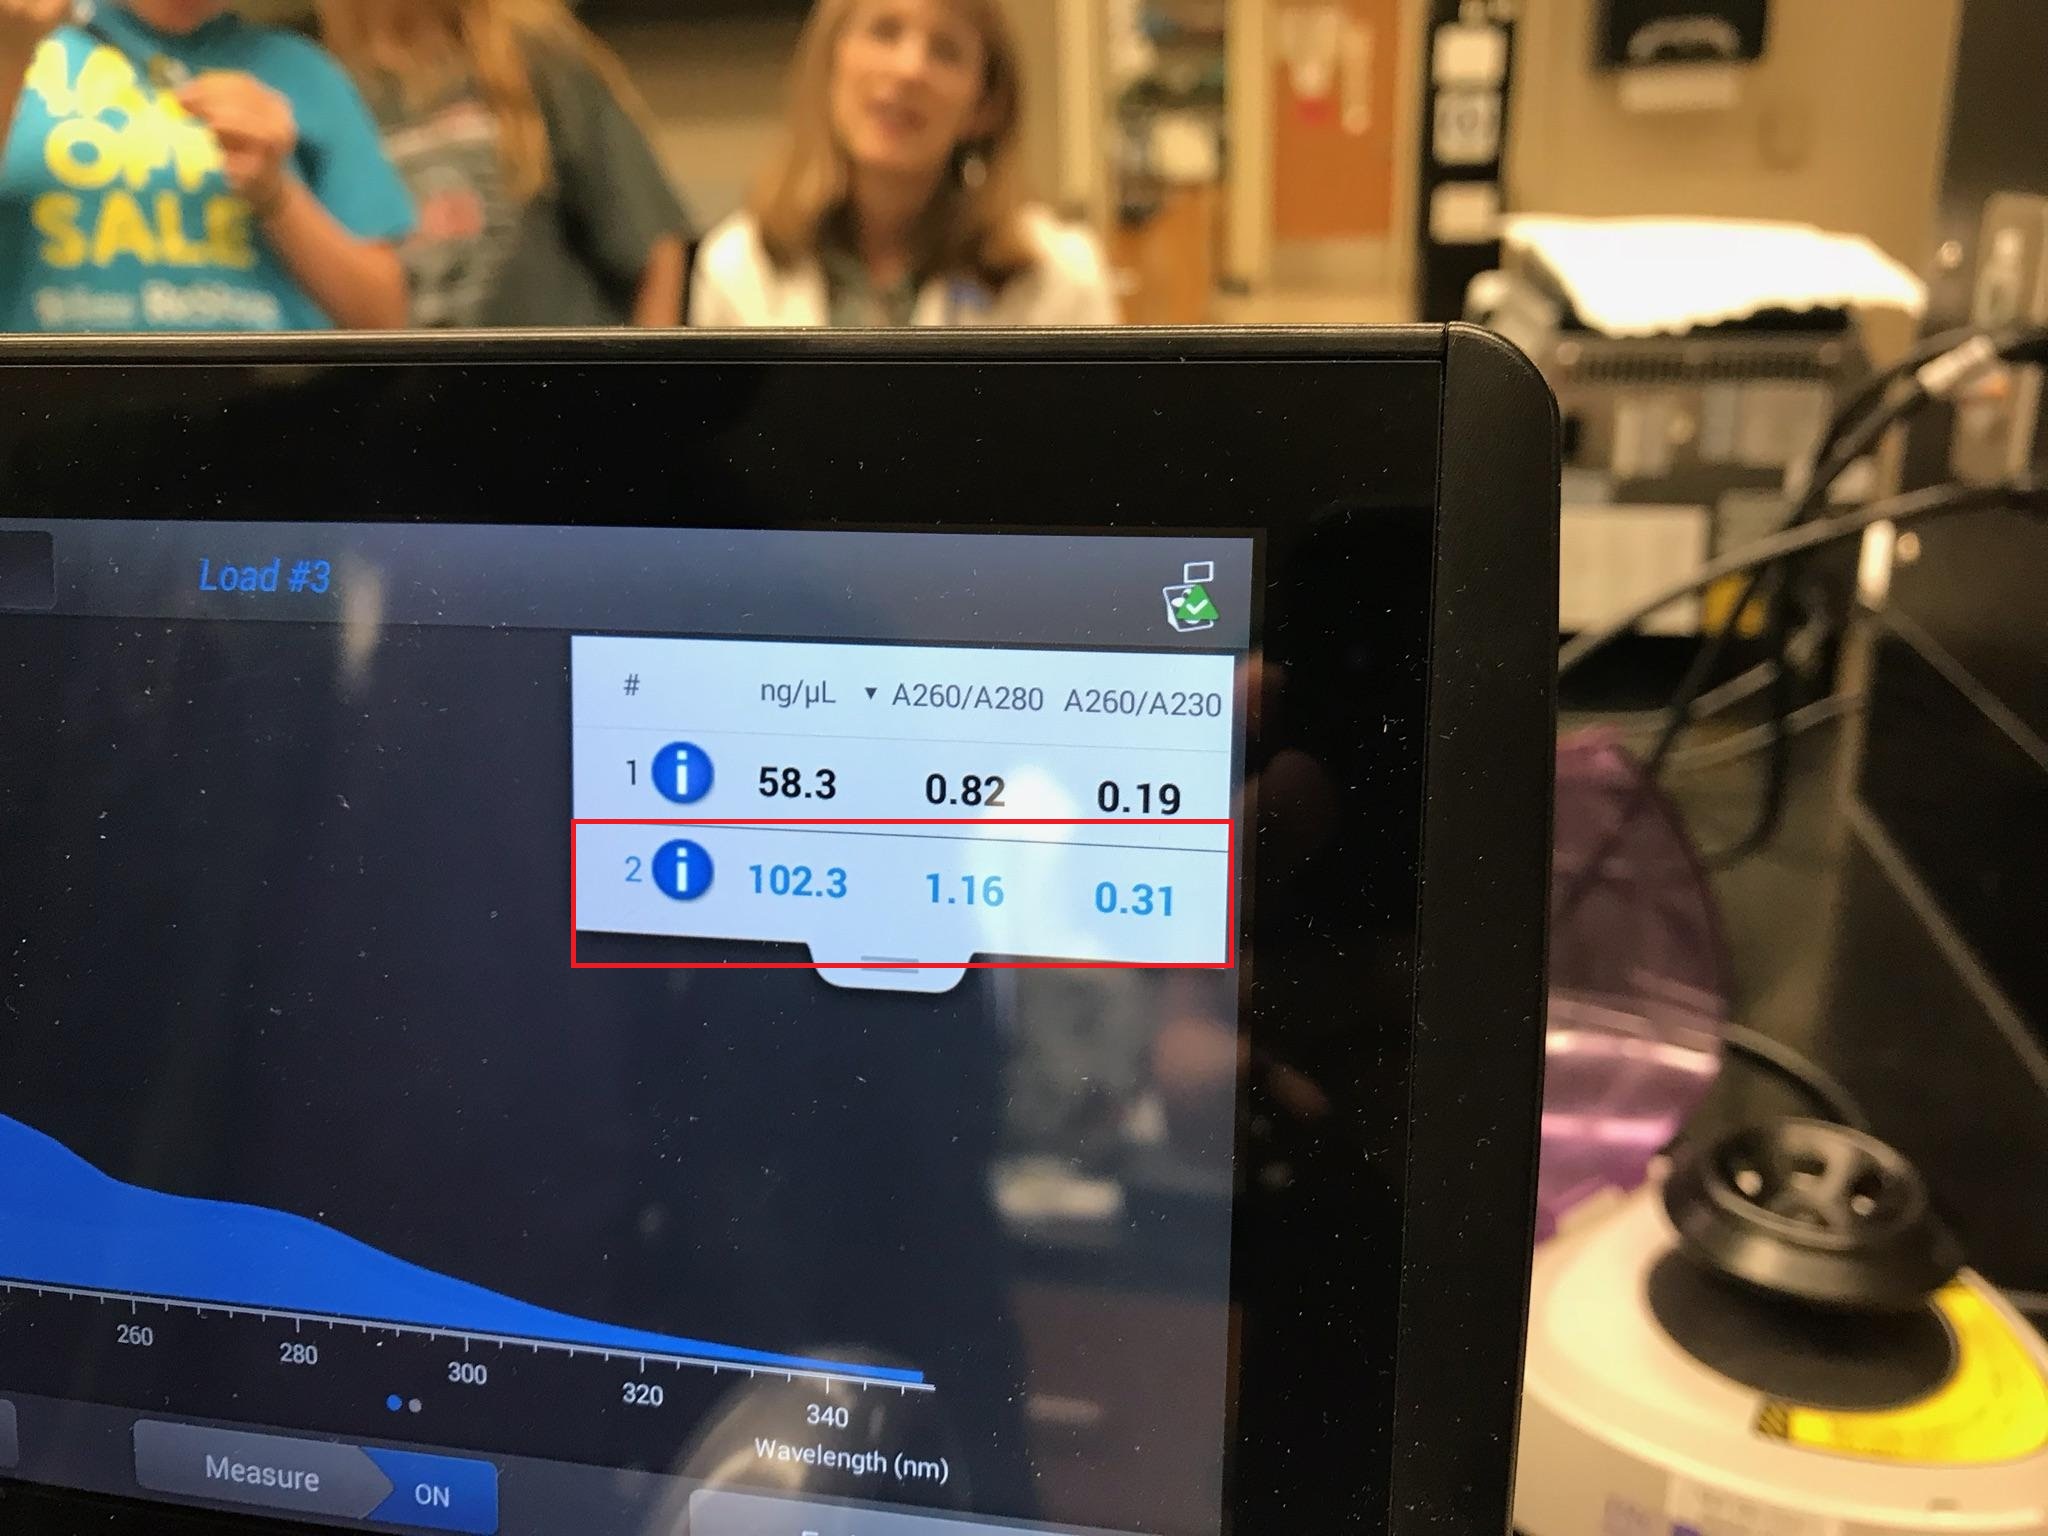
The indicated tubes are my groups samples
Agarose Gel Preparation
- Add 0.6g of agarose to an Erlenmeyer flask.
- Dilute with 40 mL of 1xTAE, in order to make a 1.8% agarose solution.
- Cover the flask with weighing paper and a loose fitting lid.
- Swirl the solution to mix
- Heat the erlenmeyer flask in a microwave for 1 minute and 20 seconds on power 7
- Cool the gel for 5 minutes in a water bath
- Add 2 uL of ethidium bromide
- Swirl the solution to mix
- Assemble gel mold
- Pour the gel into the mold, allow it to set
- Label the mold and store
Conclusion:
All this was a lot to do with our time constraints, and my group felt like we rushed it a bit. However, we were able to finish with minimal extra time. I did enjoy getting to go back and do some of the things we have done before. That way all the procedures are more firmly cemented in my mind, so that I should be able to perform them even more efficiently in the future if its required.
April
5
3/29/2018
Today we performed gel electrophoresis on our controls and samples with the COX1 and V4 primers.
Procedure:
- Place prepared 1.8% gel in electrophoresis box
- Fill the box with 1x TAE until it covers the gel
- Place each of the samples which we performed PCR on last week in individual wells in the gel
- Load the ladder into one of the empty wells
- Put the lid on and attach the electrodes to the power supply
- Run it on 110V for approximately 30
- Remove the gel
- Image the gel in a ultra violet imager
gel during electrophoresis

Wells from left to right: Ladder, Empty, V4 experimental, V4 positive, V4 negative, COX1 experimental, COX1 positive, COX1 negative.
March
23
3/22/2018
Today we performed polymerase chain reaction (PCR) on our environmental sample and our controls in order to prepare them for gel electrophoresis. We also made the agarose gel which we will be using to conduct the electrophoresis.
These are the mixtures we used for PCR
COX 1 V4
| 1 Negative Control | 2 Positive Control | 3 Experimental Sample | 4 Negative Control | 5 Positive Control | 6 Experimental Sample | |||
| 2X Master Mix | 12.5 µL | 12.5 µL | 12.5 µL | 2X Master Mix | 12.5 µL | 12.5 µL | 12.5 µL | |
| DNA | 0 µL | 1 µL | 1 µL | DNA | 0 µL | 1 µL | 1 µL | |
| 20 µM COX1 | 0.63 µL | 0.63 µL | 0.63 µL | 20 µM V4 | 0.63 µL | 0.63 µL | 0.63 µL | |
| Water | 11.87 µL | 10.87 µL | 10.87 µL | Water | 11.87 µL | 10.87 µL | 10.87 µL | |
| Total Volume | 25 µL | 25 µL | 25 µL | Total Volume | 25 µL | 25 µL | 25 µL |
PCR Procedure:
we prepare 6 small microfuge tubes, 3 with COX 1 primers and 3 with V4 primers. Each of the other 3 substances were pipetted into each tube following the volumes listed above. Each is then initialed and stored for later use.
Agarose Gell Procedure:
We first made a 100 mL solution of 1x TAE by mixing 10 mL of 10x TAE into 90 mL of D.I. water. Next we add 35 mL of this solution and 0.6 g of agarose to a separate beaker. A lid is placed loosly on the flask and the whole thing is microwaved for 80 seconds on power 7. The new solution is swirled and placed in a cooling bath for 5 minutes. Next, we set up a gel mold. Once the agarose solution had cooled we poured it into the mold and let it set.

The six indicated tubes are the ones my group completed
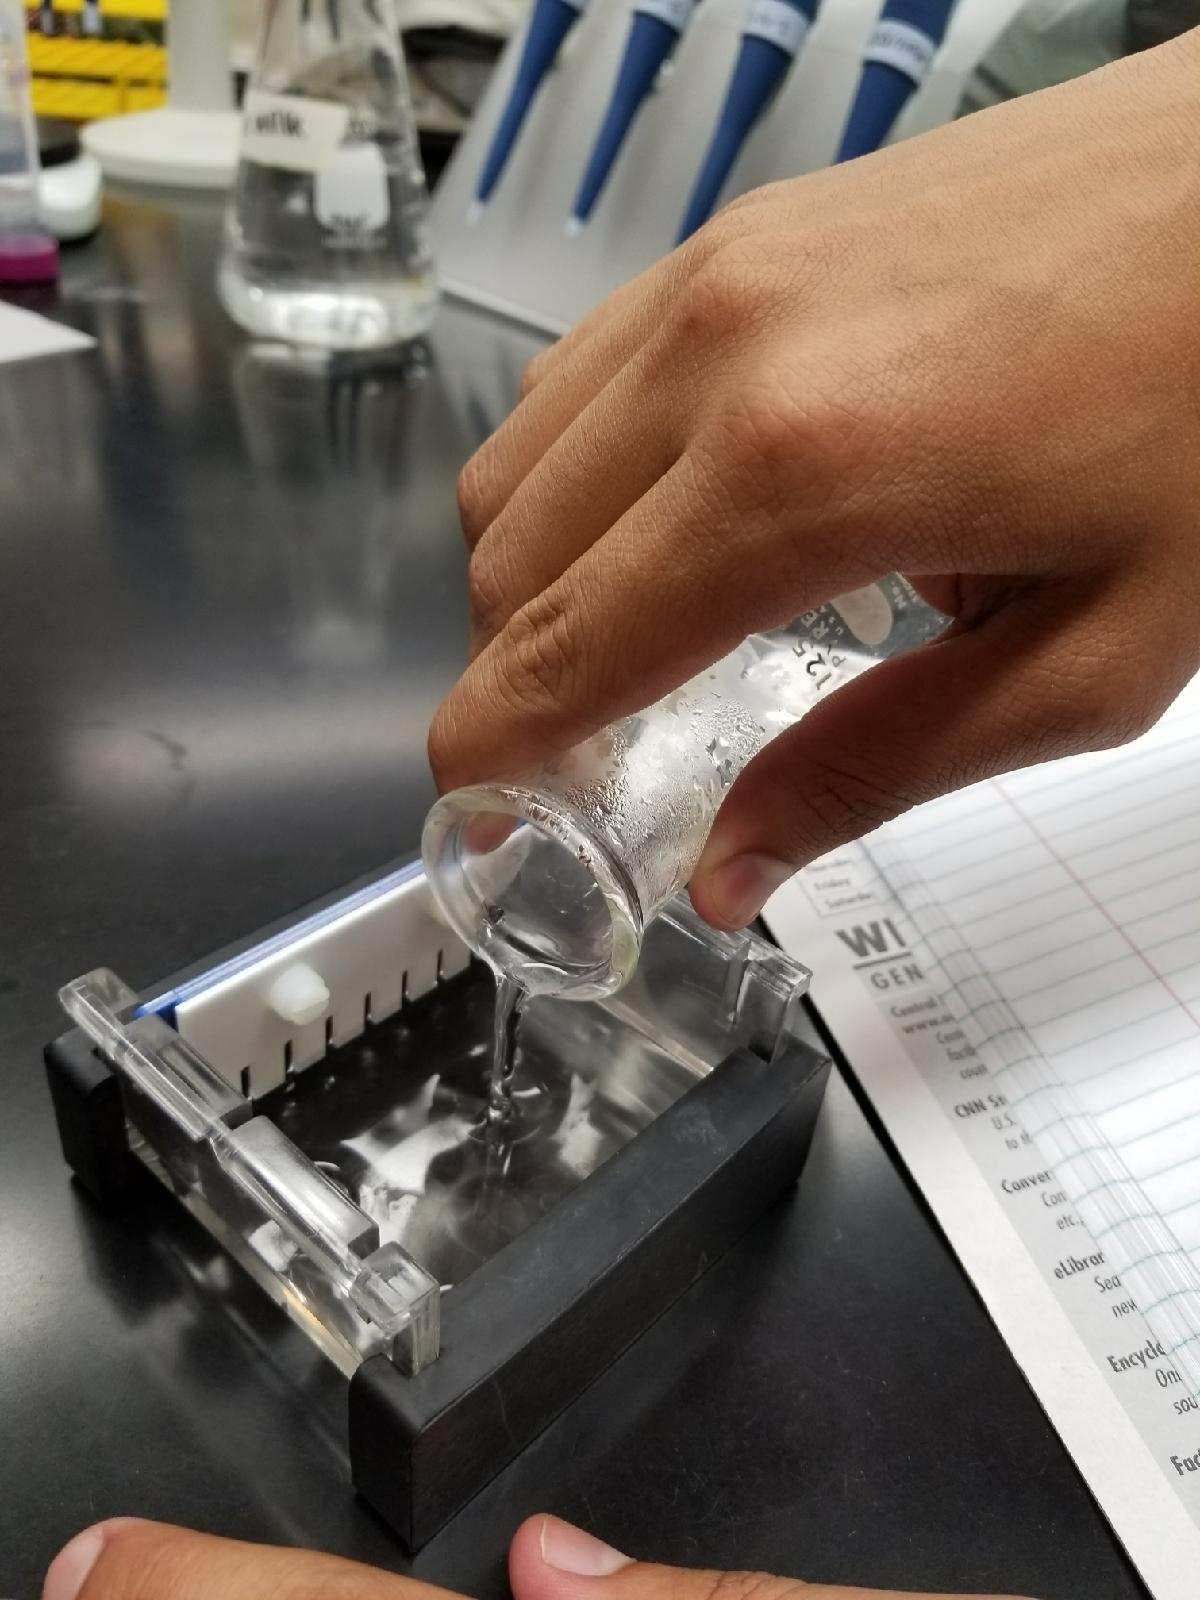
Pouring the agarose solution into the gel mold
March
16
3/15/2018
During this class time we began the process of two new DNA extraction methods. PowerSoil and Chelex. Each table began the extraction using one sample for each method. A control using a paramecium culture was made for each Chelex tube, and one control was made for all the PowerSoil samples. This discrepancy is due to the time restraints of our experiment, and the time consuming nature of using the PowerSoil method.
Procedures:
Chelex:
Modified Chelex Extraction Protocol
Adapted from Stüder-Kypke, 2001
- Transfer 300-500 µl of dense ciliate culture (20 or more individuals) to a microcentrifuge tube. If you do not have your own culture, perform a replicate from another student’s culture.
- Make sure to record which ciliate culture you are extracting from
- Label your tube with your initials and section and record all the information about the sample in your notebook.
- Centrifuge @6000xg for 5 minutes, discard supernatant
For Chelex extraction from non-flooded plates, remove 1.5 ml of liquid from the non-flooded plate. Spin at 6000xg for 5 minutes and remove the supernatant. Repeat this procedure 2-3 times to concentrate the cells in the liquid into a pellet. Avoid pipetting the soil.
Chelex is a chelating resin that chelates metal ions that are required for enzyme activity. This reduces the amount of enzymatic activity of the nucleases and therefor protects DNA integrity.
- Weigh 0.5 g Chelex and transfer to a 15 ml conical tube. Add di water to 10 ml.
- Add 200µL 5% Chelex to pellet, and vortex for 1 minute.
- For this step, use large-bore micropipette tips or simply cut off the tip of a 1000µL micropipette tip
- Add 15 µl of proteinase K.
- Incubate for 30 minutes in 56oC water bath or heat block: This will break open the cells and denature some proteins.
- Boil for 8 minutes in 100oC water bath or heat block.
- Vortex for 1 minute
- Centrifuge @ 16,000xg for 3 minutes to pellet cellular debris and Chelex beads
- Transfer supernatant with DNA in solution to clean microcentrifuge tube, being careful not to transfer Chelex beads
- Carefully label top and side of microcentrifuge tube with your ID that you will be able to identify.
PowerSoil:
Detailed User Protocol provided by MO BIO Laboratories Inc.
- To the PowerBead Tubes provided, add 0.25 grams of soil sample (this was rounded either to .2 or .3 due to scale limitations)
- Gently vortex to mix.
- Check Solution C1. If Solution C1 is precipitated, heat solution to 60°C until
the precipitate has dissolved before use. - Add 60 μl of Solution C1 and invert several times or vortex briefly.
- Secure PowerBead Tubes horizontally using the MO BIO Vortex Adapter
tube holder for the vortex (MO BIO Catalog# 13000-V1-24) or secure tubes
horizontally on a flat-bed vortex pad with tape. Vortex at maximum speed for 10
minutes. - Make sure the PowerBead Tubes rotate freely in your centrifuge without
rubbing. Centrifuge tubes at 10,000 x g for 30 seconds at room temperature.
CAUTION: Be sure not to exceed 10,000 x g or tubes may break. - Transfer the supernatant to a clean 2 ml Collection Tube (provided).
- Add 250 μl of Solution C2 and vortex for 5 seconds. Incubate at 4°C for 5
minutes. - Centrifuge the tubes at room temperature for 1 minute at 10,000 x g.
- Avoiding the pellet, transfer up to 600 μl of supernatant to a clean 2 ml
Collection Tube (provided). - Add 200 μl of Solution C3 and vortex briefly. Incubate at 4°C for 5 minutes.
- Centrifuge the tubes at room temperature for 1 minute at 10,000 x g.
- Transfer up to 750 μl of supernatant to a clean 2 ml Collection Tube
(provided). - Shake to mix Solution C4 before use. Add 1.2 ml of Solution C4 to the
supernatant (be careful solution doesn’t exceed rim of tube) and vortex for 5
seconds. - Load approximately 675 μl onto a Spin Filter and centrifuge at 10,000
x g for 1 minute at room temperature. Discard the flow through and add an
additional 675 μl of supernatant to the Spin Filter and centrifuge at 10,000 x g
for 1 minute at room temperature. Load the remaining supernatant onto the Spin
Filter and centrifuge at 10,000 x g for 1 minute at room temperature. - Add 500 μl of Solution C5 and centrifuge at room temperature for 30
seconds at 10,000 x g. - Discard the flow through from the 2 ml Collection Tube.
- Centrifuge at room temperature for 1 minute at 10,000 x g.
- Carefully place Spin Filter in a clean 2 ml Collection Tube (provided).
Avoid splashing any Solution C5 onto the Spin Filter. - Add 100 μl of Solution C6 to the center of the white filter membrane.
- Centrifuge at room temperature for 30 seconds at 10,000 x g.
- Discard the Spin Filter. The DNA in the tube is now ready for any downstream
application. No further steps are required.
My group (22-5) completed the Chelex: extraction method for our table.
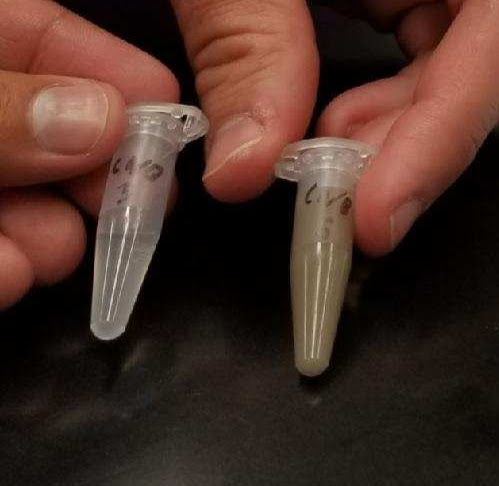
Control (left) and environmental (right) samples before centrifugation
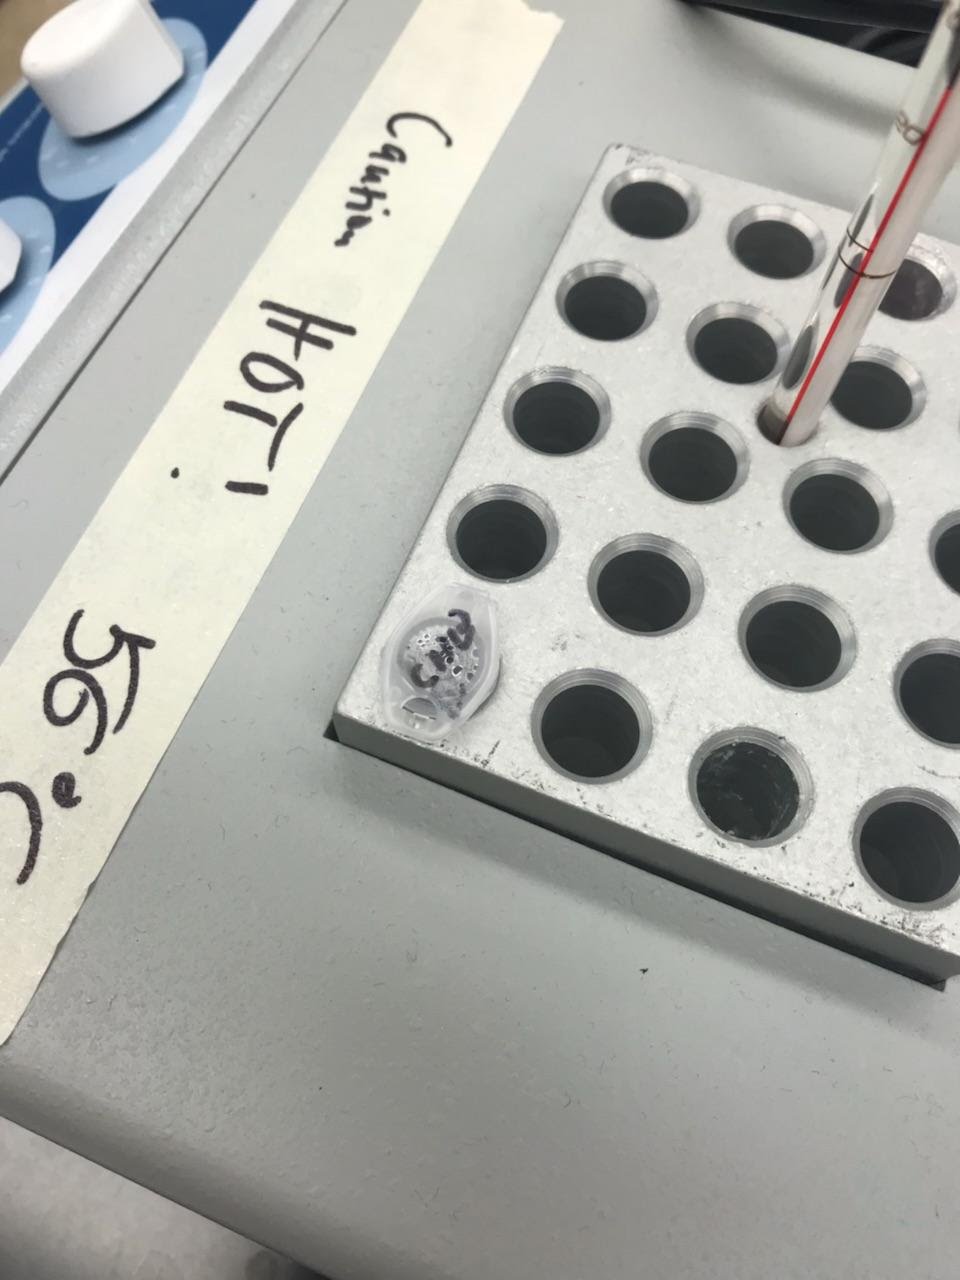
Our Environmental sample in the 56°C bath
March
2
3/1/18
The goal of this lab was to complete Gel Electrophoresis on our control and environment samples. This will allow us to analyze the sizes of nucleotide chains in our samples by comparing them to the DNA ladder.
Steps:
- prepare agarose gel and the electrophoresis enclosure.
- remove solidified gel from the mold
- place in the center of the enclosure with the wells facing toward the black electrode
- create 300 ml of 1 x TAE buffer from a 10 x solution by placing 30 ml of the 10 x solution in 270 ml of D.I. water
- gently pour the buffer solution into the enclosure.
- inject the samples into the wells
- add 5 µL of loading dye to each sample
- place 10 µL of each sample in their own well making sure to insert the tip of the pipette into the well without going through the gel
- place 5 µL of the DNA laddar into one of the wells
- begin the gel electrophoresis
- place the lid on top of the enclosure
- connect each electrode to the matching electrode on the power sorce
- set the power source to 110 volts for 30 minutes
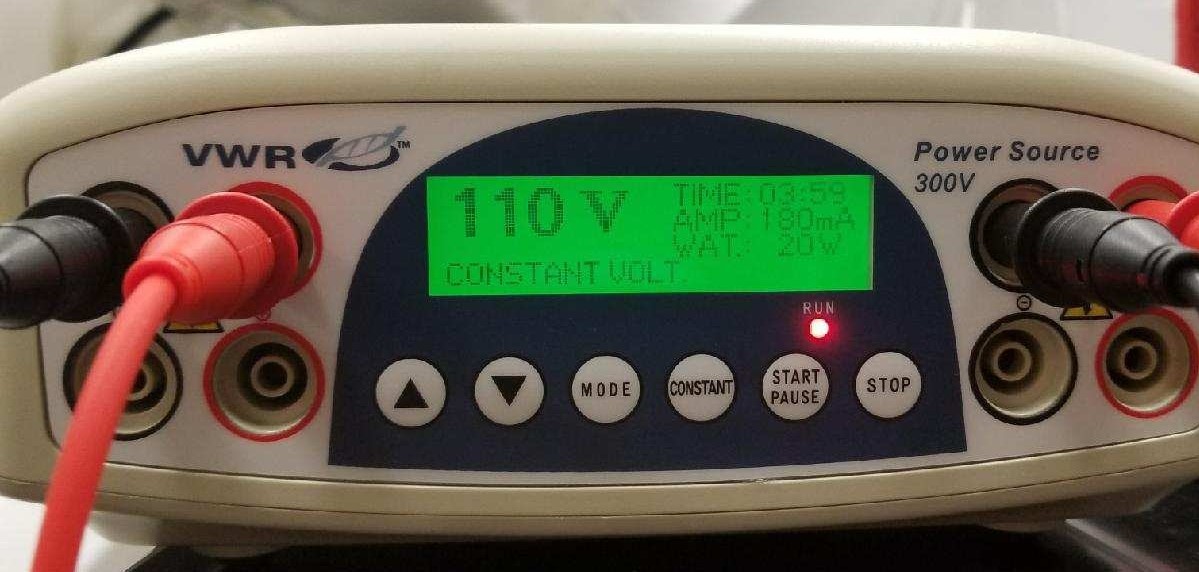
Our Power Source
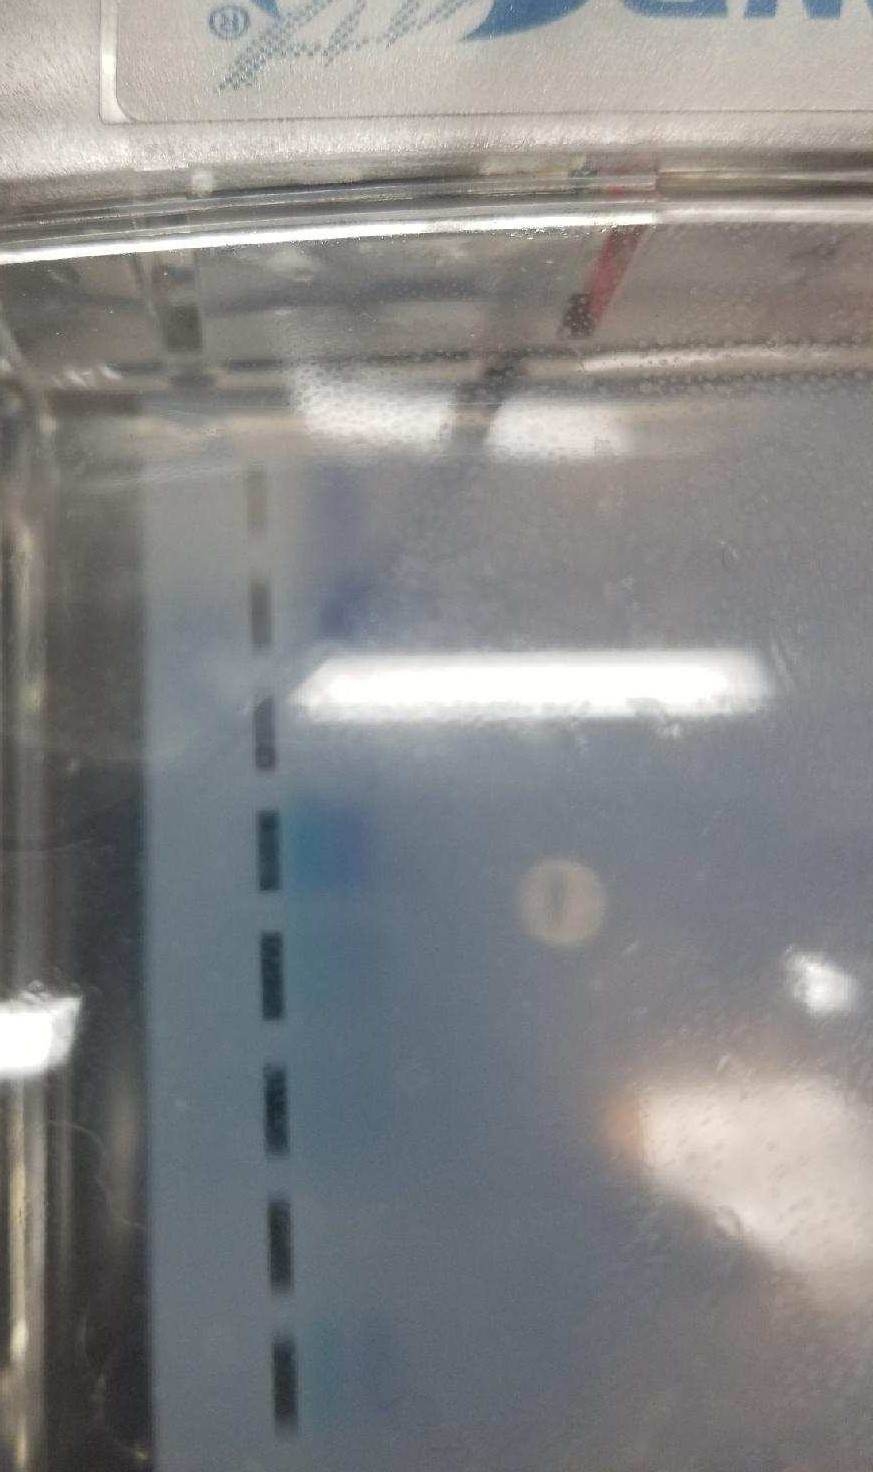
Our gel electrophoresis after 10 minutes
Our wells
- test 1 (D.I. water and loading dye)
- test 2 (D.I. water and loading dye)
- test 2 (D.I. water and loading dye)
- positive control
- negative control
- environmental sample
- empty
- DNA ladder
our agarose gel after gel electrophoresis, and viewed under UV light
After viewing our test under UV light there are no positive results even within the positive control. This means that the problem most likely occurred on a step shared by the environmental DNA and the positive control.
February
23
2/22/18
The first task conduct PCR on our DNA sample and our two controls. The Environmental DNA came from an amalgamation of DNA taken from the best samples after last week’s process. The positive control used DNA taken from a culture of Paramecium cells. The negative control had no DNA added to it.
These are the final compositions of our 3 tubes for the PCR reaction:
| Component | Negative Control | Positive Control | Environmental DNA |
| 2X Master Mix | 12.5 μl | 12.5 μl | 12.5 μl |
| DNA template | 0.0 μl | 5.0 μl | 5.0 μl |
| Primers | 1.0 μl | 1.0 μl | 1.0 μl |
| Water | 11.5 μl | 6.5 μl | 6.5 μl |
| Total volume | 25.0 μl | 25.0 μl | 25.0 μl |
While the PCR reaction was taking place we prepared the agarose gel in preparation for gel electrophoresis. The gel was made by mixing 0.6 g of agarose with 40 mL of TAE in an erlenmeyer flask. The flask was microwaved at 7 power for 1 minute and 20 seconds. Next it was placed in a 55 °C bath for 5 minutes. After the bath, 2 μl of ethidium bromide were added to the solution. The solution was then poured into a gel rack and was left at room temperature to set.
February
16
2/15/2018
This day’s task was to take our samples of isolated cellular material and prepare them for DNA extraction. The first step was to wash the samples sever time in order to remove any non cellar material that may have still been present. After this we extracted the DNA from the cells through a series of denaturing agents, filters, and centrifugations. The exact steps followed are recorded in the images below. Steps 1 and 2 were carried out 3 times before we moved on to step 3. This was to ensure no impurities made it into our final sample.
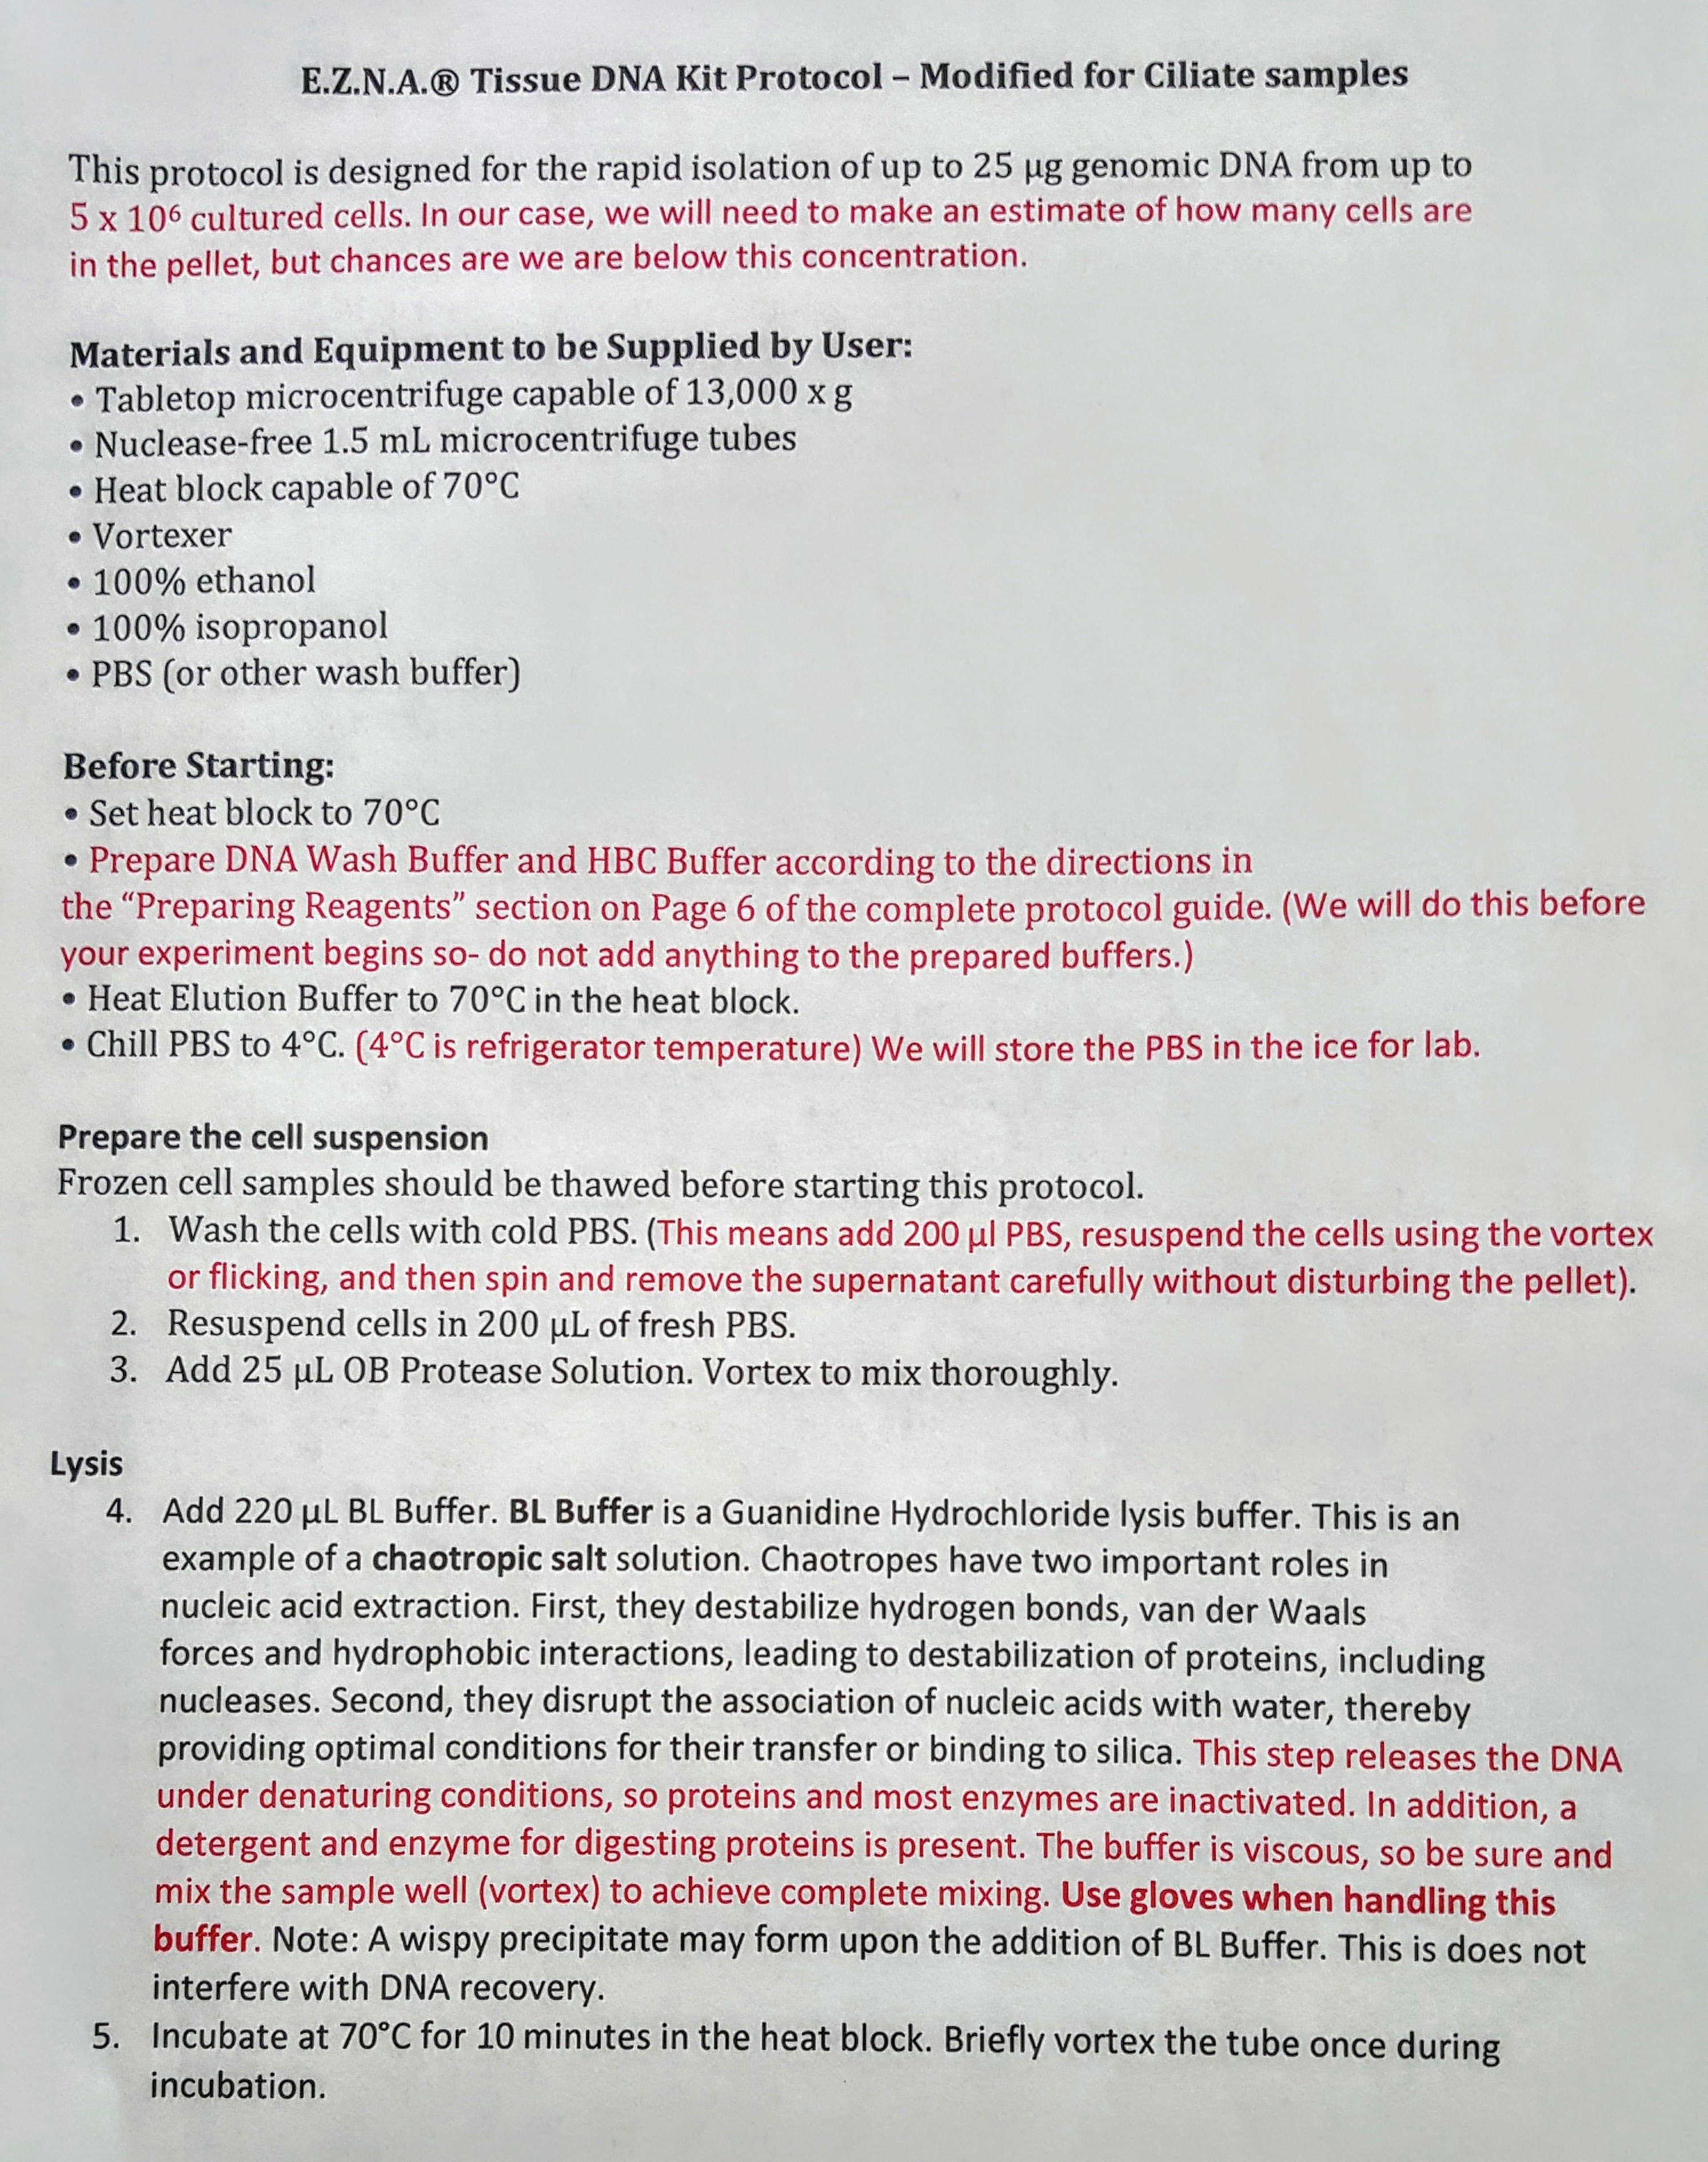
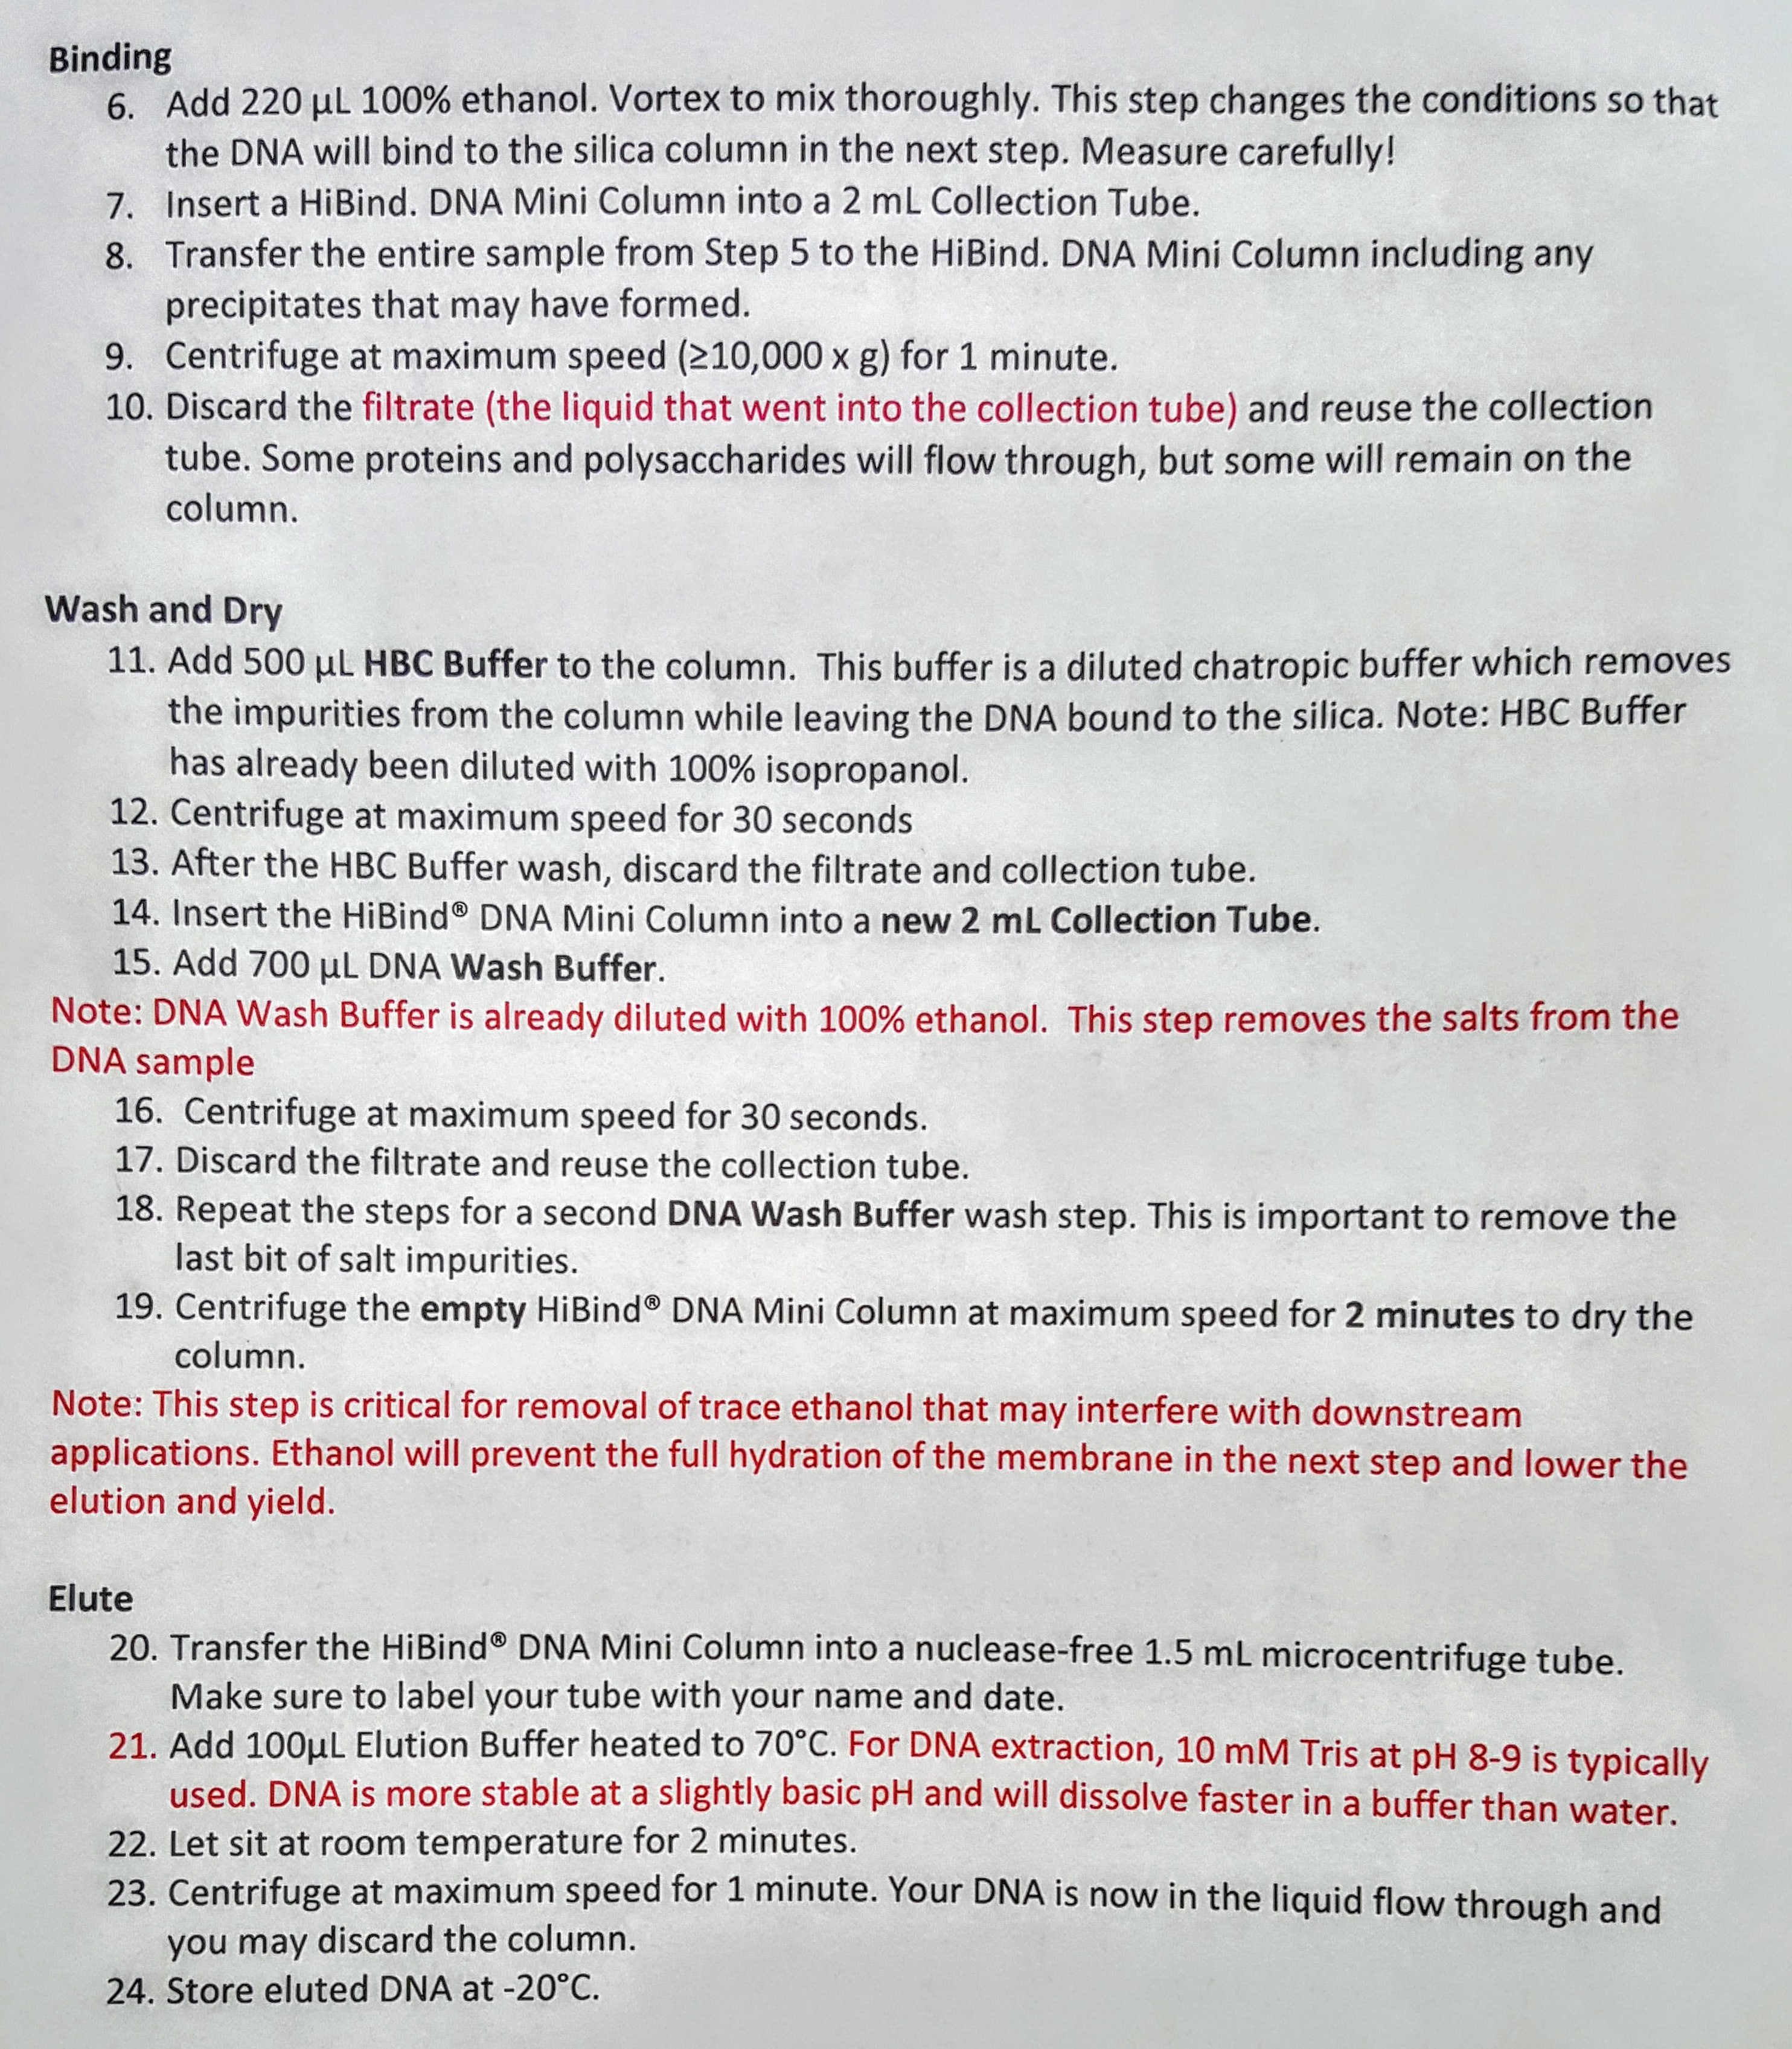
After step 2 we extracted 20 µl from our sample and stained it with 20 µl of iodine. The below images are of 2 µl samples of the iodine stained cells.

From counting the cells in these samples we got an average of 10,000 cells per 200 µl
Now that our DNA has been extracted and isolated, the next step is to complete PCR.