April 13

Lab 13 Gel Electrophoresis 3

Print Friendly, PDF & Email

Lab 13 Gel Electrophoresis and Poster Design 4/12/2018

Purpose

The purpose of this week’s lab was to do our final gel electrophoresis with the Chelex protocol DNA and start designing our poster for the final presentation.

Process

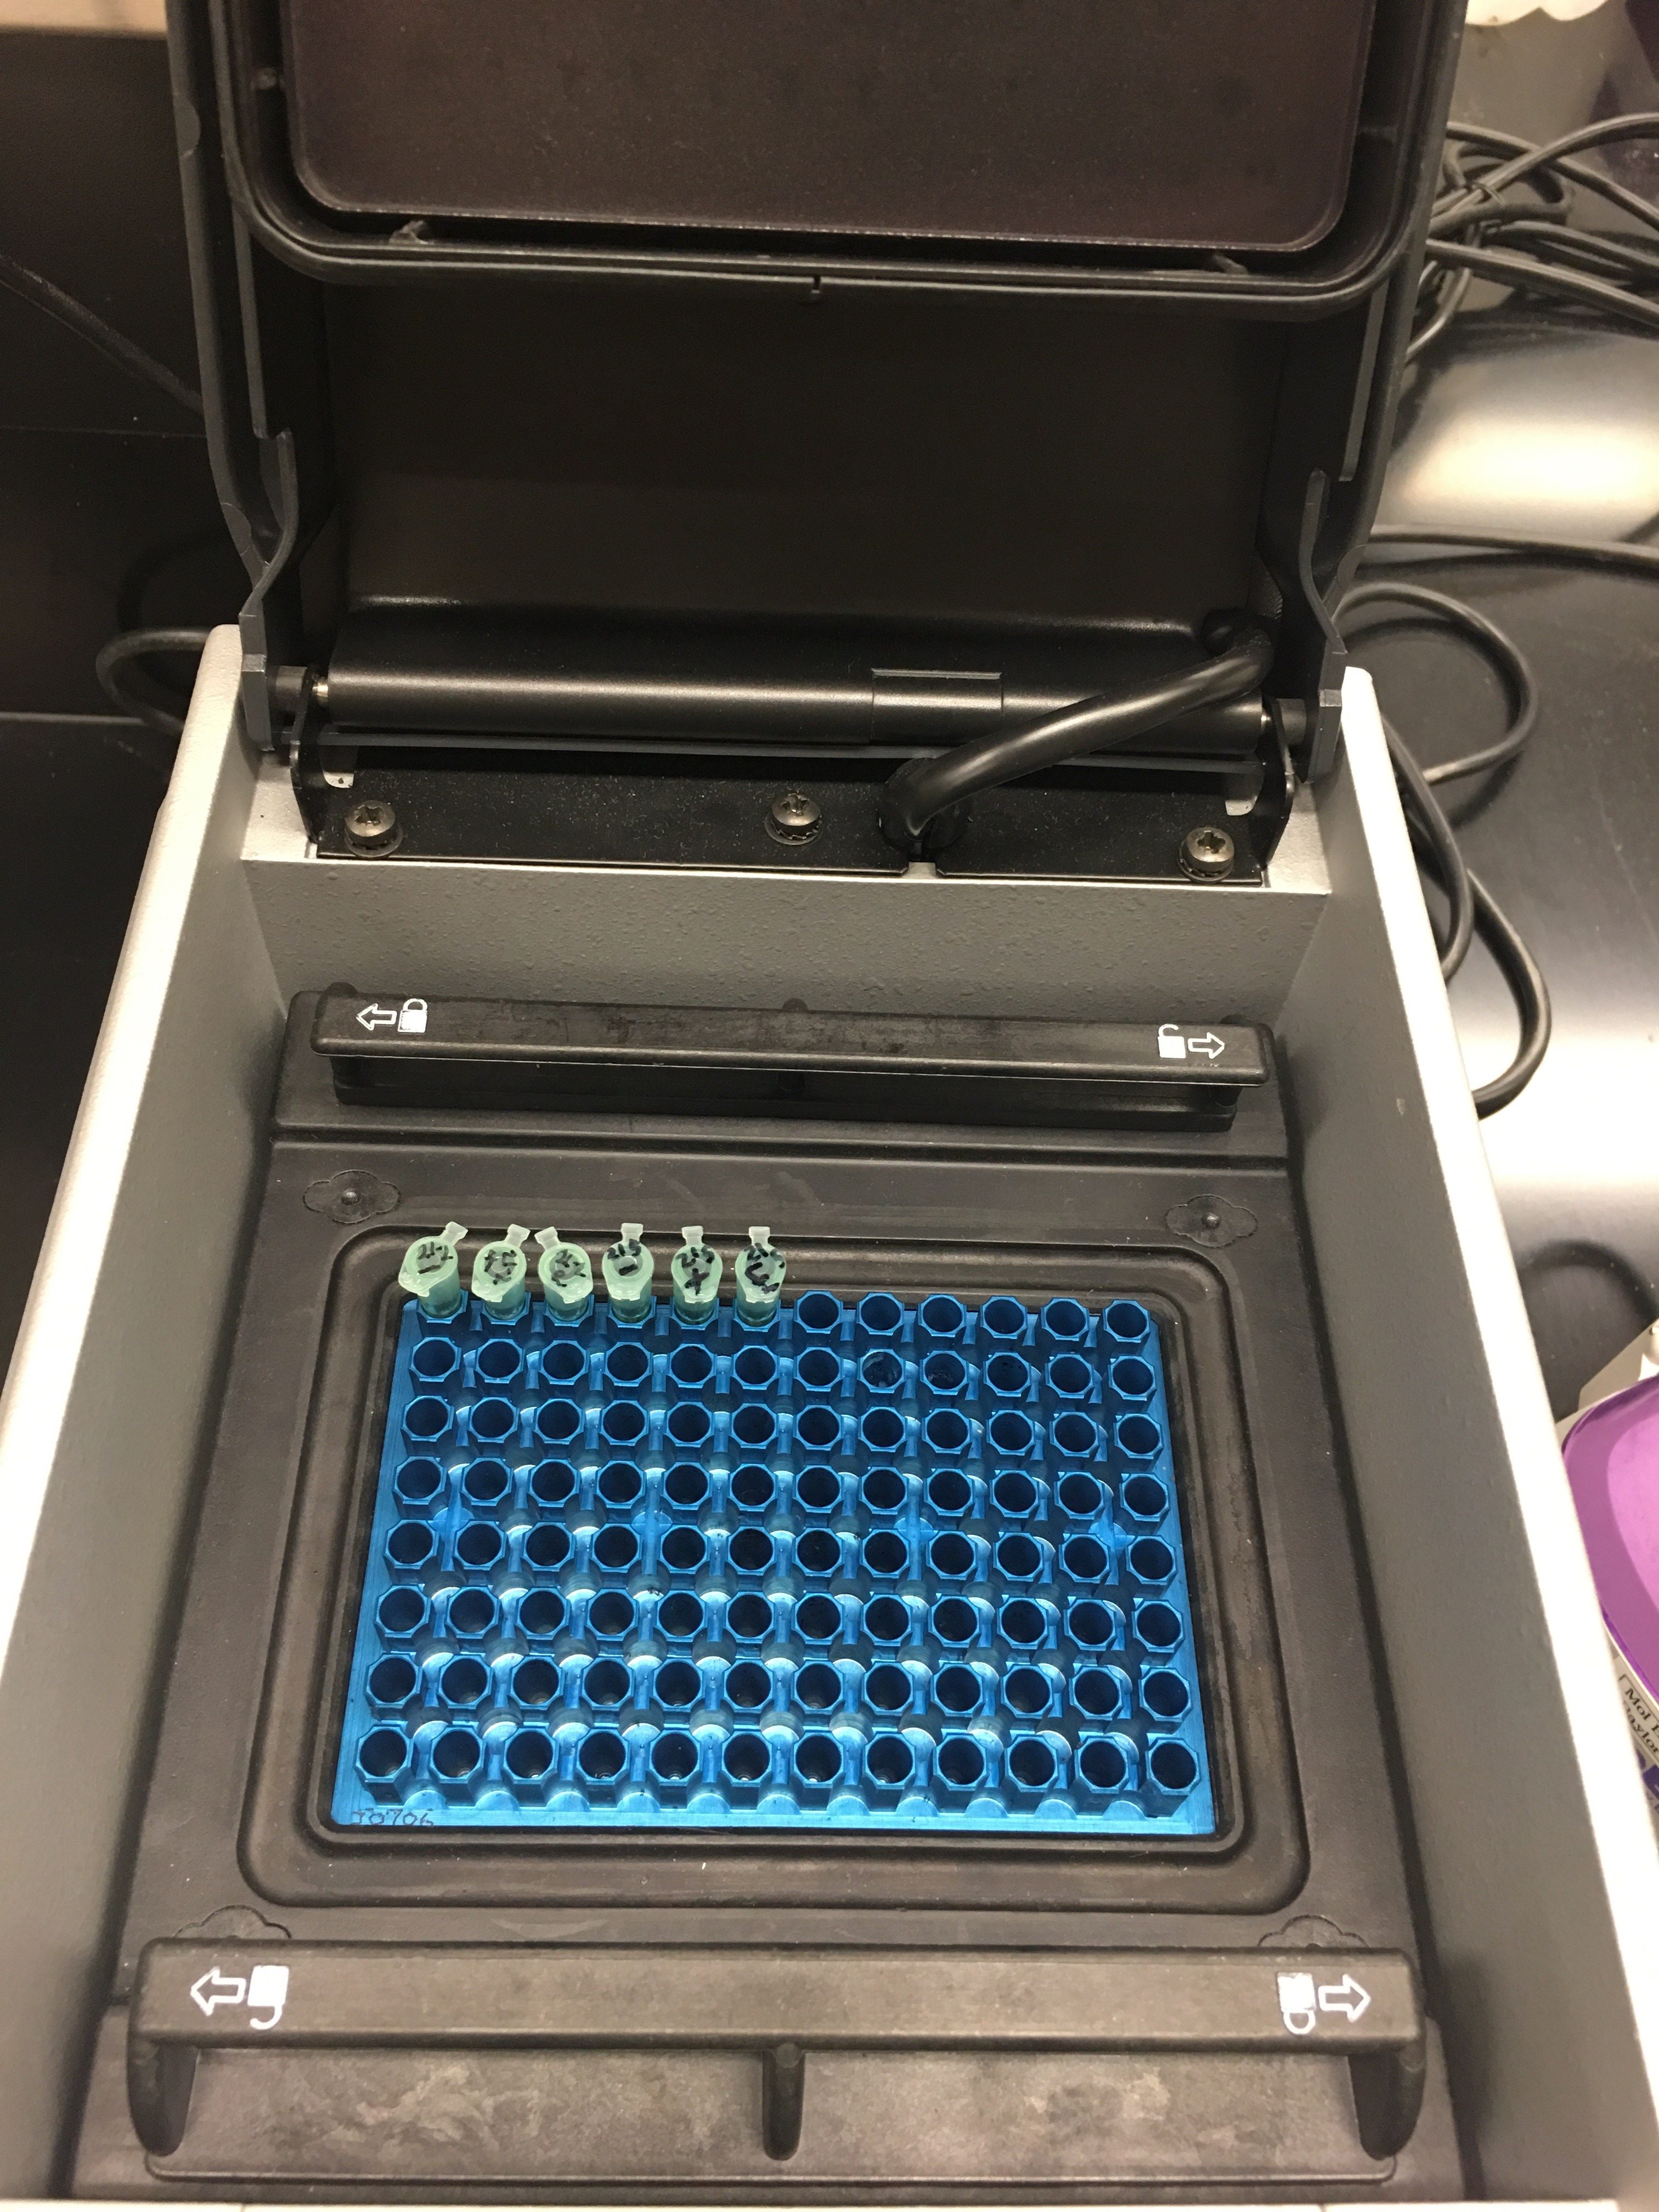
First, we took our DNA, which was premixed with the dyes, and loaded 10 micro-liters of each control and the eDNA into the gel. Because we are only using the V4 primer this time, we shared a gel box with group six. Since we shared a gel with group six, we only used one 5 microliter ladder. Next the gel was run at 100v for 30+ minutes. While these were running, we looked at what would happen to our eDNA if it yielded positive results. Our group then worked on the QTM which included writing 2-3 sentences per section to use in our abstract and choosing a poster design. Our group decided to go with a simple blue poster that, hopefully, we can include things like a flow chart in. We then took our gel upstairs to view it through the Bio-rad imaging machine. There is some sort of problem with our DNA because the eDNA showed bands but the positive control did not show a similar band. Because of this, we should test our DNA over again to see where the problem lies.

(In order Ladder, (G5) negative, positive, eDNA, (g6) negative, positive, eDNA)

Conclusion

Because there is some sort of mistake with our positive DNA, the next logical step would be to retest it and see where the mistake is. But, this might not happen just because the semester is coming to a close. We stored our DNA back in the rack used when they went to the Thermocycler in the top row, spots 4,5,and 6. Before next week, we hope to have the abstract, introduction, methods and materials, and results section done of our poster. Kaitlyn will be working on the abstract, I will work on the introduction, sandi will work on the results, and we all will look over the materials and methods since there is so much to cover.

April 6

Lab 12 Chelex Protocol Round 2

Print Friendly, PDF & Email

Lab 12 Chelex Protocol Round 2, Figures, and Results 4/5/2018

Purpose

The purpose of this lab was to complete a second round of the Chelex protocol after having multiple groups be successful in round one. In the pre-lab, we also made a figure from our results we got last week.

Process and Data

To start, we made a figure with our gel pictures from last week. It needed to include things like the type of ladder, what we used for our controls, etc.

In the actual lab each person did their own Chelex extraction and each group combined their DNA at the end, to nanodrop and then add to the PCR tube. We used group 8 sample from last week as our positive control because their’s worked so well. We used DI water as our negative control, like last time. Our DNA had a concentration of 59.7 ng/μl so we didn’t have to dilute it at all, so we added 1μL of the DNA to the eDNA PCR tube to go into the thermocycler.

Our DNA tube is labelled KSL 21-5 chDNA 4/5/18

Our PCR tubes are labelled 21-5 –     21-5 +        21-5 eDNA    and they are stored in that order in A4-6 in the thermocycler

THe last thing we did was make a new gel to use next week. Since we are only using the V4 primer this time, we are sharing a gel with the other group at our table.

Conclusion

There was a lot to get done this lab, but a lot of time was saved by having the Chelex mixture pre-made, my group was able to get everything done by splitting it and doing parts while our tubes sat in the water bathes. The next step is to put the contents of the PCR tubes into the gels and see if it worked again. It seems like it will because the DNA concentration is similar to group 8 from last week, according to the nanodrop. If all goes well, hopefully we’ll be able to send this batch off to be analyzed. Fingers crossed!

March 30

Lab 11 Gel Electrophoresis Part 2

Print Friendly, PDF & Email

Purpose

The purpose of this lab was to use the gel molds we made last week to test the DNA from our sample.

Process

We ended up having to us the gels from the other class because four of the gels from our lab froze. After we received a gel that was not frozen, we grabbed our samples that had undergone elongation and we pipetted them into the mold. They were already mixed with the loading dye, so all we had to do was measure out 5 uL of the ladder and 10 uL of everything else. Once they were all loaded, we ran the machine at 95v for 30+ minutes and listened to a presentation about what was going to be done to sequence our DNA. Then we were able to head upstairs with Dr. Adair to see if our samples were sucessful. And they were! Our eDNA showed similar patterns to the positive controls of each group, and our negative controls did not show up.

Data

from left to right it’s

Ladder, -, +, eDNA, break, -, +, eDNA

Conclusion

This is so exciting! I’m glad that after a few different protocols we were able to find that worked. I was worried that like the last one, it was going to show promise in the nanodrop and then come up empty.We have stored our samples back in the rack with the tops labelled 1-6 and the sides labelled LSK. The next step will be to send our DNA that registered on the gel to a lab where they will sequence it and send it back to us.

March 23

Lab 10 Powersoil and Chelex PCR

Print Friendly, PDF & Email

Lab 10 Powersoil and Chelex PCR and Agarose gel molds 3/22/2018

Purpose

The purpose of today’s lab was to mix 6 tubes with primers with either the Powersoil or Chelex DNA. Since group 5 did the Powersoil DNA extraction last week, we also did the PCR with the Powersoil DNA.

Process/Data

The first step was to determine the amount of water, DNA, Master mix, and primer we needed to put in. For the Cox1 primer the measurements were as follows

Master mix (for all) 12.5 microliters

Cox1 primer (for all) .63 microliters

Negative control- DNA 0 microliters & water 11.87 microliters

Positive control & eDNA – DNA 1 microliter & 10.87 microliters of water

In the positive control there is a tested paramecium DNA and in the eDNA there is the DNA we extracted last week. The measurements for the V4 primers are as follows

Master mix (for all) 12.5 microliters

V4 primer (for all) .63 microliters

Negative control- DNA 0 microliters & water 11.87 microliters

Positive control & eDNA – DNA 1 microliter & 10.87 microliters of water

After we mixed these together we labeled the tubes 1-6 with the COx1 tubes 1 (-), 2 (+), and 3 (eDNA)  and the V4 tubes 4 (-), 5 (+), 6 (eDNA).  and put them in row C to start the denaturing/copying process. After this, we mixed a 1:9 solution of TAE 10x and water to make a 1x TAE mixture. Then we took 35 mL of this mixture and .6 g of agarose and microwaved it to create our agarose gel mold.

One of the last things we did was fill out a chart that proved we knew how the extraction process for both methods worked.

Conclusion

I think the best part of this experiment was that we got to try two different primers this time. Our DNA sample showed promise so I hope, combining them with these two primers will yield some promising results. The next step will be to denature and elongate the DNA so that we can inject it into our agarose gel and see the results.

Our tubes are in row C, the last 6 spots labelled 1-6 (on the paper 1-6 KSL)

March 16

Lab 9 New Protocol

Print Friendly, PDF & Email

Lab 9 3/15/2018  PowerSoil and Chelex Protocols

Purpose

The purpose of this lab was to try out two new DNA extraction protocols used in the scientific literature we have been reviewing. In our lab, four Chelex and four Powersoil protocols were done.

Process

In our lab, each table did one Chelex and one Powersoil protocol. My group was tasked with completing the PowerSoil protocol. The PowerSoil protocol looked roughly like this

  1. Add .3g of soil to the PowerSoil bead tube and vortex briefly
  2. Shake on the vortex machine for 10 minutes then centrifuge for 30 seconds
  3. Remove and work with the supernatant
  4. Add 250 microliters of C2, vortex for 5 seconds, incubate for 5 minutes at 4C, and centrifuge for 1 minute
  5. Remove and work with the supernatant
  6. Add 200 microliters of C3, vortex for 5 seconds, incubate for 5 minutes at 4C, and centrifuge for 1 minute
  7. Transfer up to 750 microliters of Supernatant
  8. Add 1.2 mL of C4 to the solution and vortex for 5 seconds
  9. Centrifuge 675 microliters of the solution (3x) for a minute in a spin filter
  10. Discard the run through each time
  11. Add 500 microliters of C5 and centrifuge for 30 seconds
  12. Discard the flow through and centrifuge for one minute to pull off extra
  13. Carefully place the spin filter in a new tube and add 100 microliters of C6 to pull DNA from the spin filter
  14. Discard the spin filter and  store the sample in the freezer

The Chelex Protocol looked roughly like this

  1. Transfer 300-500 microliters of dense ciliate culture to a microcentrifuge tube
  2. Centrifuge at 6000 gs for 5 minutes
  3. Weigh .5 g of Chelex and transfer to a 15 mL tube
  4. Add 10 mL of DI water
  5. add 200 microliters of .5% Chelex and vortex for 1 minute
  6. Incubate for 30 minutes in 56C water bath
  7. Boil for 8 minutes at 100C
  8. Vortex for one minute
  9. Centrifuge at 16000 g for 3 minutes
  10. Transfer supernatant to clean tube and label

Each Chelex group did their own positive control and the positive control for the PowerSoil groups was done by group 7

Data

I didn’t take any pictures, but we did have a thick layer of pelleted debris in the first step of the PowerSoil process and we continued to have pellets until after the step where we added C3. We did mess up and started the process on the pellet for a few steps, but we realized our mistake and quickly went back to work with the supernatant instead.

Conclusion

This already looked like it’s going to produce better results than the Ludox protocol. The DNA we extracted is very clean and the process seemed much more thorough. Hopefully, the mistake we made didn’t influence the amount of the DNA we were able to extract. Since our supernatant was keep by itself, I don’t think it will. Next we will complete the PCR process and replicate the DNA we extracted.

Our sample is stored in the freezer labelled on the top and side

Top: PS #5

Side: KSL #5

March 2

Lab 8 Gel Electrophoresis and Introductions

Print Friendly, PDF & Email

Lab 8 Gel Electrophoresis and Introductions 3/1/2018

Purpose

The purpose of this lab was to finish conducting gel electrophoresis and edit the introductions we completed during the pre-lab. This lab/ pre-lab also had us examine another protocol to try for DNA extraction. The results of gel electrophoresis will determine if we switch protocols.

Process

We started the lab by reviewing the protocol and doing a few calculations to make the correct amount of buffer to pour over our molds. After we had practiced the calculations enough, we did the final calculation and found out that we needed 270 mL of water to 30 mL of the buffer to make the solution that would go over our gel. We also found out that we needed 5 uL of dye to 25 uL of DNA to get the proper ratio to load into the gel. After we found that out we practiced loading the samples into the gel. Our group had three testers, a ladder, our DNA, a positive test, and a negative test set up in the eight wells like this.

P1     L     DNA      +      –      N/A     P2      P3

To set these up we got our samples from spots B1 B2 and B3 and mixed them with the dye and pippetted them into the gel. We then set aside the gel to go through the Electrophoresis process. After this, we traded introductions and graded them based on the rubric on the back of our QTM.

Data

As you can see, our sample did not show any DNA whatsoever. This means we will need to start from the beginning and try the new extraction protocol Dr. Adair found.

Conclusion

Somewhere along the way we lost the DNA from the ciliates we thought were in our soil. As stated above, the next step will be to start over completely. We will need to evaluate the new protocol and determine if it will extract the DNA like we expect. The problem with our results is that even the positive test didn’t show up on the gel. I’m not sure if that means we screwed up during the gel process or before.

February 23

Lab 7 PCR and Gel Electrohporesis

Print Friendly, PDF & Email

Lab 7 PCR Protocol and Gel Electrophoresis 2/22/2018

Purpose

The purpose of this lab was to amplify our DNA through the PCR process by denaturing, annealing, and elongating our  samples. After that we started the process of gel electrophoresis by making our mold for next week.

Process

Since the DNA extraction protocol was finished by our TAs (THANK YOU) we started right on the PCR protocol after reviewing the basic steps of what it does. We figured out the amount of DNA, primer, and water we would need in each tube and then mixed all of them. The primers consisted of a forward and reverse primer from the COX1 gene. After all these components were added into the negative control, positive control, and DNA tube we handed them off to be denatured. Group 5s tubes are in B1,2, and 3. The chart of our values is shown in the data section below. After this, We mixed 40 mL of fluid with .6g of agarose gel to make a 1.5% concentration mixture of gel for our electrophoresis mold. We microwaved the mixture, placed it in a water bath, and poured the slightly cooled mixture into the tubes. Our tray has a slight dip in the middle that could possible be a problem when we do the electrophoresis.

Data

note the dip toward the back of the gel plate

Conclusion

This lab was one of my favorites so far. I’m excited to see the results of the PCR process. Hopefully, there won’t be a problem with it because we didn’t get the results we wanted from the Nanodrop. We will be able to tell if it effected it by comparing it to our Paramecium positive control. Next we will unfreeze our DNA and start the electrophoresis phase. Group 5’s tray is stored in the fridge with the others labelled “LSKG5”

February 16

Lab 6 DNA Extraction

Print Friendly, PDF & Email

Lab 6 DNA Extraction 02/15/2018

Purpose

The purpose of this lab was to test the DNA Extraction protocol and see if it would need to be redone or if we could collect enough DNA from this last round of the Ludox protocol.’

Process

We started on one of the last steps of the Ludox protocol that we had yet to finish. We were suppose to pull off the layer of supernatant after pelleting our cells, but our cells did not pellet after we centrifuged them. So, we had to try and remove as much of the supernatant as we could and filled the tube the rest of the way with PBS. We then centrifuged the tube again, and did it a total of two more times after that before it finally formed a pellet. After that we were viewed our cell layer underneath the microscope and counted an average of 35 cells per 2 micro-liter drop (which was made from  a 1:1 ratio with 10 micro-liters of iodine and cells) We were then able to start the DNA extraction protocol and we got all the way up to the binding step before time ran out. So far, it looks like our cell pellet has responded well to the steps in the protocol and the mess up did not effect it.

Data

Conclusion

This lab gave us an opportunity to fix the problem created last lab. It was suggested that maybe some Ludox snuck its way into our cell layer and that stopped the cells from pelleting. Luckily, we were able to salvage our samples and get on our way with extracting the DNA. This lab was awesome because we finally got to try out the protocol we have been reading about for a few weeks. The one big issue was our mishap with pelleting and that could come back and pose problems for us as we finish up the extracting protocol.

We stopped on step 7 of the binding section. Our sample is labelled “LKS G #5” and is stored in the rack with our DNA Extraction protocol material


February 9

Lab 5 DNA Extraction and PCR part 2

Print Friendly, PDF & Email

Lab 5 – DNA Extraction and PCR part 2 2/8/2018

Purpose

The purpose of this prelab/lab was to put together a new, revised Ludox protocol to use on our third round of cell separating. Also, to determine if anything else in the protocol needed to be edited or if we could run with this one.

Procedure

The first step was to practice using the serological pipette and p1000/p10 to pipette small amounts of liquid. We tested the accuracy of this by weighing the liquid each time. After that, we walked through the changes made to the Ludox protocol which consisted of…

  • adding more water to the soil (in the beginning) for a thinner mixture
  • sifting the dirt to filter out any large, unwanted particles
  • adding the more soil to a large sample of Ludox to obtain a 3:1 ratio
  • adding a different percentage of gluteraldehyde (15% error from what we wanted, meant to be 320 micro-liters put in 368 microliters)
  • centrifuged at a lower speed for a longer time

Then we went to work, carrying out trial 3 of the Ludox protocol. We were able to go up until the point where it would be pelleted.

Data

Our Ludox/soil mixture originally weighed 40.5g but we had to add water to make it 41.1g

These are pictures of the stages of the Ludox protocol, we ended up with 4mL worth of cells from our cell layer.


Conclusion

This lab was useful because it helped solidify our Ludox protocol to something that could be reproduced quickly. It was efficient and, so far, it seems to have gotten the job done. This was an improvement from our previous plan. The next step will be to take our samples, spin them, and separate the pellets for DNA copying and extraction, using the PCR process. One possible error could have been the extra percentage of gluteraldehyde we added to the Ludox mixture. I am unsure how it will, or if it will, effect the pelleting of the cell.

Where they are stored – Kaitlyn, Sandi, and I’s Ludox tube is stored in the racks, labelled “Group #5, Kaitlyn, Sandi, Lindsay” and our tubes full of the cell layer from our Ludox mixture are stored in the green rack labelled “Group #5 LSK”


February 2

Lab 4 Ludox Centrifugation Protocol Fix

Print Friendly, PDF & Email

Lab 4: 2/1/2018 DNA Extraction

Purpose

Examine the protocol used for the Ludox extraction method last lab and edit it to help yield a more accurate result. Then, put the edited protocol to the test,  and create a positive control to compare the results to.

Procedure

We started by working on our “questions that matter” that asked how we thought we could improved the Ludox protocol. Then we worked through what we wrote down, as a class. After that we wrote down a new, more organized protocol  to test the accuracy of the Ludox protocol.  Here is that protocol and the control experiment…

After that, we started the protocol up until the point where it needed to undergo centrifugation the first time. Our conical tube weighed 20.8 g after adding the glutaraldehyde, dirt, and water.

Conclusion

This experiment helped us think up a solution to the problem of inconsistency throughout the first Ludox protocol. By working together we were able to put together a solid protocol and positive control group to test the accuracy of the DNA extraction. If this protocol works the future steps will be to remove the layer of cells, extract the DNA, and sequence it. If it does not work, we will need to brainstorm a new protocol and test the consistency of that one. Our centrifuge tube is stored in the the yellow rack labelled ” G #5″ waiting for us to extract the cell layer.