April 20

Poster Workshop

Print Friendly, PDF & Email

4/19/18


Purpose: The purpose of today’s lab was to spend time working with our groups to get as much of our posters done as possible.


Procedure:

  1. Work on poster with group and get feedback from Dr. Adair, Michael, and Hope.


Results:

Above is a screenshot of the poster my group and I are in the process of creating.

Conclusion:

My group and I got a lot done during our time together. We used the feedback provided to us by Hope to fix our abstract and we were able to make our introduction better as well. We started to create flow charts for our methods but ran out of time, so we plan to meet outside of lab to get more done.


Future steps:

At this point, my group and I have decided to submit our poster by Monday so we can present as the symposium. Our next steps are to just meet outside of lab and get our posters done on time.

April 13

Lab #13 Gel Electrophoresis and Poster Designing

Print Friendly, PDF & Email

4/12/18

Purpose: The purpose of today’s lab was to put our PCR products in the agarose gels we made last week and perform gel electrophoresis on them. After we ran our gels, we took them upstairs to observe them under UV light. Lastly, we began brainstorming and designing layouts for our posters.

Procedure:

A. Gel Electrophoresis

  1. Obtain the gel made last time we met for lab. (For clarification, last week we created a a 1.8% agarose gel).
  2. Pour the 1xTAE solution in the box and just barely over the gel.
  3. Obtain the tubes with the PCR products from last week from the front of the classroom. (My group: 21-3 +, 21-3 -, 21-3 e; table group: 21-4 +, 21-4 -, 21-4 e).
  4. Pipette 10 uL of each solution into the wells of the gel.
  5. Obtain a ladder and pipette 5 uL of it into a well.
  6. Cover the box and ensure all wires are where they are supposed to be.
  7. Run gel electrophoresis for atleast 30 minutes at 100 volts.
  8. When done, send a group member upstairs with Dr. Adair to view the gels under UV light.

B. Poster Designing

  1. As a group complete the QTMs and discuss the following for your poster:
    • Title
    • Abstract
    • Introduction
    • Methods
    • Results
    • Acknowledgements/bibliography

Results:

The samples were placed in the gel in the following order (right to left): ladder, empty space, 21-4e, 21-4 +, 21-4 -, 21-3 e, 21-3 +, 21-3-.

My table group and I were very pleased with our results! We both had bands in our + DNA control and our eDNA. Our table group probably had the best results as their bands were bright and roughly 450 BP.

Conclusion: Todays lab was fairly easy and relaxed. Yay for seeing bands in our +DNA and eDNA!! Hopefully we have enough time to proceed with Illumina sequencing! If not, this lab has been so much fun and has really helped me develop a growth mindset, an attribute that will be helpful in further research participation.

Future Steps: If time permits, the next step would be to send our PCR products to Illumina to metabarcode our DNA. After, our next steps would be to make our posters and present them at the symposium.

Storage: The 6  PCR product tubes labeled 21-3 +, 21-3 -, 21-3 e, 21-4 +, 21-4 -, 21-4 e were placed back in the box in the front of the classroom. Our gel was placed back in the carrier box after observing it under UV light.

April 6

Lab 12: Chelex Protocol with Non-flooded Plates

Print Friendly, PDF & Email

4-5-2018

Purpose: The purpose of today’s lab was for us to extract water from a non-flooded plate and proceed with the addition of Chelex to purify our DNA. Todays protocol was a combination previous protocols we have tried in the past and what seemed to have worked best and yield the highest DNA concentrations.

Dna Extraction Procedure:

  1.    Label each tube with initials and the section number and group number. (AMT 21-3)
  2.   Extract 1.5 ml of the liquid from the non-flooded plate into a tube. Each member of the group should do this to result in a total of 3 tubes.
  3. Spin all 3 tubes at 6000X g for 5 minutes and remove the supernatant.
  4.   Repeat steps 2 and 3 once again.
  5.   Create the Chelex solution by adding 0.5g of chelex in a 15 mL conical tube and add 10 mL of DI water. (this was already done for us).
  6.   Pipette 200 uL of Chelex into each of the 3 tubes and vortex at the table for 1 minute.
  7.   Pipette 15 uL of proteinase K into each of the 3 tubes.
  8.   Place the three tubes on a heat block for 8 minutes at 56 degrees C.
  9. Vortex at the table for 1 minute.
  10.   Centrifuge at 16000Xg for 3 minutes.
  11. Transfer uL from each of the tubes of supernatant into a clean microcentrifuge tube to result in a total of 3oo uL of supernatant pooled togetger in one tube.
  12.  Label this tube with the group initals -section and group number on the top with a sticker and on the side place the date. (LAK 21-3, 4/5/18).
  13. Pipette 1 uL of this solution into a fourth tube and one labeled with the date (4/5/18)  the experiment was performed on the side on a nanodrop and find the concentration.
  14. If results are yielded within 1 ng/uL then proceed to place 1 uL of the solution into the PCR e tube to go through PCR reaction.

Agarose gel Procedure:

  1. Weigh out 0.6 g of agarose gel powder.
  2. Place the 0.6 grams of powder in a small flask and place 40 ml of 1X TAE solution
  3. Cover with a weighing paper and place the loose-fitting cap on top, while swirling gently.
  4. Heat in a microwave for a few minutes until the presence of bubbles appears.
  5. Place the flask in a hot water bath to cool the flask down for 5-6 minutes.
  6. Pipette 2 uL of ethidium bromide to the solution and swirl gently.
  7. Appropriately set up the gel electrophoresis box.
  8. Place the comb in with its back towards the nearest edge
  9. Pour in the agarose solution, careful to avoid bubbles.
  10. Allow it to solidify for 20-30 minutes place the comb in with tits back towards the nearest edge

Results:

The results of our nanodrop was 85.5 ng/uL. With Dr. Adairs help, we understood that this was acceptable to be used in the PCR reaction for our experiment. We then micropipetted 1 uL of this solution and placed it into the ePCR tube.

Conclusion:  Lab today was busy for my group and it felt so long. My group and I felt as though we had done something wrong, but were glad to find that our DNA concentration was an acceptable value. For most of the trials we’ve ran, our DNA concentration has been significantly lower than everyone else’s. It was a bit discouraging, but it’s always a relief when things go as planned!

Future studies: Next lab we will proceed to run gel electrophoresis on our PCR products and view our results under UV light. I am anxious to see the results yielded in our gel! I think Lillian, Katelyn, and I have become better at micropipetting and making sure our area is clean. I firmly believe this has helped us get better results.

Storage: Our three small tubes labeled 21-3 +, 21-3 -, and 21-3 e were thrown away, as they were no longer needed.  Our PCR tubes were placed in the thermocycler to undergo the PCR reaction for our experiment. The three tubes were placed on the second row under the numbers  10-12. The tube with uL of solution, labeled LAK 21-3, 4-5-18, was given to Michael to be saved for future labs.

March 23

Lab 10: PCR & Agarose Gel trial 2

Print Friendly, PDF & Email

3/22/18

Purpose: The purpose of today’s lab was to continue with the protocol we did last week for DNA extraction and take on the next step in research: PCR. We used the V4 and COX 1 primers to prep our PCR so next week we can perform gel electrophoresis.

Procedure:

A. PCR

  1. Use the table in the QTM worksheet to determine how much DNA template, 2X master mix, COX1 primers, and water is needed for our negative control (-), positive control (+), and environmental DNA (e).
  2. Obtain 6 microcentrifuge tubes with mastermix from Dr. Adair.
  3. Label each tubes with their appropriate label: 1+ LAK, 2- LAK, 3e LAK, 4+ LAK, 5- LAK, 6e LAK.
  4. Add the appropriate, calculated amounts of template, master mix, primers, and water to each microcentrifuge tube.

B. Agarose set-up

  1. Weigh out .6 g of agarose on a weigh paper and place it into a flask.
  2. Add 35 ml 1xTAE to the flask.( Our TAE was made by adding 90 mL of DI water to 10 mL of 1X in a flask while swirling.)
  3. Cover the flask with the weighing paper and loosely place a cap on it.
  4. Heat solution in the microwave for 2 minutes at power 7 until the solution is clear.
  5. Allow the solution to cool.
  6. Have Dr. Adair add 2 ul ethidium bromide and swirl.
  7. Assemble the electrophoresis box.
  8. Pour agarose smoothly into prepared mold to avoid creating bubbles.
  9. Allow agarose to sit and harden.


Data:

Above is our 6 labeled microcentrifuge tubes.

These are the 5 tubes we obtained from Dr. Adair. It contains our control and study, the primers, and water.

Above is a picture of the .6 Agarose we weighted out and the solution immediately after we swirled it together.

This is our electrophoresis box assembled with my groups identification label on it.

Future Studies: The next step after today’s lab would be to run PCR and then proceed to performing gel electrophoresis. Fingers crossed that we did everything right today and our PCR is successful so we can come back next week and perform gel electrophoresis and study our gel under the light to see if we have a matching genetic barcode.


Conclusion: It’s so cool to look back on this semester and see how far we’ve come along and how much we’ve learned. Learning diligence isn’t something I thought I’d learn in bio lab, but it’s actually one of the most important things I have learned. I’m glad our numbers showed that we did have DNA. I think it was super comforting for my group since the last time we got our numbers back from the nanodrop, our DNA concentration was almost 0. I’m excited to continue with our protocol and hopefully write a paper about its success.


Storage: All of our tubes were stored in the blue tube rack along with the rest of the class`s tubes; ours specifically had LAK on the top of them. Our agarose gel, labeled LAK 21, was on our table until the next lab came in and after it will be stored in a freezer.

March 16

Lab 9: Chelex and PowerSoil

Print Friendly, PDF & Email

Purpose:

The purpose of this lab was to give our experiment another go and try a new method for extracting DNA. We used two different methods today, Chelex and Powersoil. Comparing the two methods: Chelex involved using a non-flooded plate while the PowerSoil used dry soil. using two different methods. The Chelex method uses a soil sample from a non-flooded plate and the PowerSoil method uses dry soil.

Procedure:

Chelex (done by my group):

  1. Transfer 400 uL of ciliate culture to a microcentrifuge tube and label the tube (LAK 21, star).
  2. Centrifuge for 5 minutes at 6000xg.
  3. Remove all liquid without disturbing the pellet.
  4. Add another 400 uL of ciliate culture to the microcentrifuge tube.
  5. Centrifuge for 5 minutes at 6000xg.
  6. Repeat steps 3-5 one more time for a total of 3 times.
  7. Add 200 uL 5% Chelex to pellet, and vortex for 1 minute.
  8. Add 15 uL of proteinase K, located in the front of the classroom with a green lid.
  9. Incubate for 15 minutes at 56 degrees Celsius.
  10. Boil for 8 minutes at 100 degrees Celsius and vortex for 1 minute.
  11. Centrifuge at 16000 xg for 3 minutes.
  12. Transfer supernatant to a clean microcentrifuge tube and label the tube (LAK 21, star).
  13. Repeat using a cultured Paramecium sample- this will serve as our positive control sample.

PowerSoil (done by the other group at our table):

  1. Add 0.3 g of soil sample to the the PowerBead Tubes and vortex the sample.
  2. Check to see if the Solution C1 is precipitated– if not heat the solution to 60°C until it is dissolved.
  3. Add 60 uL of Solution C1 and vortex for a short period of time
  4. Use the MOBIO Vortex Adapter to secure the power bead tubes and vortex at maximum speed for 10 minutes.
  5. Centrifuge the tubes at 10,000 xg for 30 seconds.
  6. Remove the supernatant and place it in a clean 2ml collection tube
  7. Add 250 uL of Solution C2 and vortex for 5 seconds.
  8. Incubate at 4°C for 5 minutes
  9. Centrifuge the tubes at room temperature for 1 minute at 10,000 xg
  10. Transfer 600 uL of supernatant into a clean 2 ml collection tube
  11. Add 200 uL of Solution C3 and vortex briefly.
  12. Incubate at 4°C for 5 minutes.
  13. Centrifuge the tubes at room temperature for 1 minute at 10,000 xg
  14. Transfer up to 750 uL of supernatant into a clean 2 ml collection tube
  15. Shake Solution C4 to mix before use, add 1200 uL of Solution C4 to the supernatant, and vortex for 5 seconds
  16. Place 675 uL onto a Spin Filter and centrifuge at 10,000 xg for 1 minute
  17. Discard the liquid that had flowed through and add an additional 675 uL of supernatant to the Spin Filter and centrifuge at 10,000 xg for 1 minute.
  18. Place the remaining supernatant onto the Spin Filter and centrifuge at 10,000 xg for 1 minute.
  19. Add 500 uL of Solution C5 and centrifuge at room temperature for 30 seconds at 10,000 xg
  20. Discard the liquid that had flowed through and centrifuge again at room temperature for 1 minute at 10,000 xg
  21. Place a Spin Filter into a clean 2mL collection tube
  22. Add 100 μl of Solution C6 to the center of the white filter membrane and centrifuge at room temperature for 30 seconds at 10,000 x g
  23. Discard the Spin Filter and store DNA as necessary.

Data:

We weren’t able to see our results since we ran out of time, but these are some pictures from lab. 

This was our paramecium control after we centrifugated it three times.

Pictured above is our 5% Chelex solution. Before we placed it in our sample, we would shake it since the crystals would settle at the bottom of our conical tube.

This was our soil sample after we centrifugated it three times.


Storage:

Our samples all contained the initials LAK 21. However, our paramecium control is labeled LAK C-21, our supernatant microcentrifuge tube is labeled LAK-S and lastly, the control supernatant microcentrifuge tube is labeled LAK C-S.

Conclusion:

Today’s lab felt different. Usually I feel like my group goes fast and finishes quickly but today we were so slow. I like how we split up the work and really got to tackle on a new protocol and figure things out by ourselves. I hope these new protocols yield better results! It feels awesome to continuously think about what we could do differently to improve our protocol. Hopefully this one is finally it!

Future Steps:

Our next step would be to perform PCR to amplify DNA. Then hopefully gel electrophoresis.

March 2

Lab 8: Gel Electrophoresis

Print Friendly, PDF & Email

3/1/17

Purpose:

The purpose of today’s lab was to run our PCR products through gel electrophoresis. We also did some peer review on each others introductions and were able to get some good feedback to aid us in writing the perfect introduction.

Procedure:

  1. Make a TAK solution by adding 270 mL of water to 30 mL 0f buffer.
  2. Proceed to remove the rubber off the sides of gel and place the gel in the tank. (its important to place the slits closer to the negative side since DNA travels towards the positive.
  3. Place the TAK solution made in step 1 on both sides of the tank, while also placing some over the gel.
  4. Add in 5 uL of loading dye to 25 uL of buffer to practice loading the wells.
  5. After practicing, retrieve your positive, negative, study and ladder from Dr. Adair. 
  6. Add 5 uL of ladder and 10 uL of positive, negative, and study to the wells of your choice. Its important to keep a chart of what you placed in each well.  (for us practice, practice, practice, practice, positive, negative, study, ladder)
  7. Ensure the cords match (positive: red, negative: black) and place the lid on the tank and power at 110 volts.
  8. Watch for bubbles to ensure the electrophoresis is running correctly and let it run for 30 minutes. 
  9. After 30 minutes, remove the gel and dispose of the buffer.
  10. Place the gel under UV light to take a picture of DNA that was separated.
  11. While waiting on Dr. Adair to get the picture, work with group to critique each others introduction and collaborate on how to make them better.

Results:

Due to time constraints, we weren’t able to see the picture of our gel under UV light.

As Lillian and I were talking about what we did in last weeks lab while I was absent, she mentioned that a test was done to see what percentage of DNA was in our samples. I learned that our sample had no DNA whereas other groups had at least some. Lillian and I started critically thinking to suggest where we might have gone wrong in our experiment.

Conclusion:

I’m so glad I came back in time for lab to do this part of our experiment. I find gel electrophoresis to be such an interesting thing! I just want to compare DNA for all things I can get my hands on. Hearing that our sample didn’t have any DNA was actually quite discouraging, but I was glad to hear that other groups did have DNA! To me that served as a confirmation that we could possibly have a good protocol! I think our trial and error while working to  create our protocol was successful. It was fun and I think we did really did well as a class. We’re growing in our knowledge of tools and techniques, while also learning how to be creative and diligent scientists.

Future studies:

For the next lab, I hope we come back with motivation to figure out where we went wrong and how we can fix our protocol. I don’t know if we’ll have enough time in the semester to repeat our experiment but I sure would like to try! This experiment and just class in general has taught me that being a scientist isn’t all about being successful! There is trial and error and I think that’s where we grow the most as scientist!

Storage:

Everything used by my group was labeled with LAK and a star on it. Our PCR products were stored back in the rack where they were refrigerated (A456)

March 1

Lab 7: Open Lab

Print Friendly, PDF & Email

2/23/17

Based on open lab

Purpose: The purpose of lab for me today was to come in and learn what we did in class and complete the QTMs.

Procedure:

  1. Go through powerpoint with Will.
  2. Read protocol for agarose gel preparation.
  3. Answer QTMs.

Results/What did I learn/Conclusion:

Today I was able to catch up from missing lab on Thursday due to being sick. Will and I went through the powerpoint in depth and discussed the procedure my group did in class. I was able to identify what our template and DNA primer we would be using. I did a calculation to see what our final concentration of primer in our stock tube would be. To get my answer, I used the C1V1=C2V2 formula. I reviewed the temperatures and time needed to perform PCR.

Future Steps:

The next step for our lab would be to perform gel electrophoresis after PCR has completed amplifying the DNA of our ciliates and our gel agarose has hardened.


February 16

Lab 6: EZNA Tissue DNA Kit Protocol

Print Friendly, PDF & Email

2/15/18

Purpose: The purpose of today’s lab was to continue our lab from last week and use the protocol from the EZNA Tissue Kit to isolate ciliate DNA in our soil sample. This was our very first trial with the protocol, so it’s possible we may have to attempt again (but that’s  totally okay!!). My group came in last Friday to isolate ciliates and take counts, so we were ahead. For the groups that didn’t come to lab last Friday, they had to isolate ciliates and take counts, so this resulted in some groups not getting as far as us. Today’s lab was really busy so it made time fly by.

Procedure:

A. Before starting

  • Set the heat block to 70 degrees Celsius.
  • Place the elution buffer into the heat block.
  • Chill PBS on ice to cool to 4 degrees Celsius.

B. Prepare the cell suspension

  1. Was the cells with the cold 200 uL of PBS and vortex in the table vortex for 5 minutes then remove the supernatant.
  2. Resuspend the cells in 200 uL of fresh PBS.
  3. Add 25 uL of OB Protease solution and vortex for 5 minutes for a complete mix.

C. Lysis

  1. Add in 220 uL of BL buffer
  2. Incubate the tube for 5 minutes in the heat block and then vortex for a minute on the table vortex. Repeat this twice for a total of 10 minutes in the heat block and 2 minutes in the table vortex.

D. Binding

  1.    Place 220 μl of 100% ethanol into the tube and vortex thoroughly for 1 minutes to mix completely
  2. Insert the HiBind DNA mini column into a 2 mL collection tube.
  3. Transfer the entire sample from step 2 above into the HiBind DNA mini column.

Note: The solution in my group was SUPER sticky and thick. We think this could be because our sample seemed to still have some soil and other debris.

E. Wash and Dry

  1. To fix this, we added 500 uL of binding HBC buffer into tube where our sample was rather than placing it in the column and then we vortexed our tube and column for 30 seconds at maximum speed (13,000 g).
  2. After doing this, our solution was still a bit too thick, we continued to add 500 uL of binding HBC buffer to dilute it down and vortexing again. This was done 3 times.
  3. After each spin we would discard the filtrate that came out of the solution after centrifugating and we’d use a kim wipe to clean our tube and use it again.
  4. We centrifuged one last time at maximum speed (130000) for 30 seconds. Then discarded the filtrate and the collection tube in the trash can, but kept the column.
  5. Place he HiBind DNA mini column into a new 2 ml collection tube.
  6. Add 700 uL of the DNA wash buffer to the column.
  7. Centrifuge the EMPTY HiBind DNA mini column at the maximum speed of 13000 g for 2 minutes to dry the column.

F. Elute

  1. Transfer the HiBind DNA mini column into a nuclease free 1.5 ml microcentrifuge tube and label with the name of the group and the date.
  2. Add in 100 μl of elution buffer heated to 70 degrees C.
  3. Then let the tube sit at room temperature for 2 minutes.
  4. Centrifuge the tube one last time at maximum speed at 13000 g for 1 minute so that the DNA is now floating in the solution.
  5. Store the eluted DNA sample at -20 degrees C in a refrigerator.

Note: Since Lillian and I were able to come to open lab, we were able to get ahead and complete the entire protocol today!

Results:

Last Friday, Lillian and I were able to come to open lab and this was SO helpful. In open lab we came to extract ciliates and get some counts. We took 3 2 uL drops on a concavity slide under a microscope and our counts were 21, 24, 25, 19, and 27. This resulted in an average of 23 ciliates per drop. Lillian did the math for our group and we concluded that there would be a concentration of 11500 ciliates per uL of sample. Most of the ciliates we seen were in cyst form. Some looked like they were clumped together, others were alone. 


Storage: Our sample was stored in the orange microcentrifuge tube labeled LAK with 2/15/18 on the side and with a star on the top. Dr. Adair took our sample and placed it in a rack to store away in the refrigerator to cool at -20 degrees Celsius.

Conclusion: I had a fun time in lab. It made me feel good that my group and I were ahead! We sacrificed some of our Friday and it really paid off today in lab. I like the EZNA tissue DNA kit protocol. It seemed smooth and successful. Hopefully we did everything correct, if not there’s always time to revise this protocol to make it more efficient. I hope next lab were able to start PCR and amplifying our DNA!

Future steps: I’m so glad we have Dr. Adair in lab to help us out. Our group got stuck when our solution was heavily viscous. We had to improvise our protocol by thinking on our toes of what could help dilute the DNA. Hopefully this was a benefit to our DNA and were able to start PCR and amplifying DNA next lab, or at least learn about it in depth some more. The next step would be gel electrophoresis!! I’m so excited about that because I did a small experiment on it in high school and i’m stoked to revisit that.

February 9

Lab 5: Revised Ludox Protocol

Print Friendly, PDF & Email

2-8-2018


Purpose: The purpose of today’s lab was to introduce us to a new way of pipetting using serological pipettes. Using the serological pipettes gave us some more confidence in that were accurately measuring our samples. We also tried a new protocol during lab today (third time’s the charm!!).


Procedure:

  1. Weight and tare the weighing dish
  2. Collect 5g of fresh top soil and while screening it from debris, place it in the weigh boat. After collecting, place it in a plastic vial.
  3. Using a serological pipette, add 10mL of water to the vial and mix for 5-10 minutes. The vortex can be used for this part.
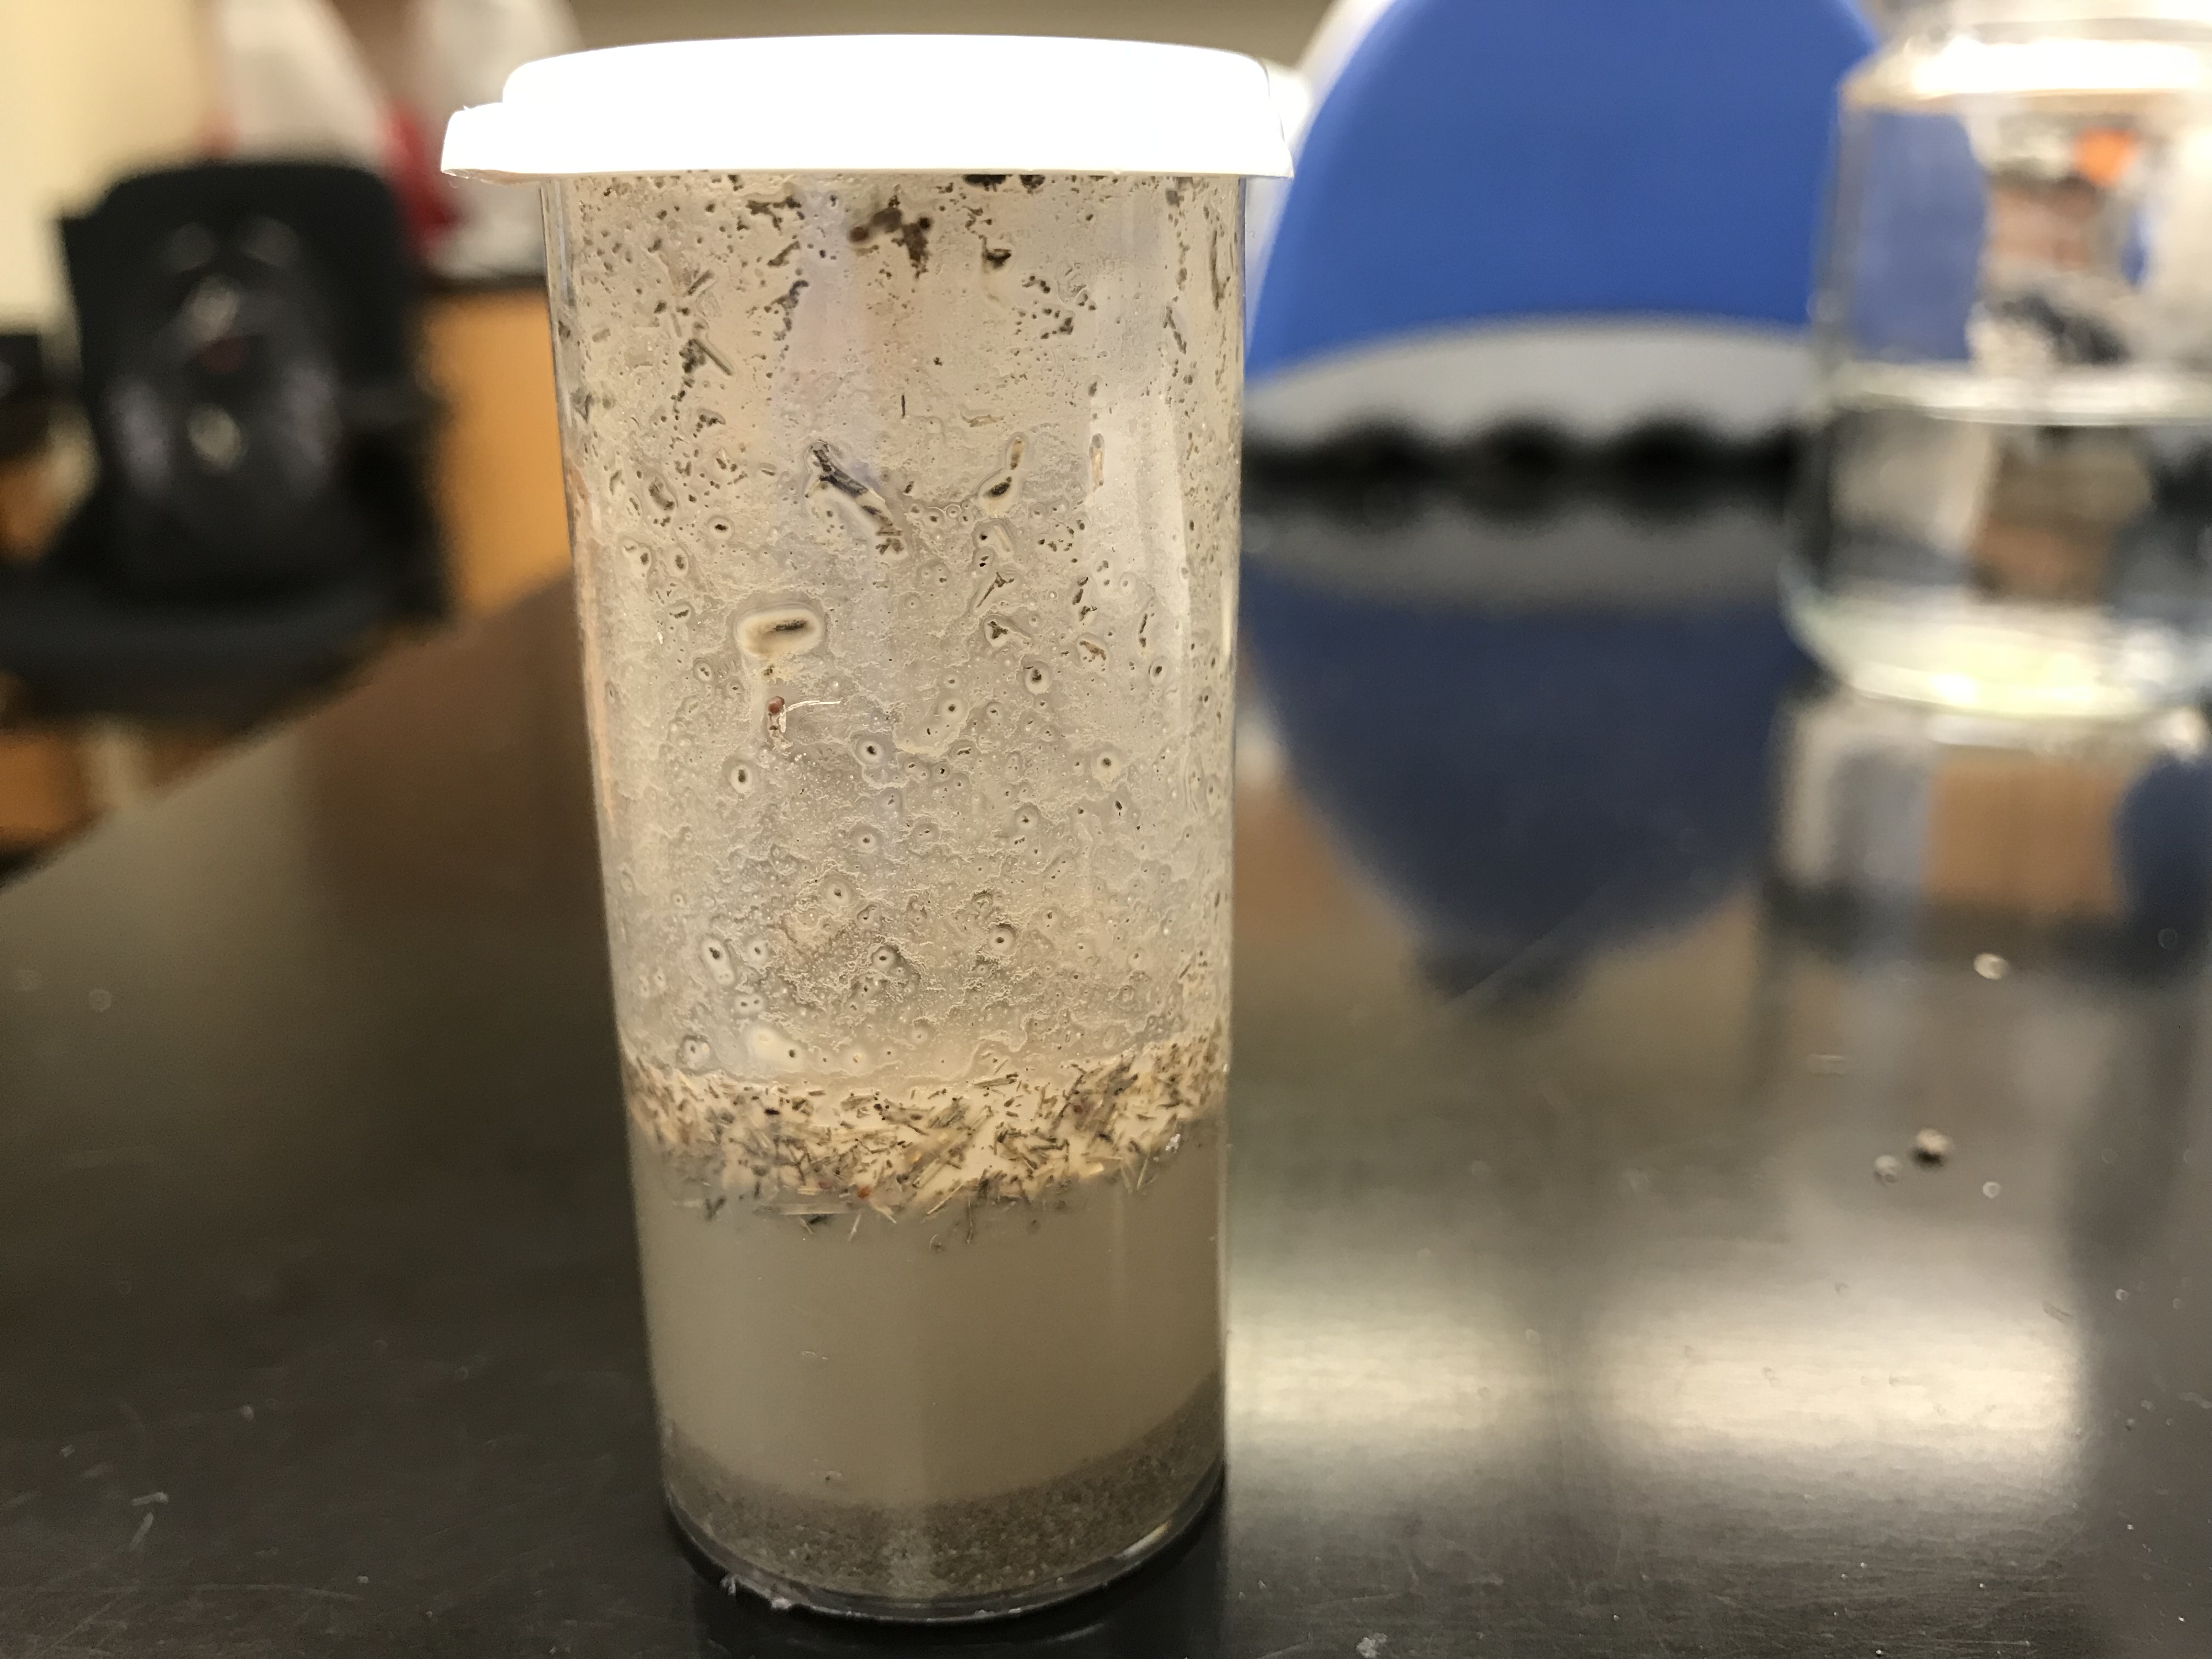
  4. After mixing, allow the soil mixture to sit for 1-2 minutes to allow the sand to settle at the bottom.
  5. Use a micropipette to transfer 3.68 ml of the soil water into a new clean glass tube.
  6. Allow Mike to place 368 µl of 25% Glutaraldehyde into our vial containing our sample.
  7. Close the cap on the vial and mix with a vortex for 30 seconds to a minute
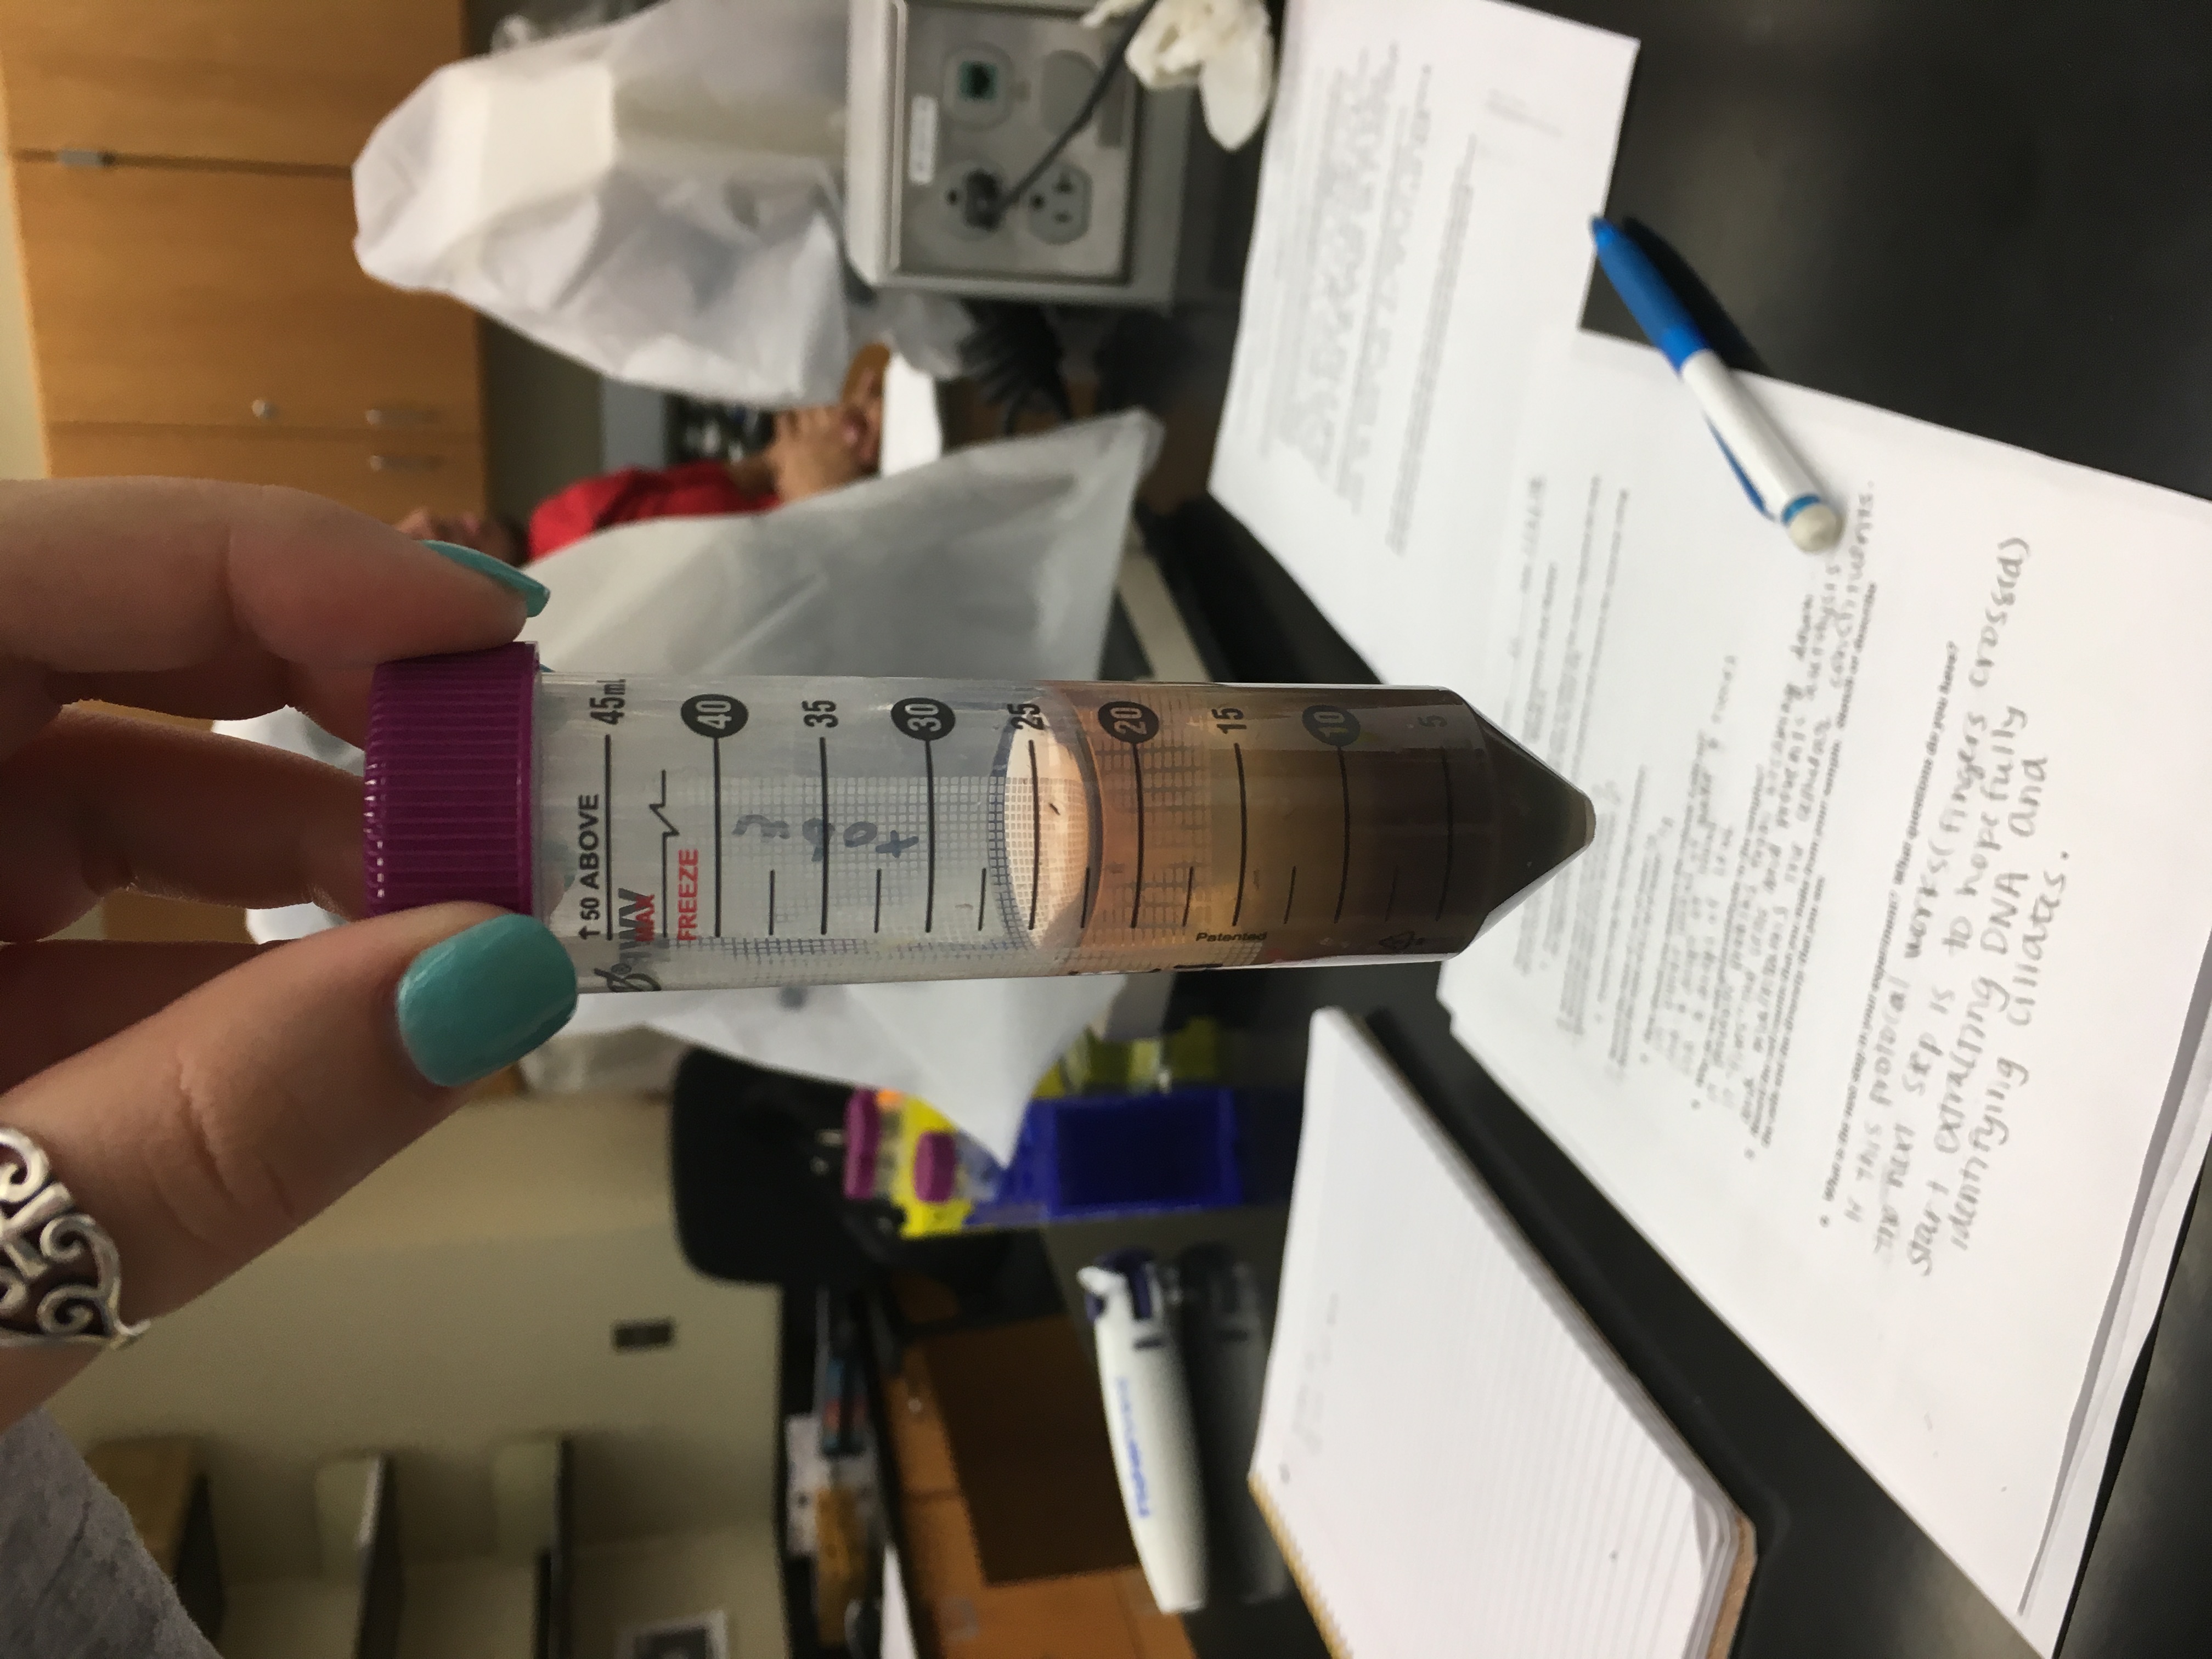
  8. After vortexing, inject 4 mL of sample into the previously Ludox filled tubes on our tables 2 mL beneath the top.
  9. Next, place 2 ml of the colored water on top of the Ludox solution layer.
  10. Weigh the vial and ensure the opposite group at your table have the same weight. If the weight is off, add more colored water to the vial with the lesser mass.
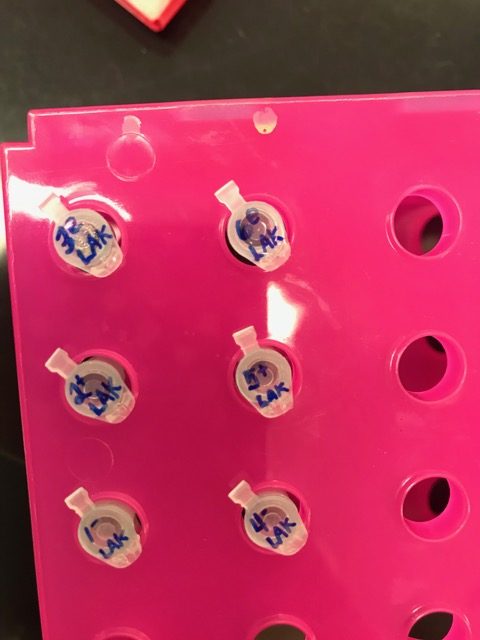
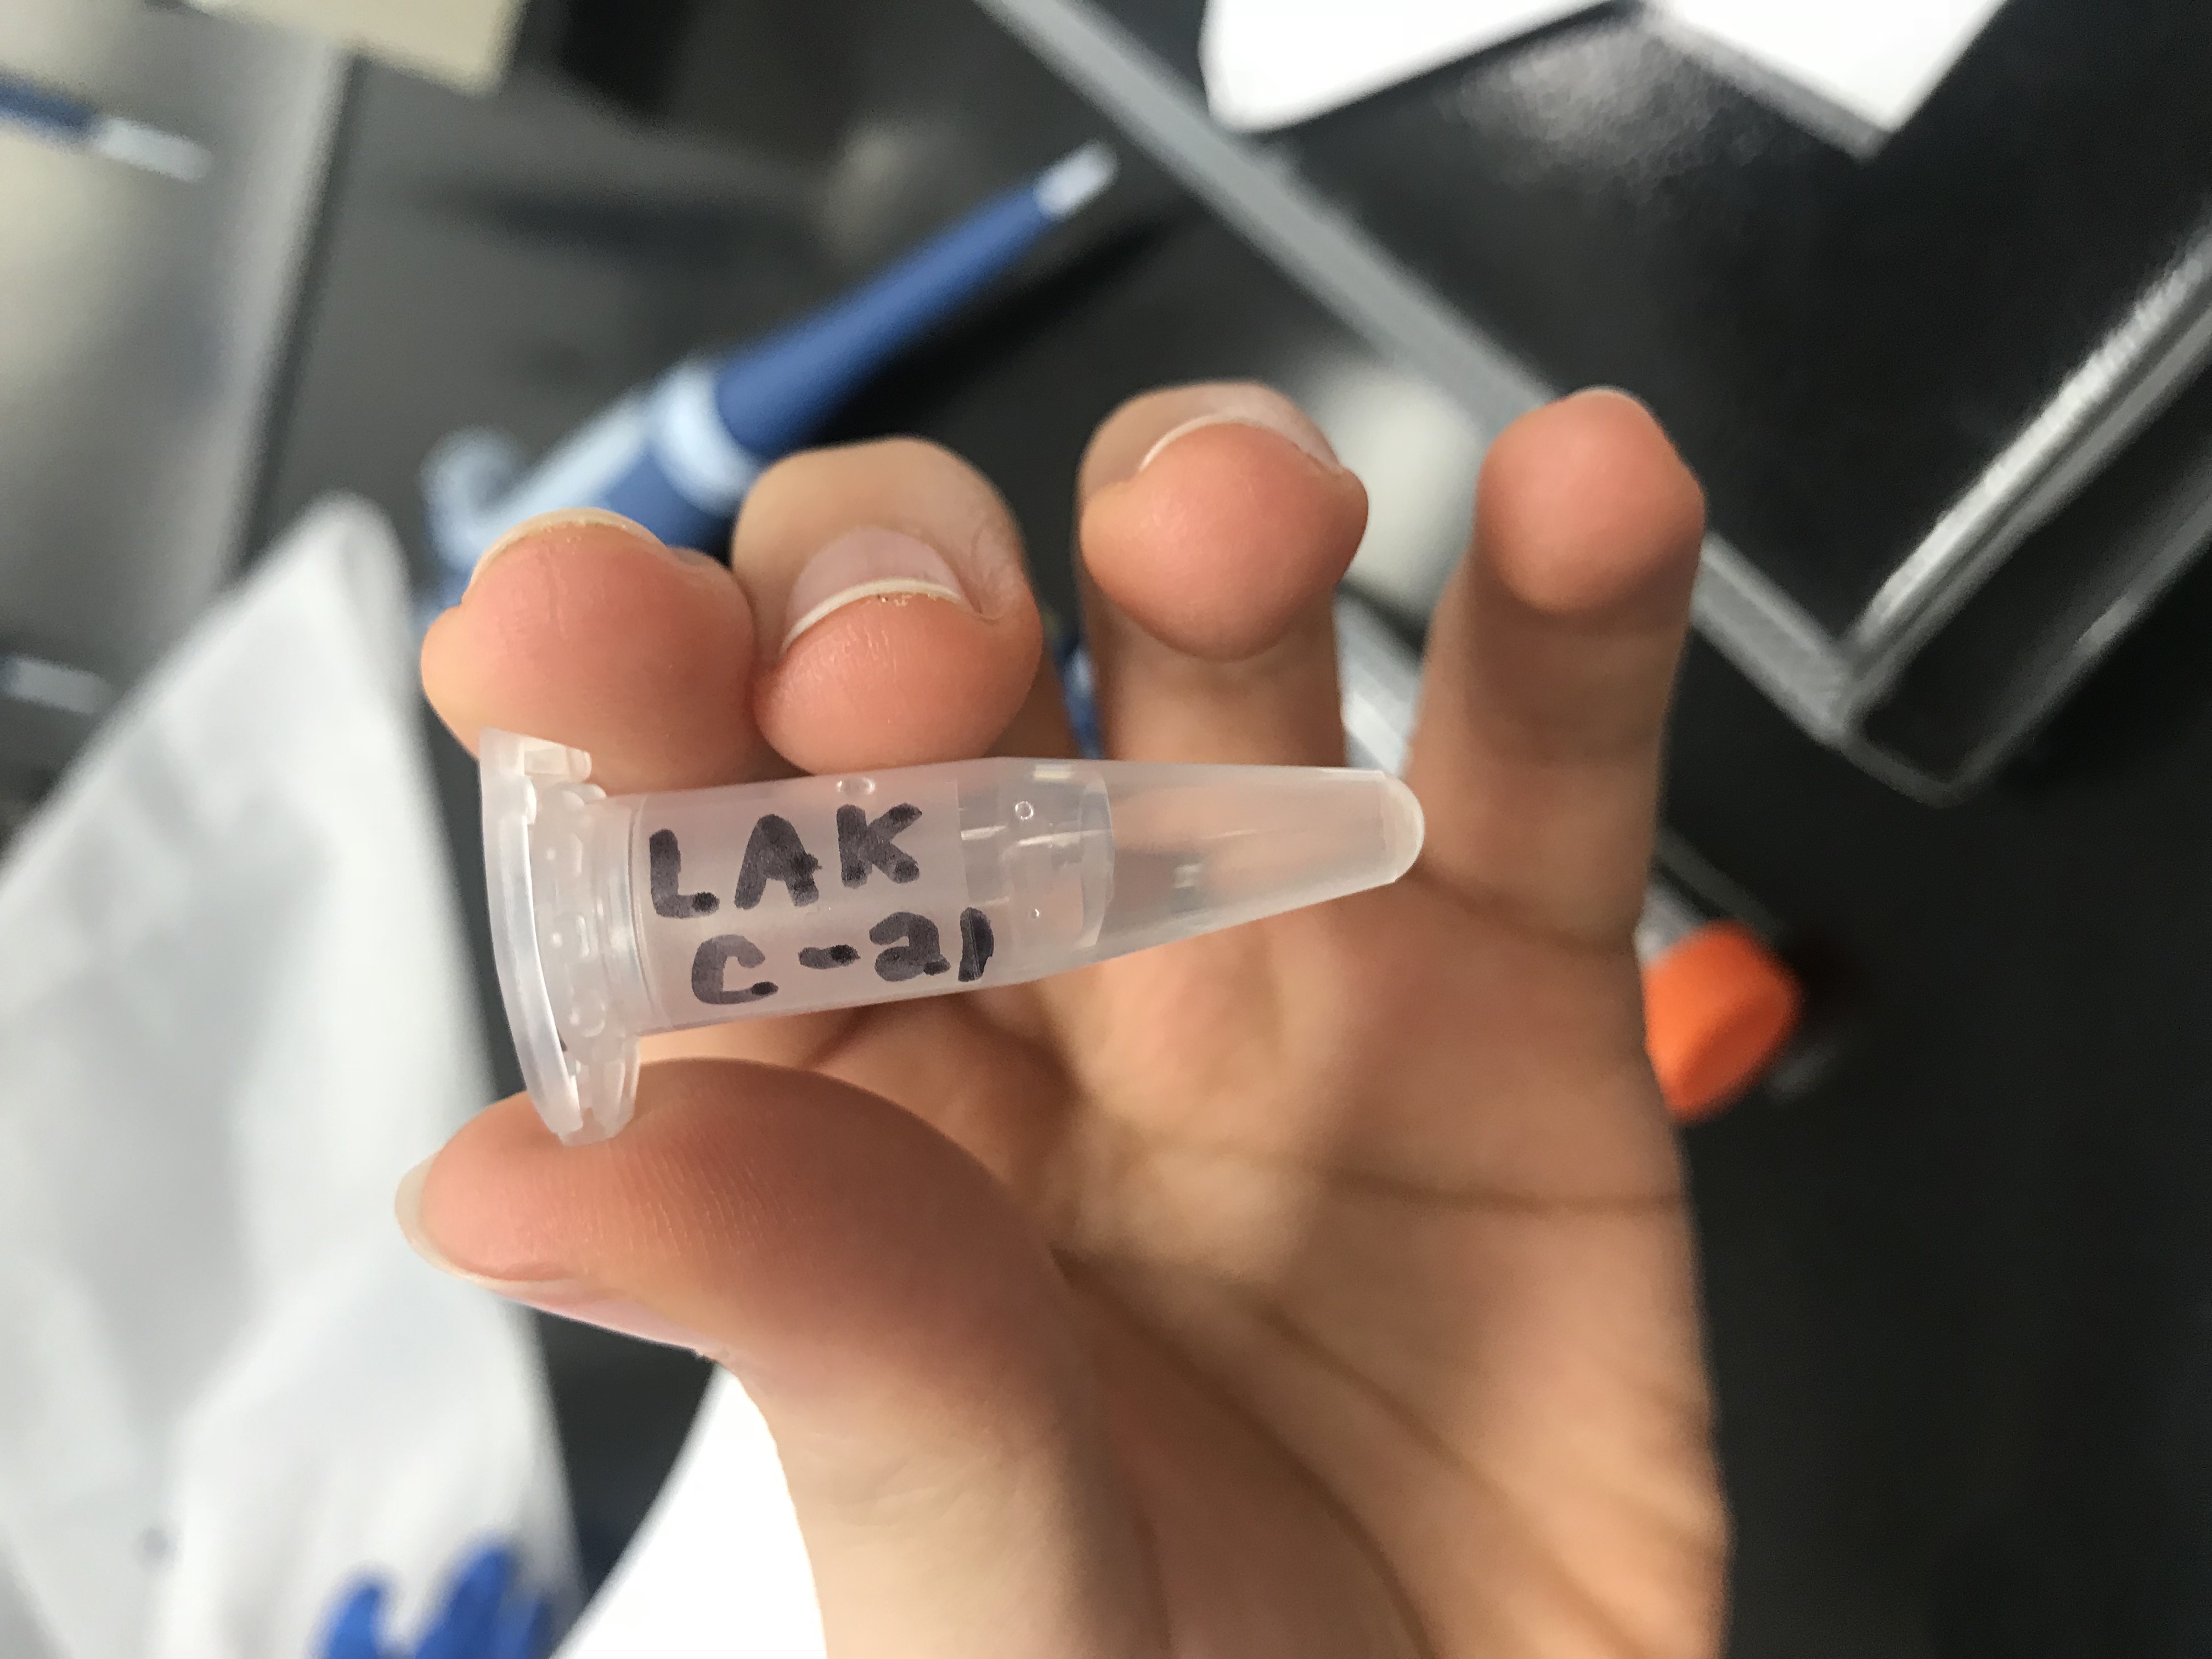
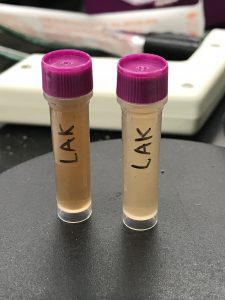
  11. With a sharpie, label the tube. (LAK on the sides and a star on the top)
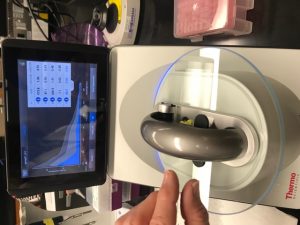
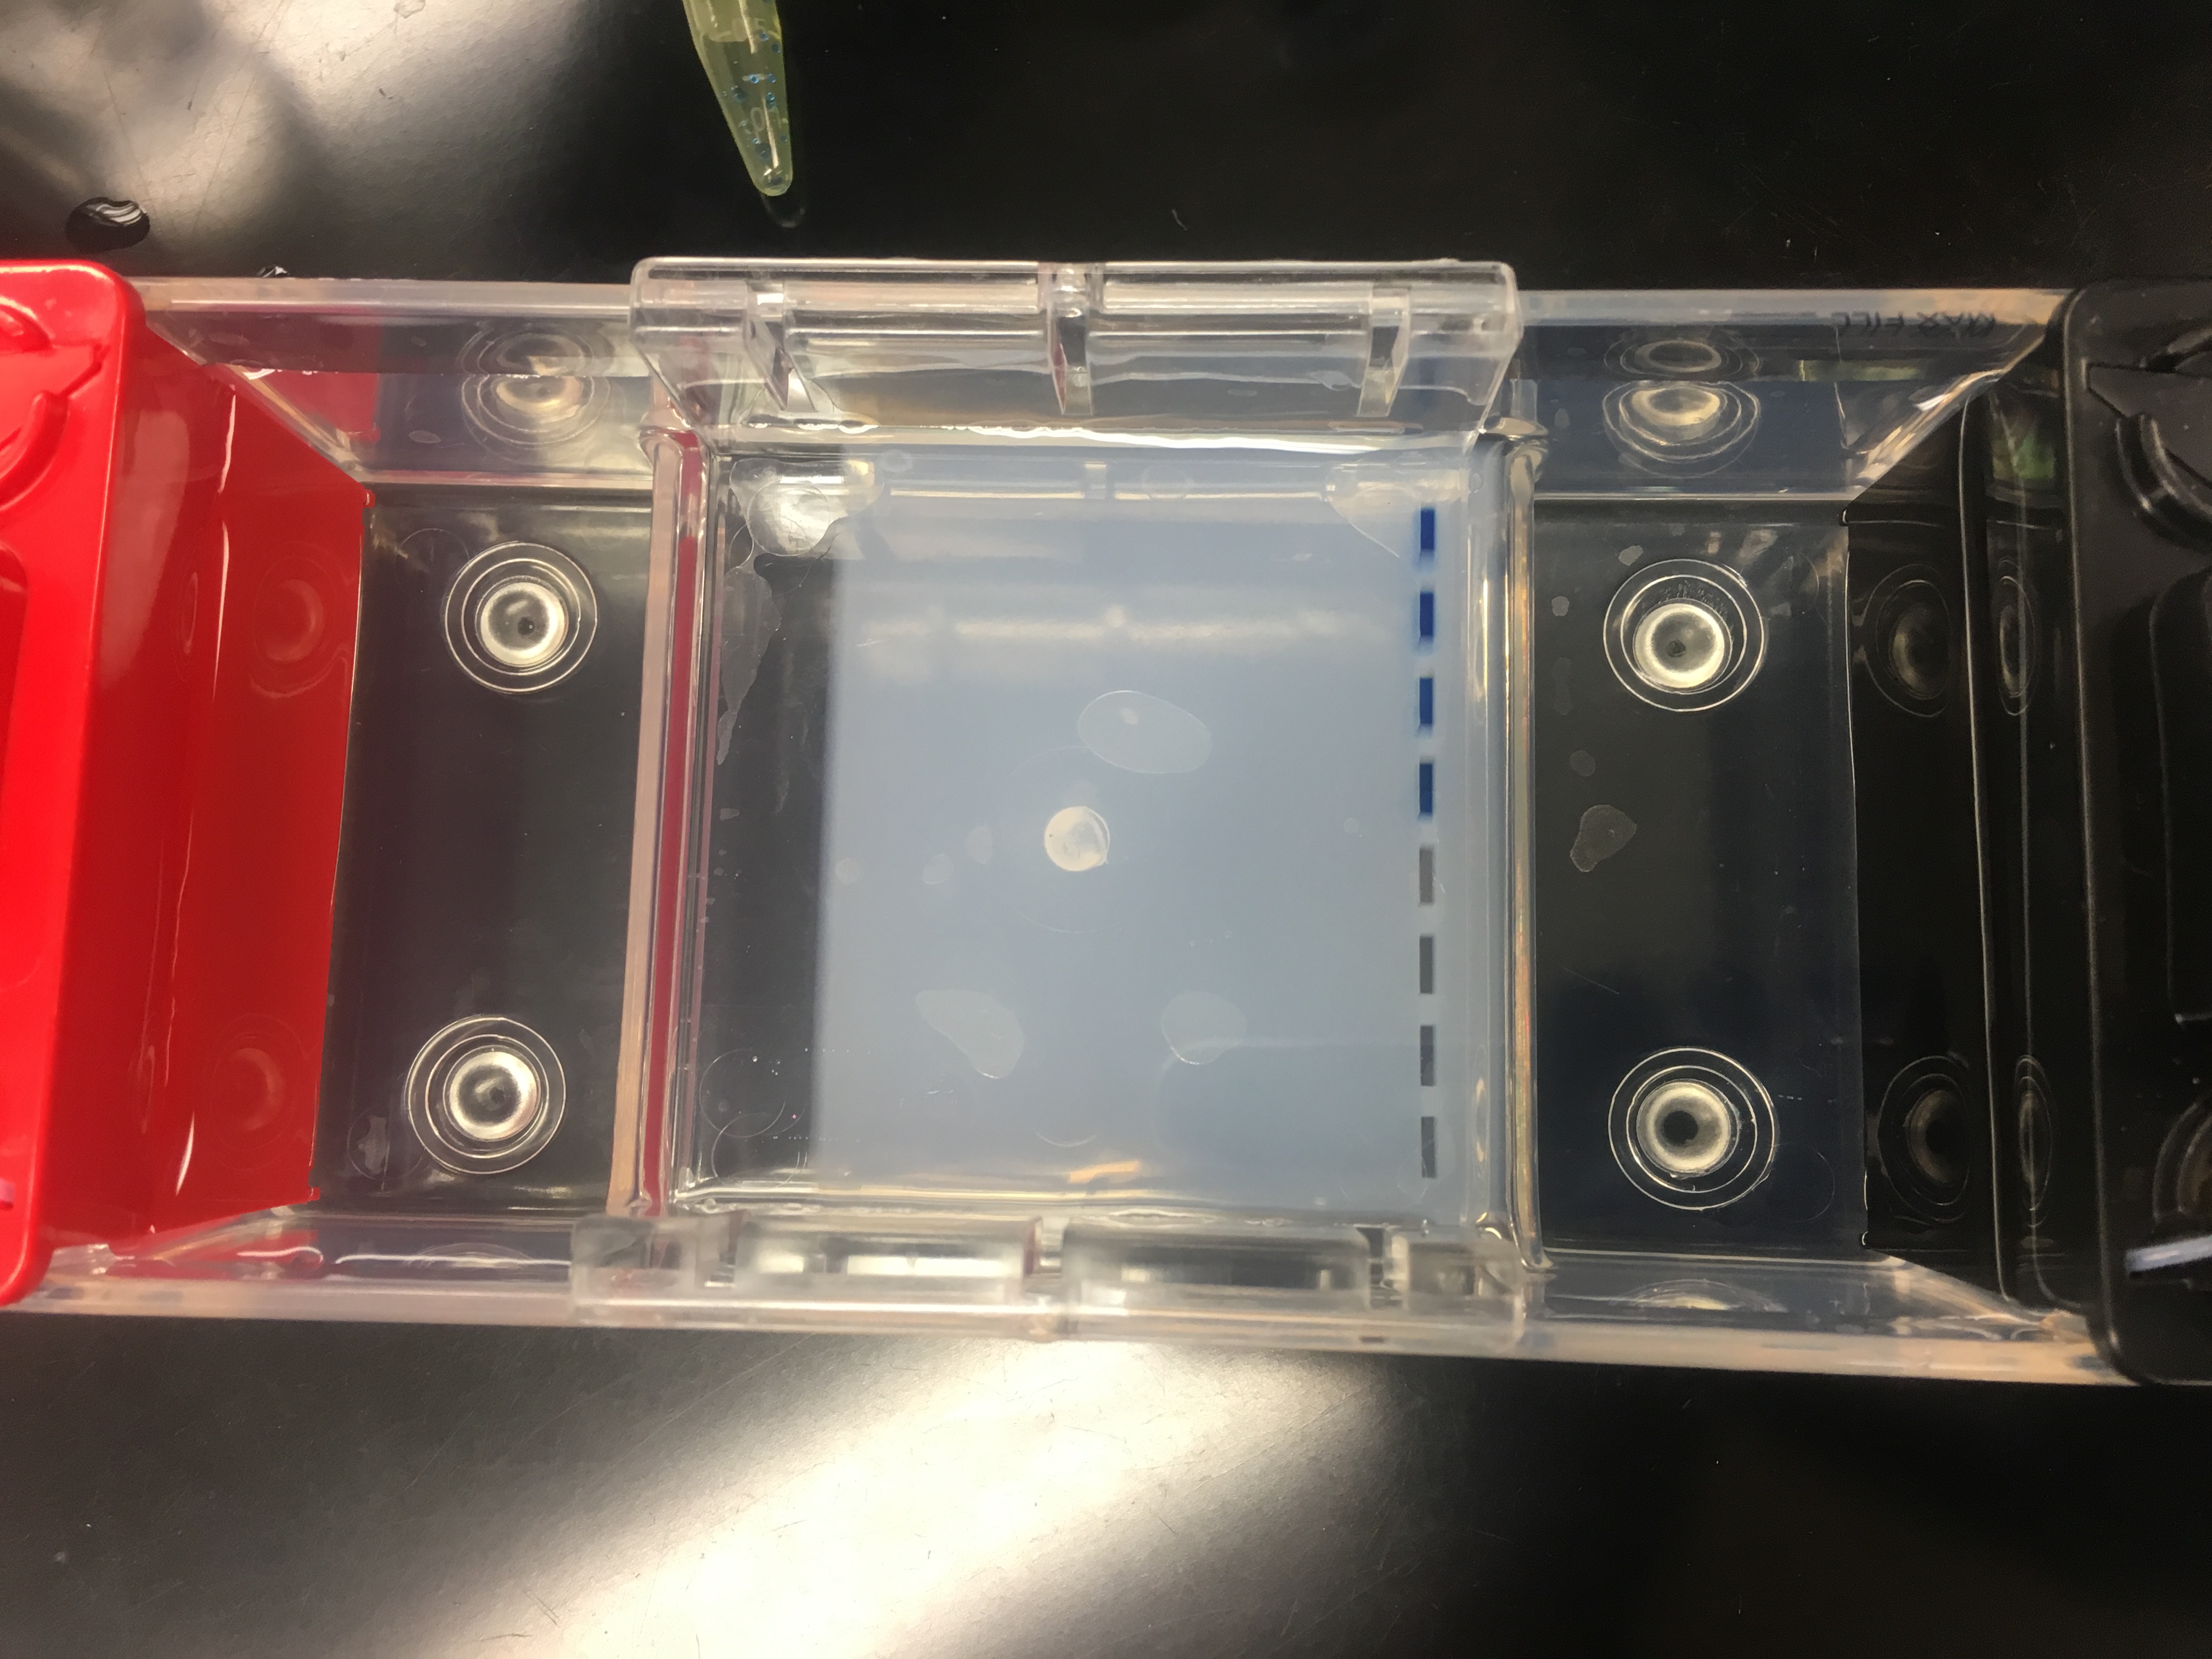
  12. Centrifuge the Ludox solution for 15 minutes in a swinging bucket rotor at 4300 g`s.

13. Using a p1000, remove a total of 4ml of the cell layer.

14. Place 2 ml of the cell layer in one tube and another 2ml in another tube.

15. Label these 2 tubes also. (LAK on the sides and a star on the top).


This is all we were able to complete in lab today, but the rest of the protocol is listed below and will hopefully take place today during open lab.


  1. Centrifuge the 2 ml tubes again at 3000xg for 5 minutes to pellet the ciliate cells.
  2. Using a micropipette carefully remove the supernatant.
  3. Dispose of the waste liquid in the correct waste container.
  4. Place 100 uL of the PBS buffer to each pellet in their respective tubes.
  5. Resuspend the pellet by flicking the tube up and down.
  6. Place both tubes of cell suspension pellets from the two 2ml tubes into a single tube for a total of 200 uL
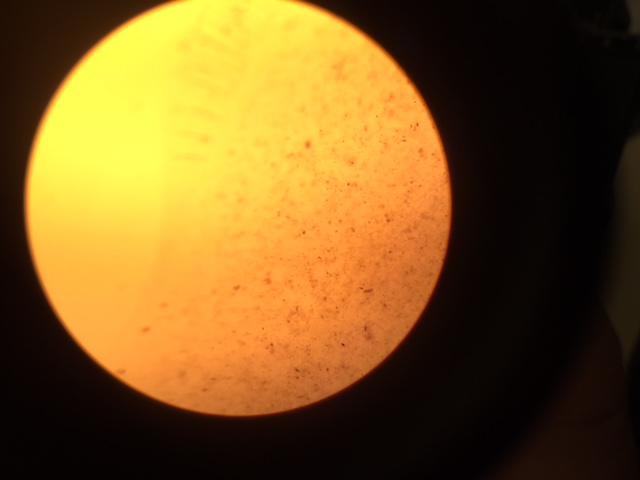
  7. Place five 2 uL drop s from the created 200 µl solution on a concave slide and count the cells using a 40X lens. Record the number of cell/uL then obtain a class average.
  8. If necessary add iodine in a 1:1 mixture. This can be done by placing 10 uL of stain with 10 uL of cells in a microfuge tube to be mixed and counted for five 4 uL drops. Each drop will have 2 uL of cells.

Control sample procedures:

The same procedure will be followed for the control as the original experiment, but instead of using the soil, we will obtain 5g of autoclave soil. The control sample will be our positive control in this experiment because we know there are ciliates in it.


Clean up Procedures:

  • Place serological pipettes back into their sleeve and into the waste box.
  • Any soil remains should be placed into a bucket as to not get any soil in the sink.
  • Place any Glutaraldehyde into the glass waste bottle and rinse the tube with bleach and water.
  • The Ludox tubes should be placed in the rack by the sink.
  • Wipe the tables down with Windex.

Results/Observations:

The mass of our soil alone was 5.0g.

The mass of the tube containing the soil, water,  Glutaraldehyde and Ludox solution was 41.3 g.

The mass after pipetting 10 ml of water in to soil was 14.0g.

The mass of our two 2ml tubes containing the cells after centrifugation was 3.5 g.

Storage:

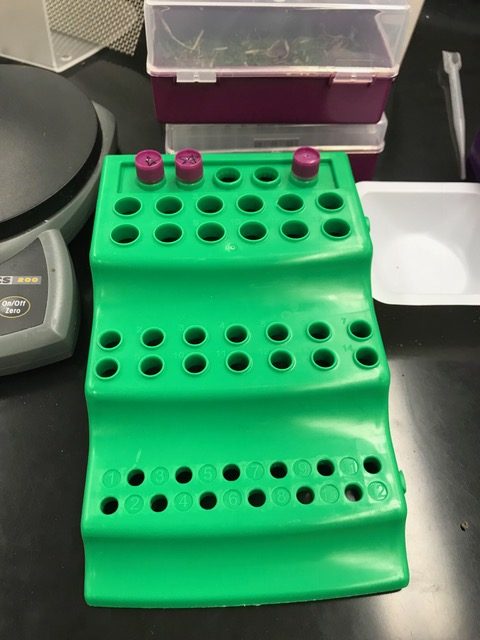
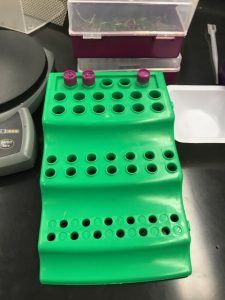
All of the tubes used in my group  were labeled with LAK on the side and a star on the top.  The 2 tubes that contains the 2 ml of the soil, water, Glutaraldehyde mixture is located on the green rack. The conical tube was placed in the waste rack by the sink.


Error: We had an oopsy today in lab. Our calculations were wrong and we accidently added 12% more Glutaraldehyde that what we needed. The correct amount should have been 320 uL instead of 368 uL. This may result in a hard time counting cells because they might be unable to come out of their cyst form.


Conclusion: This was trial run 2 from the protocol we did last week. Some changes we made were the amount of glutaraldehyde and the amount of starting Ludox. Hopefully these changes help us see our cell layer better and as a whole works far more accurate and efficient. I’m excited to go to open lab to see the results. Even though we made a mistake in calculations of glutaraldehyde and this is our third protocol, I really think this could be the perfect one, and it’d be awesome for future labs to know we created this.

Future studies: For next lab, I hope to start looking at the DNA of the cells and continue onto PCR and gel electrophoresis. I actually did an experiment in high school with electrophoresis and bacteria on table tops, bathroom stalls, and office pens, so I can’t wait!

February 2

Lab 4: Creating a Revised Protocol

Print Friendly, PDF & Email

Lab 4: 2/1/18

Purpose:

The purpose of todays lab was to work as a class to discuss the issues we had from last weeks protocol and collaboratively fix each issue. After creating a possible protocol, we considered positive and negative control groups. We then did the protocol we created. 

Procedure:

  • Part A
  1. As a group, reflect on the issues we had with the previous protocol from last week and brainstorm possible ways to improve those issues.
  2. Think of  ways in which we can possibly incorporate a positive control.
  • Part B
  1. Weigh out 5 grams of soil (screened of debris)
  2. Add 7 mL water; mix either by hand or with vortex  for 5-10 mins
  3. Transfer 1800 microliters to tube; add 200 microliters of 25% Glutarol.
  4. Vortex briefly to mix well.
  5. Inject 2 mL of fixed sample to Ludox tube by placing P1000 tip at 6mL mark.
  6. Carefully layer 2 mL of colored water on top of Ludox.
  7. Centrifuge 4300 xg for 15 mins.
  8. Remove 2 mL of cells (organic layer).
  9. Count five 2 microliter drops from sample and get class average.
  10. Centrifuge the 2 mL (or two 1.5 mL) tubes 15,000g for 1 minute. Spin with hinge (or mark) on outside, so you know pellet side.
  11. Remove 2,000 microliters of supernatant with P1000. If you leave a small layer of liquid in tube (5-10 microliters), it is okay. Freeze for DNA extraction.

Data:

  • Part A

Some of the issues we had last week and are wanting to fix with this protocol and some solutions to the problems are:

1.Starting all samples off with the same amount of soil.

  • 5g of soil.

2. Get all debris out.

  • Wire net to screen debris.

3. More Ludox tubes.

  • separate organic layer into several tubes for each individual person.

4. Make cell layer more obvious.

5. Cells lost during pipetting

  • Rinse pipette
  • Dispense slowly


  • Part B

We were able to improve the protocol by all using the same weighted sample. As a class we decided 5g of soil was a good starting point. We added on a positive control to our protocol by doing the exact same procedure with Tetrahymena. In doing this, we will be able to compare our results with our grass sample to that of the Tetrahymena sample, to ensure were getting accurate results. The protocol for the Tetrahymena sample will be the same as the sample:

  1. weigh out 5g of autoclaved soil.
  2. Add 2 mL of Tetrahymena culture (about 2000 cells)
  3. Add 5 mL of water. (not 7 because the Tetrahymena will already be in 2mL, this will keep our weights the same.)
  • Part C

Our soil sample weight was 5g.

The soil, ludox and sample together weighed 21g.


Conclusion:

Todays lab was a lot of fun since we designed our protocol as a class. We really put something together as a team and I think it’s going to work out successfully. I really liked that we brought up the issues we had last lab and worked to think of ways to fix those problems. Although it didn’t work efficiently, I’m glad I was able to contribute to the idea of screening the debris out of our sample. I also really liked how were going back to working with Tetrahymena as our positive control.

Storage:

My groups conical tube is stored in a test tube rack for Dr. Adair to centrifugate; it is labeled “LAK”.

Future Steps: As a group or one of us from our group will come to open lab tomorrow to continue working on our protocol. At open lab we will isolate cells from the organic layer and store them away, probably in a cooler. I really hope we start getting into the DNA sequencing soon; I imagine that’s the best part of this lab.