April
27

April
20
Lab 14: Poster Workshop

4/19/18
Today we worked in the computer lab to work on creating our posters.
Procedures
Work on finishing the poster for the final presentation
Observations

Thoughts
In class we were able to finish the Methods, Introduction, & Discussion. Angelo continued to work on the poster after class and was able to finish it.
April
13
Lab 13: Gel Electrophoresis/Poster Design
4/12/18
Today in lab we performed gel electrophoresis on our last samples and also organized & planned out our posters.
Procedures
1. Pour the 1X TAE solution into the gel power box.
2. Pipette 5 uL of a ladder into the designated well
3. Pipette 10 uL of the -, +, and eDNA into the wells . (Make sure to not which samples are your groups vs. the other groups)
4. Run the electrophoresis at about 100 volts for 30 minutes.
5. While the gels are running, use this time to discuss poster designs, the information that will go into each portion of the presentation, & assign a role to each person in the group.
6. Once the electrophoresis is done, take the gel upstairs to be analyzed under UV light using the BioRad imaging technology.
7. Review image from the BioRad technology and interpret the data and record the results for each reaction on the Excel sheet in the pre-lab module for lab 13.
We spent the rest of the time planning out our posters.
Observations
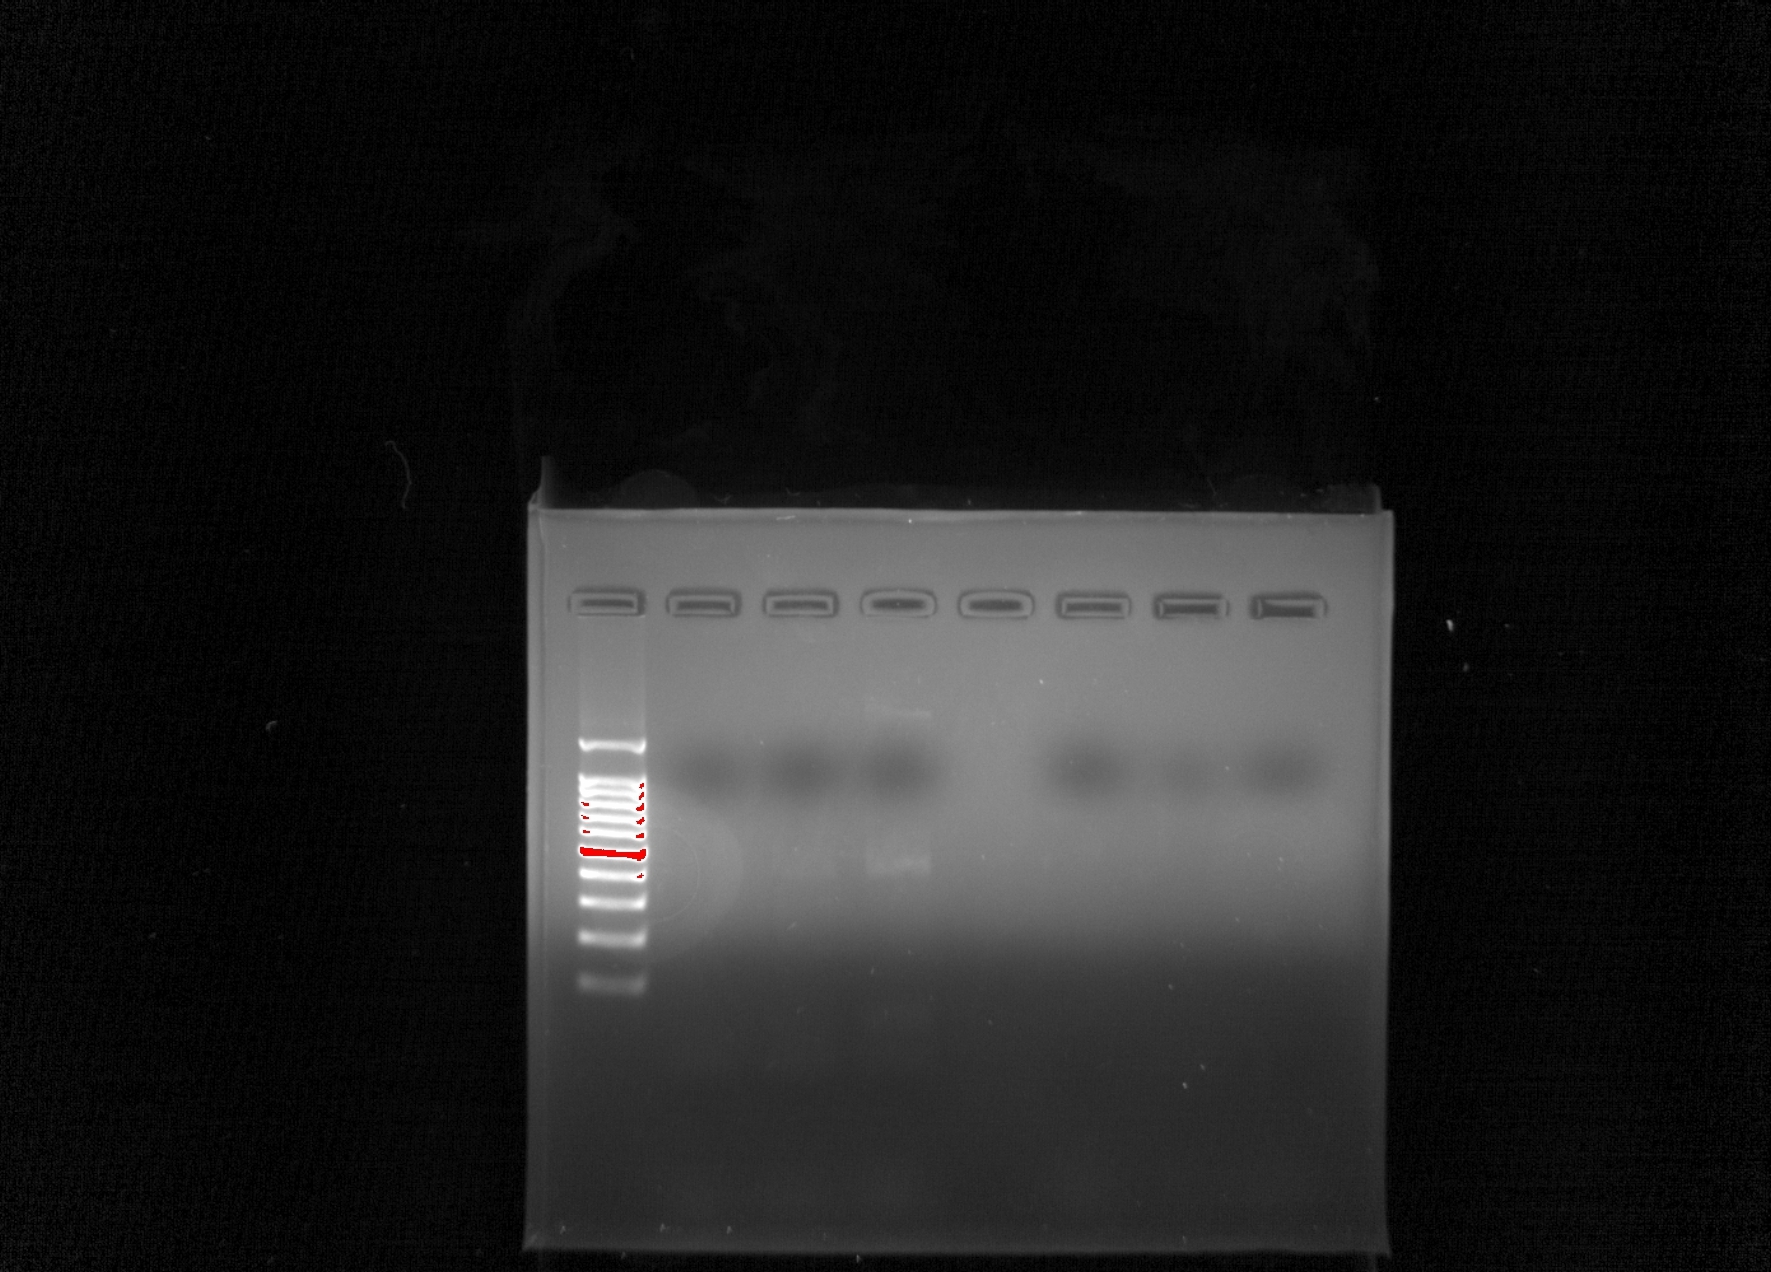
We did not get any DNA in any of our samples again. From left to right there was 1)Ladder 2) Group 7 (-) 3) Group 7 (+) 4) Group 7 eDNA 5) empty 6)Group 8 (-) 7) Group 8 (+) 8) Group 8 eDNA.
Thoughts
It is unclear as to why no DNA showed up in any of the samples again. Even though we haven’t had too much luck with our DNA, we can take note of what mistakes were made to avoid making them again in the future. We planned out the poster design & assigned jobs to each person.
April
6
Lab 12 Chelex, PCR, & Gel Electrophoresis
4/5/18
Today in lab we performed Chelex DNA Extraction, PCR, and made our gel for gel electrophoresis for future labs.
Procedures
Chelex DNA Extraction
- Transfer 1.5 mL of soil liquid from the non-flooded plate & place in a microfuge tube to gather cells
- Centrifuge at 6,000 xg for 5 minutes and remove the supernatant
- Repeat steps 1-3
- Cut the tip off of a 1,000 µL micropipette tip
- Using this tip, add 200 µL of 5% Chelex to the pellet in the microfuge tube
- Vortex for 1 minute
- Add 15 µL of proteinase K
- Incubate for 30 minutes in 56°C water bath
- Boil for 8 minutes in a 100°C heat block
- Vortex for 1 minute
- Centrifuge at 16,000 xg for 3 minutes
- Transfer 100 µL of the supernatant to a clean micro centrifuge tube without any Chelex beads
- Label the top
PCR Procedure
- Obtain 3 PCR Tubes with 12.5μL of MasterMix
- Calculate amounts of primers and water for each tube
- Make a (-) control, (+) control, and eDNA
- (-) Control: No DNA, 12.5 μL of MasterMix, 1.25 V4 primers, 11.25 μL water
- (+) Control: 1 μL of Paramecium culture, 12.5 μL of MasterMix, 1.25 uL V4 primers, 10.25 μL water
- eDNA: 1 μL of DNA from Chelex Procedure, 12.5 μL of MasterMix, 1.25 uL V4 primers, 10.25 μL water
Gel Preparation
- Weigh 0.6 g of agarose on a weighing sheet and transfer to an Erlenmeyer flask
- Mix with 35 mL of 1X TAE to produce a 1.8% agarose gel
- Microwave for 1:20 at power 7
- Cool in a 60°C water bath for about 5 minutes
- Add Ethidium Bromide (with gloves) and stir gently
- Pour into mold then add the comb making sure to avoid bubbles
Observations
Nanodrop Reading: 365.2 ng/uL ==> was diluted by adding 45 uL of DI water & 5 uL of DNA to get it to our a 50 ng/uL
A260/280: 1.31
A260/230: 0.51
| (-) Control | (+) Control | eDNA | |
| DNA (uL) | 0 uL | 1 uL | 1 uL |
| 2x MasterMix (uL) | 12.5 uL | 12.5 uL | 12.5 uL |
| 10 uM V4 Primer Mix (uL) | 1.25 uL | 1.25 uL | 1.25 uL |
| Water | 11.25 uL | 10.5 uL | 10.5 uL |
| Total volume | 25 uL | 25 uL | 25 uL |
Thoughts
When we first did the PCR reaction, we used the protocol from previous weeks so the concentration was off and we were forced to start over. We had slightly dark supernatant in 2 of the 2 tubes used for the Chelex procedure. The lab was fairly long today with lots of procedures to get through. The eDNA, (+) Control, & (-) Control was stored in B2-10, B2-11, and B2-12 with the each tube having 22-8e, 22-8+, 22-8- standing for our section number, group 8, then which tube it was. The gel & dilution tubes were given to the TAs for storage.
April
4
Lab 11: Gel Electrophoresis and Gel Analysis
3/29/18
Today in lab we performed gel electrophoresis and analyzed the success by looking at them under UV light in the lab on the 3rd floor.
Procedures
Gel Electrophoresis
1. Remove the rubber pieces and comb from the gel electrophoresis box mold.
2. Obtain the six PCR tubes
3. Place the gel box into the gel electrophoresis apparatus and pour 1x TAE solution into the apparatus until the wells of the gel are completely submerged.
4. Pipette 10ul of each PCR product (loading dye is already mixed with PCR products) into separate wells and pipette 5ul of the DNA ladder into one well.
5. Ensure that the gel box is oriented so that the wells are opposite of the positive end of the gel electrophoresis apparatus.
6. Plug the positive and negative electrodes into their respective outlets in the gel electrophoresis apparatus power supply box. Turn the power supply to 110V and run the electrophoresis for ~30min.
7. After the gel electrophoresis, image the gel in a UV gel imaging chamber and determine if and DNA was actually present in the PCR products.
Observations
| Well # | 1 | 2 | 3 | 4 | 5 | 6 | 7 | 8 |
| Sample | Ladder | (+) Cox1 | (-) Cox1 | eDNA Cox1 | (+) V4 | (-) V4 | eDNA V4 | empty |
| Volume | 10uL | 10uL | 10uL | 10uL | 10uL | 10uL | 5uL | 0 uL |

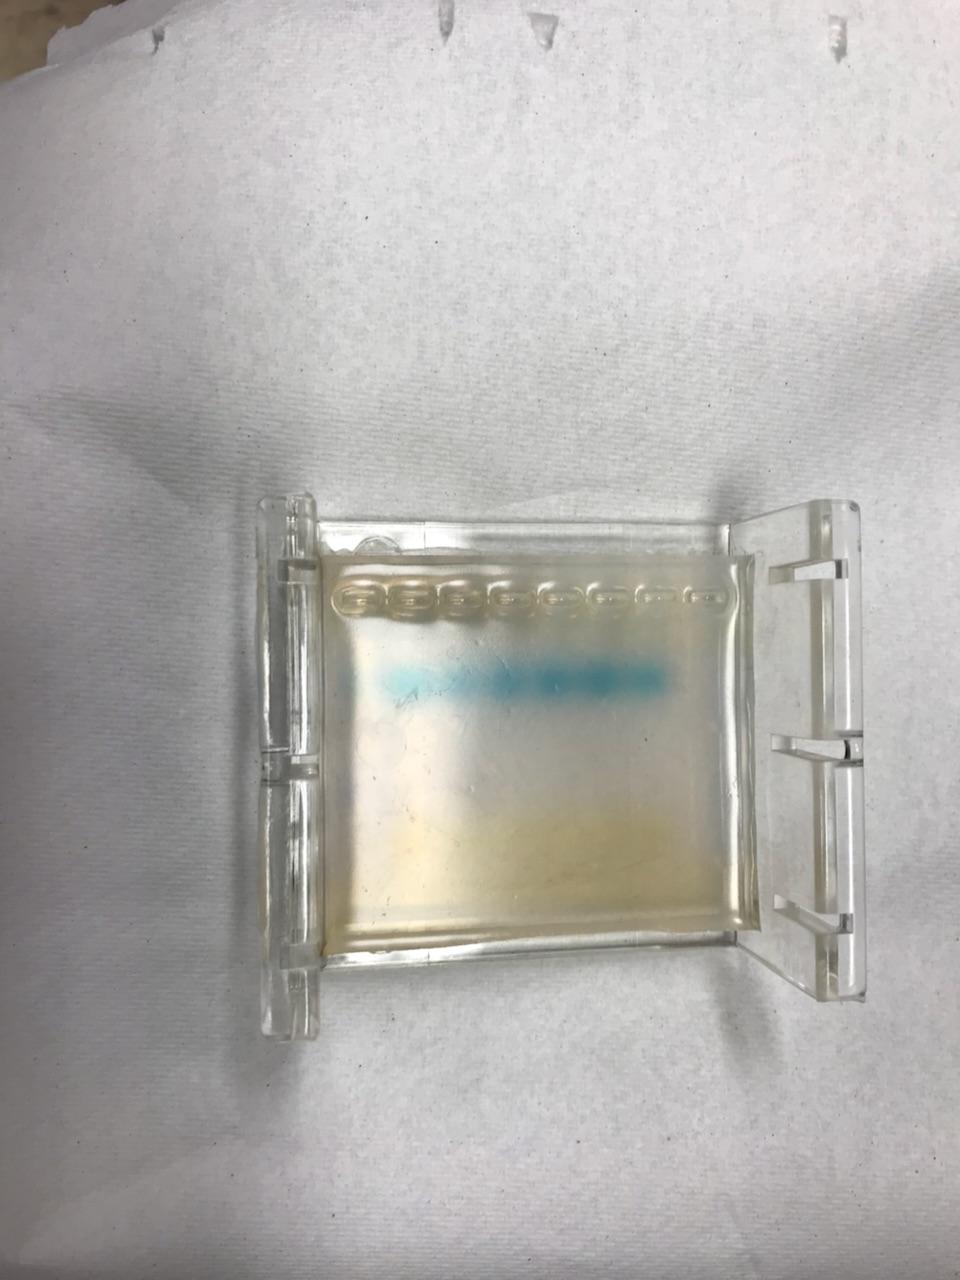
Before Gel Electrophoresis After Gel Electrophoresis
Thoughts
We didn’t have any DNA show up in the UV light results surprisingly. The only thing that came up was the ladder. We were expecting DNA from the positive controls, however, since nothing came out then that means that we probably messed up somewhere in the PCR process.
March
23
Lab 10
3/22/18
Today in lab we redid the PCR procedure with the cox1 and v4 primer. We then made our agarose gel.
Procedures
PCR
- Label 6 tubes with the numbers 1-6 on top. They all should already have the 12.5 ul of master mix in them
- In tube 1 add 0.6 uL of the Cox1 and 11.87 uL of water. This is the (-) control of the Cox1 Primer
- In tube 2, add 1 uL of the DNA, 0.63 uL of the Cox1 and 10.9 uL of water. This is the (+) control of the Cox1 Primer
- In tube 3, add 1 ul of control paramecium tube, 0.63 uL of the Cox1 and 10.9 uL of water. This is the eDNA of the Cox1 Primer
- In tube 4, add 0.63 uL of the V4 and 11.87 uL of water. This is the (-) control of the V4 Primer
- In tube 5, add 1 uL of the DNA, 0. 6 uL of the V4 and 10.9 uL of water. This is the (+) control of the V4 Primer
- In tube 6, add 1 ul of the control paramecium, 0.63 uL of the V4 and 10.9 uL of water. This is the eDNA of the V4 Primer
- Store the tubes in a rack at the front of the class and label where they are on the sheet of paper
Agarose Gel
- Pour 90 ml of DI water and 10 ml of TAE 10x into a flask
- In a different flask, obtain 35 ml of the TAE 10x mixture and combine with .6 g of agarose then mix
- Heat in a microwave for one minute and 20 seconds on power 70
- Cool the flask in a cooling bath for about 5 minutes.
- Set up your electrophoresis tray
- Pour the agarose gel solution into the tray and allow to cool
- Label the tray and then place in the designated area
Observations
| Cox1 Primer | 1 (-) control | 2 (+) control | 3 eDNA | V4 Primer | 4 (-) control | 5 (+) control | 6 eDNA | |
| 2X Master Mix | 12.5 µL | 12.5 µL | 12.5 µL | 2X Master Mix | 12.5 µL | 12.5 µL | 12.5 µL | |
| DNA | 0 µL | 1 µL | 1 µL | DNA | 0 µL | 1 µL | 1 µL | |
| 20 µM COX1 | 0.6 µL | 0.6 µL | 0.6 µL | 20 µM V4 | 0.6 µL | 0.6 µL | 0.6 µL | |
| Water | 11.9 µL | 10.9 µL | 10.9 µL | Water | 11.9 µL | 10.9 µL | 10.9 µL | |
| Total Volume | 25 µL | 25 µL | 25 µL | Total Volume | 25 µL | 25 µL | 25 µL |
Thoughts
We messed up, of course because what is learning without making mistakes? We put the cox 1 primer in all 6 tubes instead just the first 3 so we had to redo those 3 tubes. We labeled the tubes as with 1-6 on each of them with a SG on the top and a KSA on the side. Our tubes where in the second row from the bottom in the storage holder. Our Agarose Gel was labeled “Kaitlyn, Sydney, Angelo Group 8”.
March
16
Lab 9 Powersoil and Chelex
3/15/18
Today in lab our group did the Powersoil procedure and the other group did the Chelex procedure. In both procedures the goal was to extract DNA. We did 2 different protocols to test which one yields better results. We are tried different protocols because no DNA appeared in the gel electrophoresis
Procedures
Powersoil
- Obtain a PowerBead Tube and add 0.25 grams of dry soil
- Gentry vortex to mix
- Add 60 µL of Solution C1 and vortex briefly
- Secure the PowerBead Tubes horizontally using the MO BIO Vortex and vortex for 10 minutes at maximum speed
- Centrifuge the tube at 10,000 g for 30 seconds
- Transfer all the supernatant from the PowerBead Tube to a clean 2 mL collection tube
- Add 250 µL of Solution C2 and vortex for 5 seconds
- Incubate for 5 minutes at 4°C in the refrigerator
- Centrifuge the tube at 10,000 g for 1 minute
- Transfer up to 600 µL of the supernatant to a clean 2 mL collection tube; make sure to avoid the pellet when doing so
- Add 200 µL of Solution C3 and vortex briefly
- Incubate for 5 minutes at 4°C in the refrigerator
- Centrifuge the tube at 10,000 g for 1 minute
- Transfer up to 750 µL of the supernatant to a clean 2 mL collection tube
- Add 1.2 mL of Solution C4 to the supernatant and vortex for 5 seconds
- Obtain a Spin Filter
- Load 675 µL of the solution into the spin filter and centrifuge at 10,000 g for 1 minute
- Repeat that step until all the solution is gone, but keep the spin filter
- Add 500 µL of Solution C5 to the spin filter
- Centrifuge at 10,000 g for 30 seconds
- Discard the flow through from the 2 mL collection tube
- Centrifuge at 10,000 g for 1 minute to dry and remove the remaining Solution C5
- Carefully remove the spin filter and make sure no flow through splashes it
- Place the spin filter into a clean collection tube
- Add 100 µL of Solution C6 to the center of the spin filter membrane
- Centrifuge at 10,000 g for 30 seconds
- Discard the SPIN FILTER and keep the filtrate
- Label and store DNA (-20°C to -80°C)
Chelex
- Transfer 300-500 µL of dense ciliate culture (Paramecium culture) to a micro centrifuge tube
- Label the tube
- Centrifuge at 6,000 g for 5 minutes
- Discard the supernatant
- Weigh 0.5g Chelex and transfer to a 15 mL conical tube
- Add 10 mL of DI water
- Add 200 µL of 5% Chelex to the pellet
- Vortex for 1 minute
- Add 15 µL of proteinase K
- Incubate for 30 minutes in 56oC heat block
- Boil for 8 minutes in 100oC heat block
- Vortex for 1 minute
- Centrifuge at 16,ooo g for 3 minutes
- Transfer supernatant with DNA in solution to clean micro centrifuge tube
- Label and store DNA
Observations
0.3 g of soil
Thoughts
On the last step of the powersoil procedure, our group accidentally disposed of the liquid instead of the filter and ended up throwing out our DNA. [I know we messed up pretty bad 🙁 ] So Dr. Adair told us to run 100 uL more of the C6 through the filter again to hopefully get some DNA out but our DNA concentration will probably be much lower than the other groups if we even have any DNA. We labeled our tube 8.
March
2
Lab 8 Gel Electrophoresis
3/1/18
Today in lab we practices inserting samples into the gel then proceeded to insert our extracted DNA samples into the indentions. Once the samples were inserted we proceeded with the gel electrophoresis process and critiqued our partners introductions as we waited.
Procedures
Gel Electrophoresis
- Add 30 mL of 10x TAE stock solution with 270 mL of D.I. water
- Mix 5 uL of 6x loading dye and 25 uL of D.I. water and place into microfuge tube
- Set up the gel electrophoresis by placing the agarose gel into the gel box then connecting the wires from the gel box to the power supply
- Pour the buffer from step 1 into the gel so that the buffer covers the gel completely
- Practice loading the well with 5 uL of loading dye from step 2
- After practicing, load a well with 5 uL of DNA ladder noting which well is used
- Transfer 10 uL of soil DNA sample into microcentrifuge tube with 5 uL of ethidium bromide. (Wear gloves)
- Repeat step 8 with the positive and negative control
- Load a well with 10 uL of DNA soil sample
- Load a well with 10 uL of positive control solution
- Load a well with 10 uL of negative control solution
- Secure the gel box top and switch on the power
- Adjust the setting to run 30 minutes at voltage of 110 V
- Remove the gel then observe under UV light to examine the DNA bands
Introduction Critiquing
- Exchange drafts with lab partner
- Critique their paper using the rubric on the QTM
- Give a draft score from table used in the QTM
Observations
1) Extra well ( we punctured through so this well was not used)
2) 10 uL of DNA soil sample
3) 10 uL of negative control solution
4) 10 uL of positive control solution
5) 5 uL of DNA Ladder
6-8) Practice wells
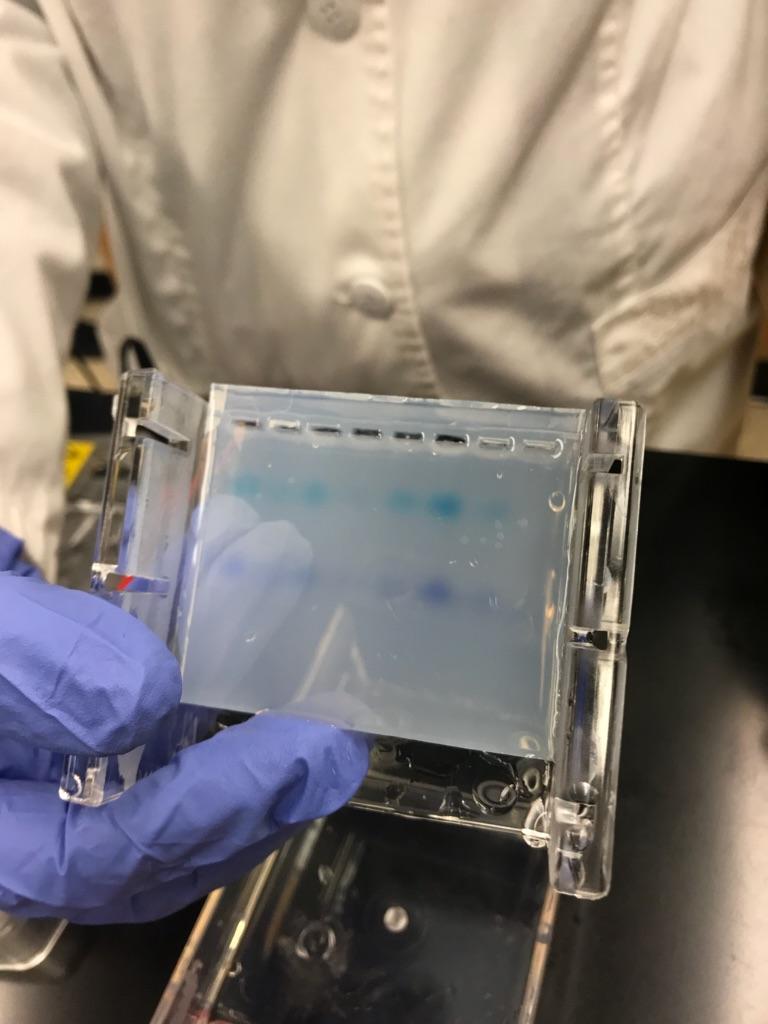
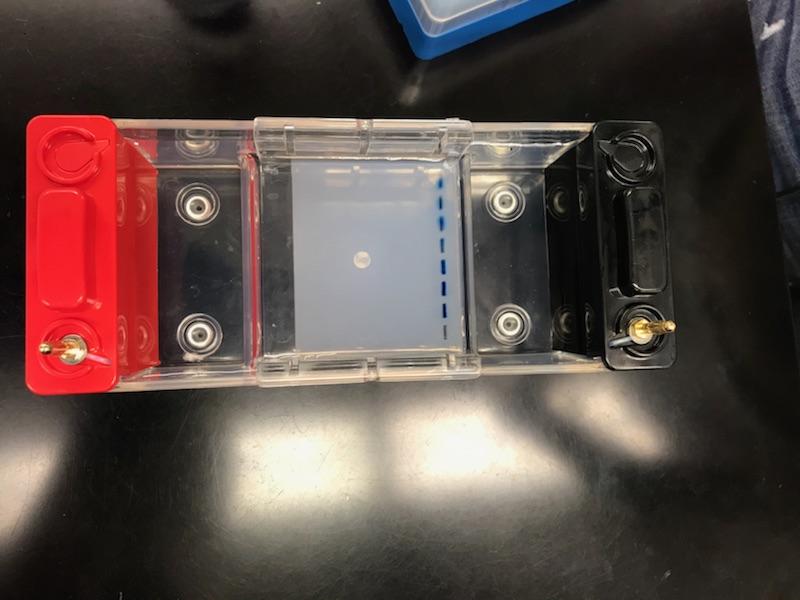
Gel before electrophoresis Gel after electrophoresis
I did the classic hole punch when injecting the ladder into well number one which is why we didn’t use it
A dilution was done to create the necessary buffer concentration
V1C1=V2C2
V1(10x)=(300mL)(1x)
V1=30 mL of TAE 10x buffer to make a 300 mL of 1x TAE buffer concentration
Thoughts
After this step we will finally be able to analyze our DNA soil sample. It was much more difficult to insert the buffer into the small wells than anticipated. Our gel was placed on the number 8 spot of the box that it is being stored in. We didn’t get to observing our DNA under the UV light but will make sure to do so next time.
February
23
Lab 7 Cox-1 Primers and Gel Electrophoresis
2/22/18
Today we amplified our extracted DNA then made the gel for the gel electrophoresis
Procedure
Preparing PCR:
- Clean the countertop with bleach for sterile environment
- Label 3 small tubes “-“, “+”, and “S”
- Add 12.5 uL of 2x Master Mix, 1 uL of primer, and 11.5 uL of water to have a total volume of 25 uL in the tube labeled “-“
- Add 12.5 uL of 2x Master Mix, 5 uL of DNA template, and 1 uL of primer, and 6.5 uL of water to have a total volume of 25 uL into the tube labeled “+”
- Add 12.5 uL of 2x Master Mix, 5 uL of DNA template, 1 uL of primer, and 6.5 uL of water to have a total of 25 uL in the tube labled “S”
- Label each tube with your group number
Creating the Agarose Gel
- In an Erlenmeyer flask add 40 mL of 1x TAE with 0.6 grams of agarose
- Cover the flask with weighing paper and the top
- Heat the flask in the a microwave for one and a half minutes on power 7
- Take the flask out and place into a warm water bath for 5 minutes to cool
- Add ethidium bromide to the solution (solution that allows you to see the DNA under UV light) and pour into gel tray. Place the comb in after pouring the gel
- Label the tray with tape and let the gel set for about 30 minutes
Observations
Cox 1 forward primer: 5′ ATGTGAGTTGATTTTATAGAGCAGA 3′
Cox 1 reverse primer: 5′ GGCATACCRTTCATTTT 3′
40 mL of 1.5 % of TAE is (40)(0.015)= 0.6 grams of agarose
Thoughts
We were able to set up the gel so that can run the PCR procedure and then analyze the DNA. I accidentally dropped all the tips for the 0.5-10 uL pipette and had to throw them all away because they were no longer sterile. (SORRY)
Positive tube labeled as “+” with the number 8 on it stored in F1
Negative tube labeled as “-” with the number 8 on it stored in F2
Sample tube labeled as “S” with the number 8 on it stored in F3
Gel Tray labeled as “Sydney, Kaitlyn, Angelo group 8”
February
16
Lab 6: E.Z.N.A. Tissue DNA Protocol
2/15/18
Today we finished the Ludox protocol and also performed the E.Z.N.A. Tissue DNA Protocol
Procedure:
Ludox Cell Layer
- Spin 5 minutes at 3000 g
- Remove supernatant
- Add 1 mL of PBS to wash the cells
- Spin for 5 minutes at 3000 g
- Remove supernatant
- Resuspend cells in 100 uL of PBS and combine to one tube
- Add 20 uL of Iodine and 20 uL of cells
- Observe under microscope with 5 drops of 2 uL
Before Starting
- Prepare DNA Wash Buffer and HBC Buffer according to direction in the protocol guide
- Heat Elution Buffer to 70 C in heat block
- Chill PBS to 4 C
Prepare Cell Suspension
- Add 200 uL of PBS and flick tube to mix. Remove the supernatant without getting rid of the pellet
- Add another 200 uL of PBS
- Add 25 uL of OB Protease then vortex
Lysis
- Add 220 uL of BL Buffer
- Incubate at 70 C for 10 minutes in heat block then vortex
Binding
- Add 220 uL of 100% ethanol then vortex
- Transfer all of the sample to the sample into an HiBind with a 2 mL Collection Tube
- Centrifuge at max speed for 1 minute
- Discard the filtrate
Wash and Dry
- Add 500 uL of HBC Buffer to HiBind
- Centrifuge at max speed for 30 seconds
- Discard filtrate and collection tube
- Obtain a new collection tube for the HiBind
- Add 700 uL of DNA wash buffer
- Centrifuge at ma speed for 30 seconds
- Discard filtrate
- Repeat steps 5-6
- Centrifuge empty HiBind on max speed for 2 minutes
Elute
- Transfer the HiBind into a nuclease free 1.5 mL microcentrifuge tube with a name and date
- Add 100 uL Elution Buffer heated to 70 C
- Let sit at room temperature for 2 minutes
- Centrifuge at max speed for 1 minutes and discard the HiBind and keep the liquid in the tube
- Store at -20 C
Observation
There were 14, 17, and 25 cells in each drop from one slide and 22, 25, 32 cells in each drop from the other slide.
Thoughts
We accidentally added Iodine to our cell solution which messed up our color. We will see how that changes our data. We labeled our tube as Sec 22, Group 8, 2-15-18, DNA on the top of the tube with KSA on the side of the tube