Lab 11: Gel Electrophoresis and Gel Analysis

3/29/18
Today in lab we performed gel electrophoresis and analyzed the success by looking at them under UV light in the lab on the 3rd floor.
Procedures
Gel Electrophoresis
1. Remove the rubber pieces and comb from the gel electrophoresis box mold.
2. Obtain the six PCR tubes
3. Place the gel box into the gel electrophoresis apparatus and pour 1x TAE solution into the apparatus until the wells of the gel are completely submerged.
4. Pipette 10ul of each PCR product (loading dye is already mixed with PCR products) into separate wells and pipette 5ul of the DNA ladder into one well.
5. Ensure that the gel box is oriented so that the wells are opposite of the positive end of the gel electrophoresis apparatus.
6. Plug the positive and negative electrodes into their respective outlets in the gel electrophoresis apparatus power supply box. Turn the power supply to 110V and run the electrophoresis for ~30min.
7. After the gel electrophoresis, image the gel in a UV gel imaging chamber and determine if and DNA was actually present in the PCR products.
Observations
| Well # | 1 | 2 | 3 | 4 | 5 | 6 | 7 | 8 |
| Sample | Ladder | (+) Cox1 | (-) Cox1 | eDNA Cox1 | (+) V4 | (-) V4 | eDNA V4 | empty |
| Volume | 10uL | 10uL | 10uL | 10uL | 10uL | 10uL | 5uL | 0 uL |

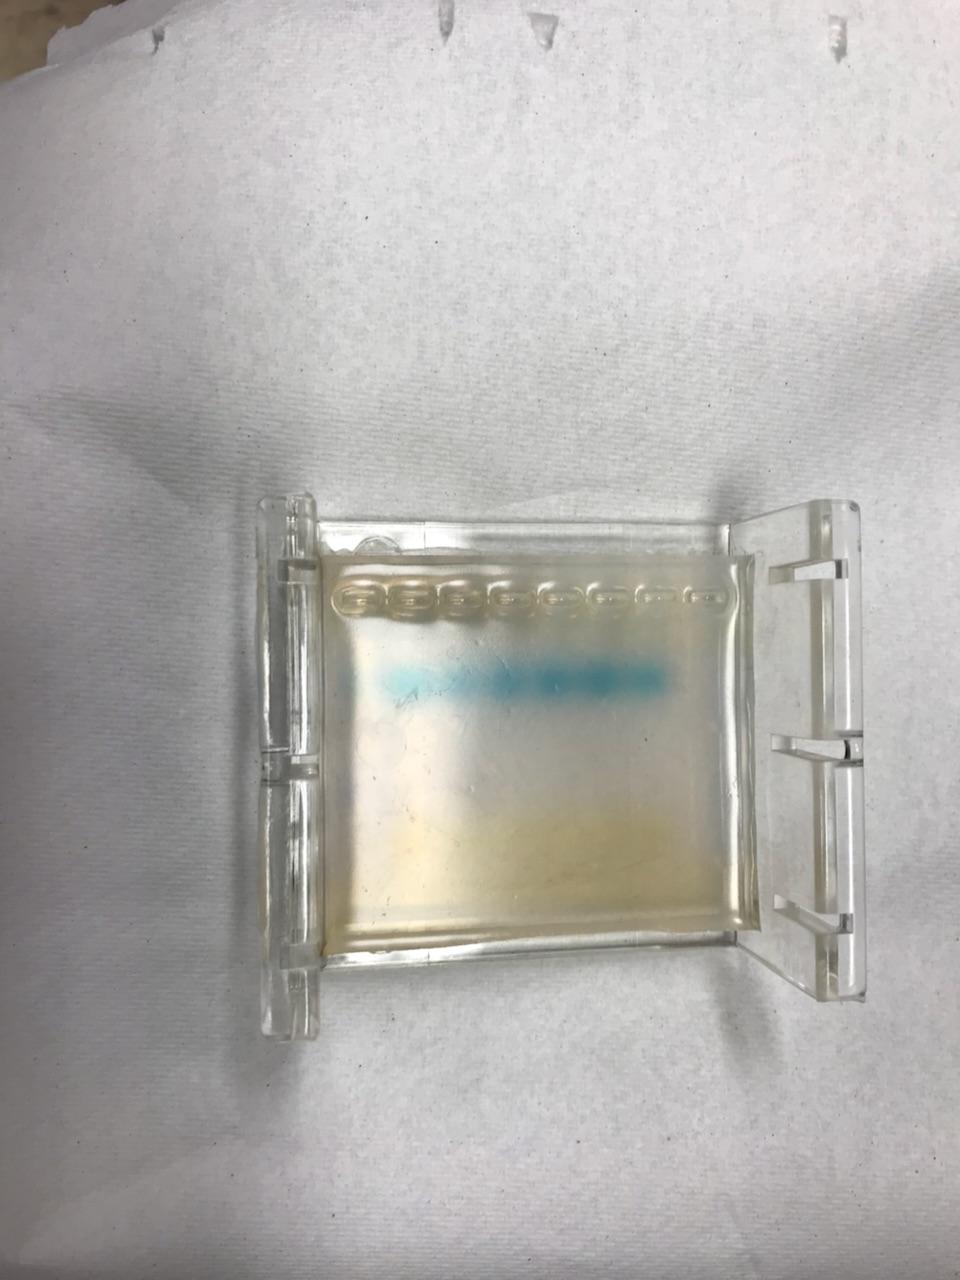
Before Gel Electrophoresis After Gel Electrophoresis
Thoughts
We didn’t have any DNA show up in the UV light results surprisingly. The only thing that came up was the ladder. We were expecting DNA from the positive controls, however, since nothing came out then that means that we probably messed up somewhere in the PCR process.