Lab 12: Chelex Extraction and PCR 4/5/18

Objective:
The goal of this experiment was to further our knowledge of the Chelex extraction and to further our lab experiences by creating gels at a certain concentration and understanding how PCR works. The main objective was to individually produce our own chelex extraction samples so that we may combine our samples with our groups to potentially increase the amount of DNA present to be primed with the V4 gene in gel electrophoresis.
Purpose:
The purpose of this experiment is to see if we can replicate successful results containing the V4 primers and other genes we may want to look for in our ciliate eDNA samples. If we are able to mimic the successful results that group 8 was able to able to find during last lab so that we may be able to create an effective and cost efficient procedure that may be easily used by other students in the future. Another purpose of this lab was to test our prior knowledge and experience in performing this procedure, it allows us to have a more solidified understanding of these procedure by doing it a second time.
Procedure:
1.) Isolate 1.5 ml of soil liquid from a non-flooded well plate then centrifuge at 6,000 x gravity. After this, discard the supernatant and repeat this step two-three times in order to achieve a viable amount of DNA for the rest of the procedure.
2.) Add 200 micro-liters of to the pellet and vortex briefly and then add 15 micro-liters of proteinase K located at the front of the room.
3.) Incubate for 30 minutes at 56 degrees Celsius in a heat block/water bath.
4.) After that is complete, boil the tubes for 8 minutes at 100 degrees Celsius in a heat block located on one of the lab desks, then vortex for 1 minute.
5.) Centrifuge at 16,000 x gravity for three minutes, then transfer 100 micro-liters of supernatant into to a clean micro-centrifuge tube (be careful and avoid transferring the chelex beads).
6.) Make sure to label your micro-centrifuge tube containing a total of 300 micro-liters of supernatant from you and all your group members (21-5 LSK chDNA 4-5-18).
7.) Then take your DNA upstairs and use the nano drop to determine the concentration of the DNA sample and place 1 micro-liter of this DNA into the tube marked “eDNA.” Then place all tubes in the thermocycler to proceed with PCR.
Preparing PCR tubes:
1.) Obtain three tubes containing 12.5 micro-liters of 2x MasterMix.
2.) Add 1.25 micro-liters of V4 primer to the negative control tube and 11.25 micro-liters of water to have a total volume of 25 micro-liters.
3.) Add 1 micro- liter of the positive control (obtained from group 8’s chelex extraction from the previous lab) to the positive control tube as well as 1.25 micro- liters of V4 primer and 10.25 micro-liters of water.
4.) Add 1 micro- liter of your eDNA sample into the eDNA tube as well as 1.25 of the V4 primer and 10.25 micro- liters of water.
*These tubes will placed in the thermocycler after the nanodrop determine the concentration of DNA in your sample.
*We used a positive control that contained group 8’s previous successful chelex extraction eDNA
Data/Observations:
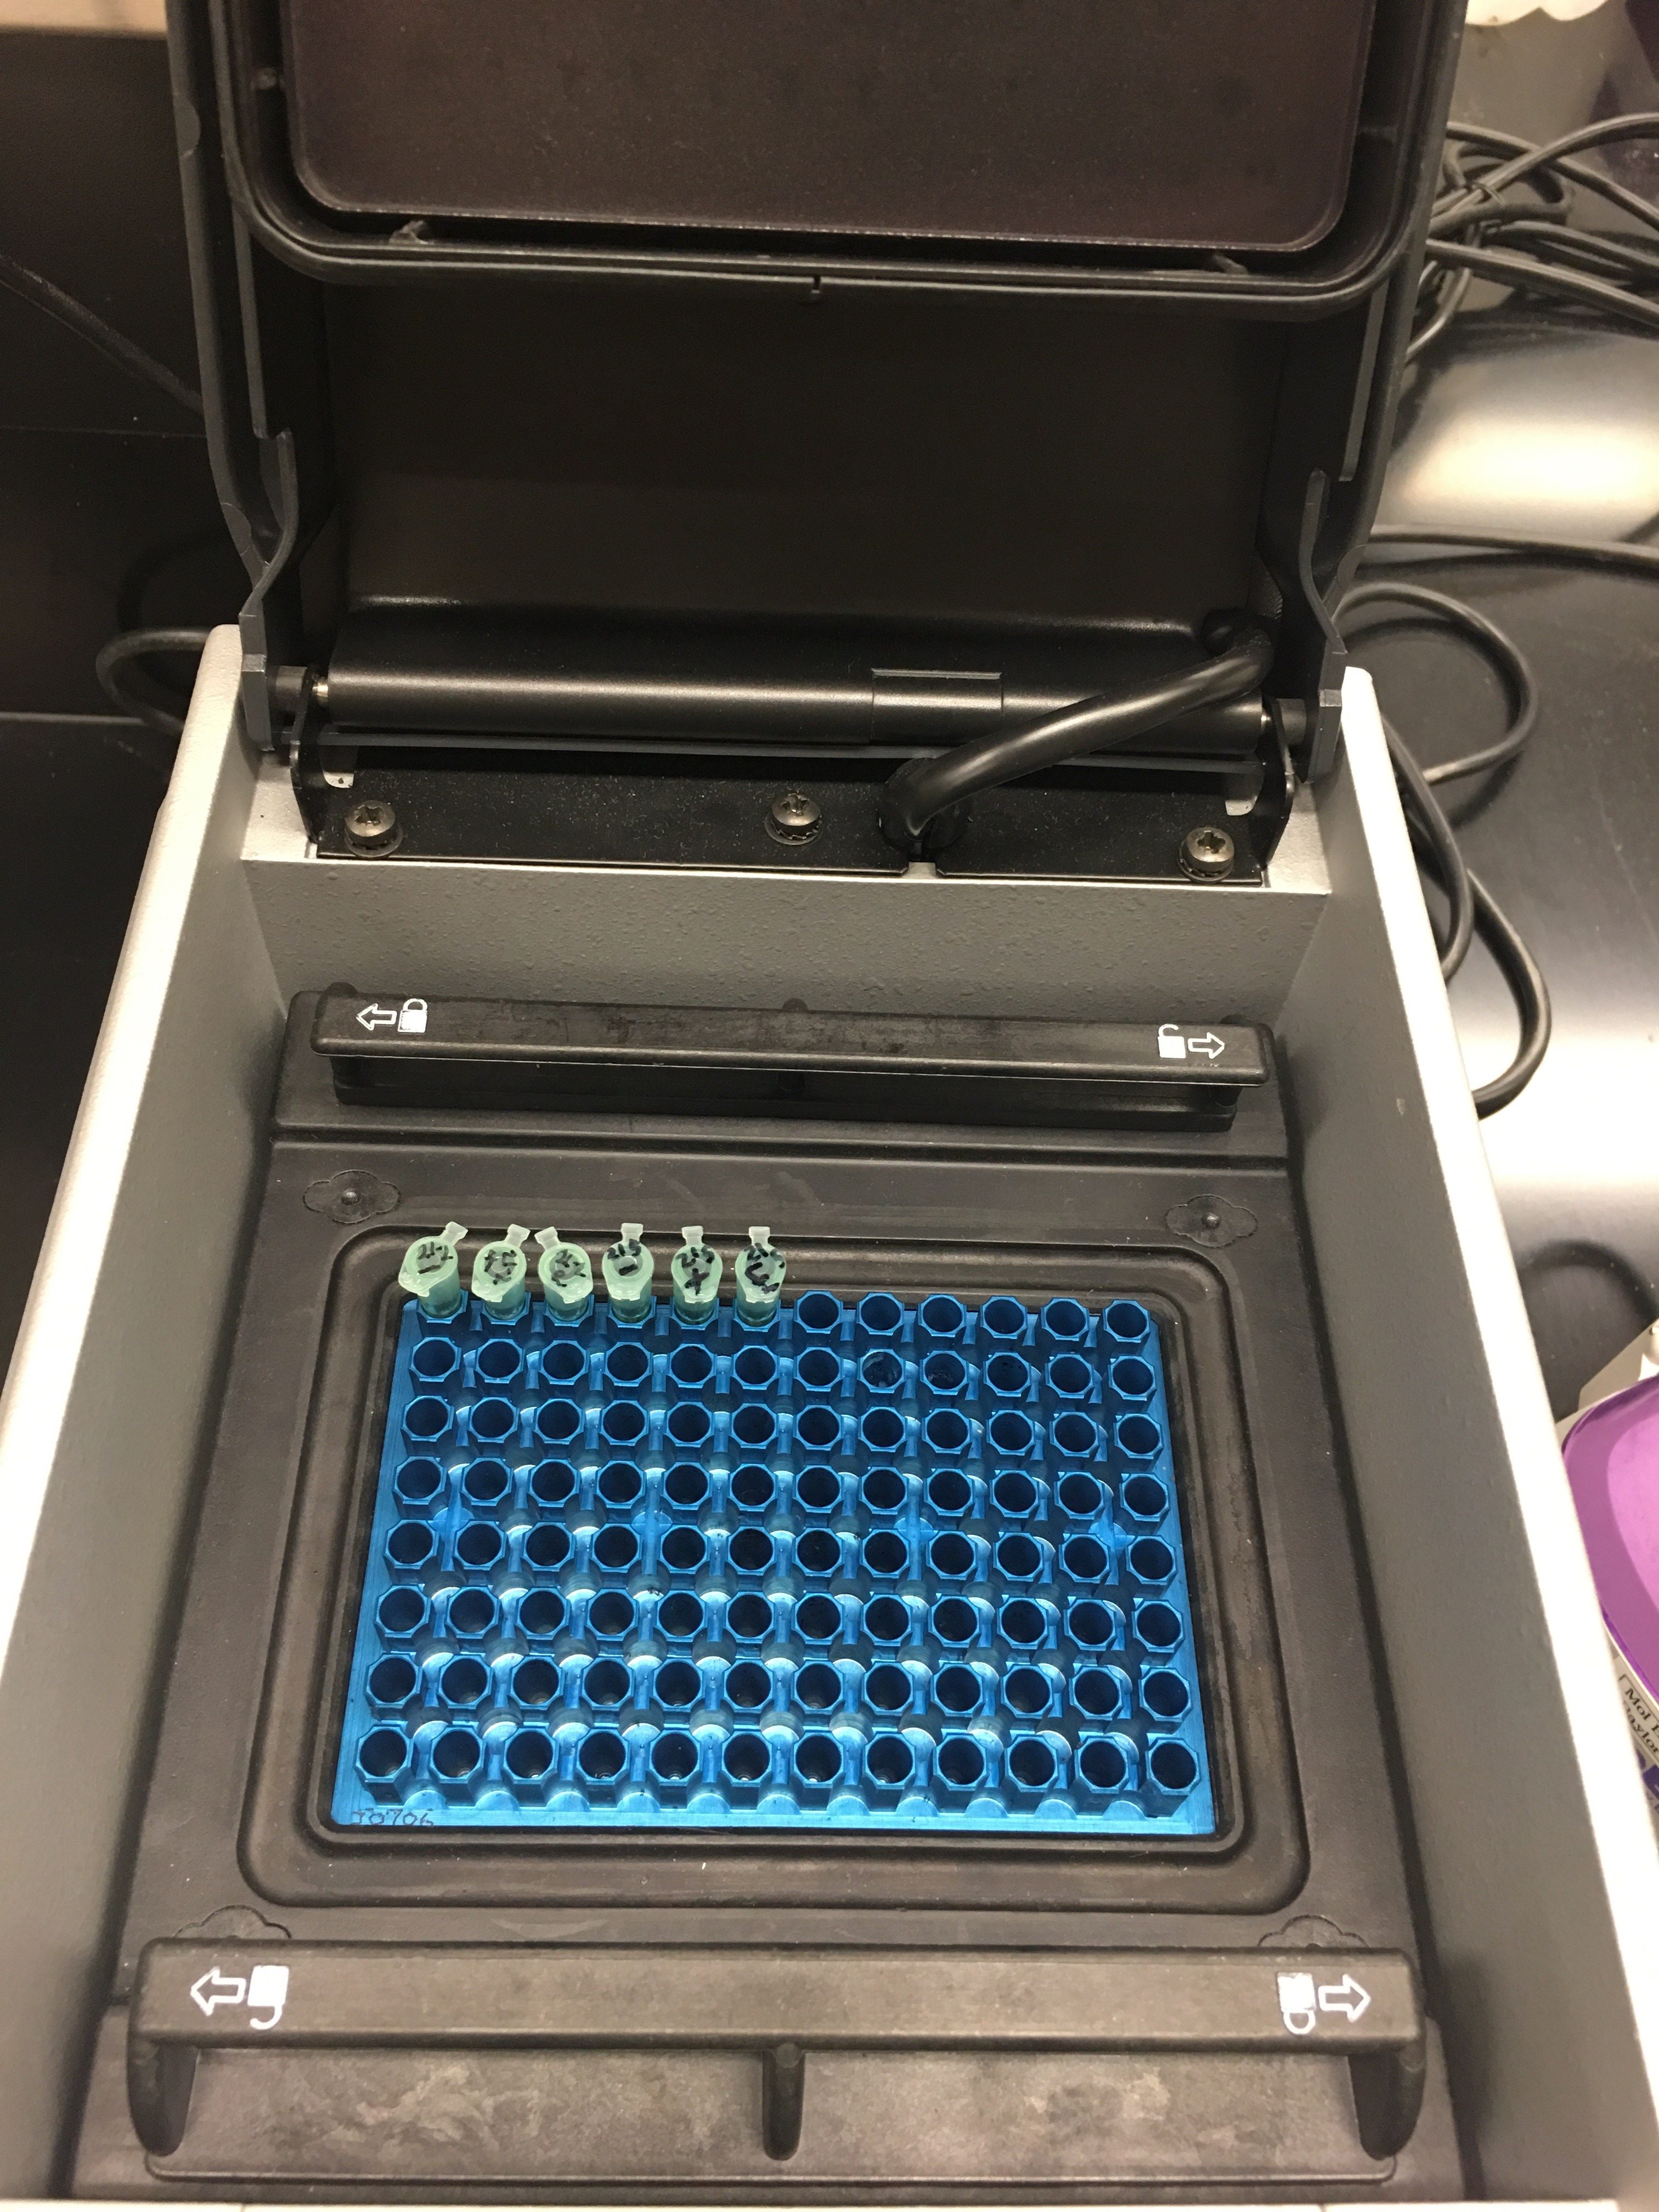
This is an image of our 3 PCR tubes located in the thermocycler.
*Our group’s tubes are located in spots 4-6
While creating the gel, I managed to pour the agarose liquid mixture into the mold at as hot of a temperature as I could so that the gel would solidify evenly because in the past, when the gel cooled for too long and was then poured, ended up being uneven because it had already started to harden before it was formed.
During this lab we were able to perform the chelex extraction individually which I think was very helpful because my group previously performed the PowerSoil Extraction so I was not necessarily aware of all of the components of this procedure. So, during this lab I was able to personally go through the Chelex protocol which allowed me to further understand why each step was being performed and what majored purpose it had within the procedure.
Storage:
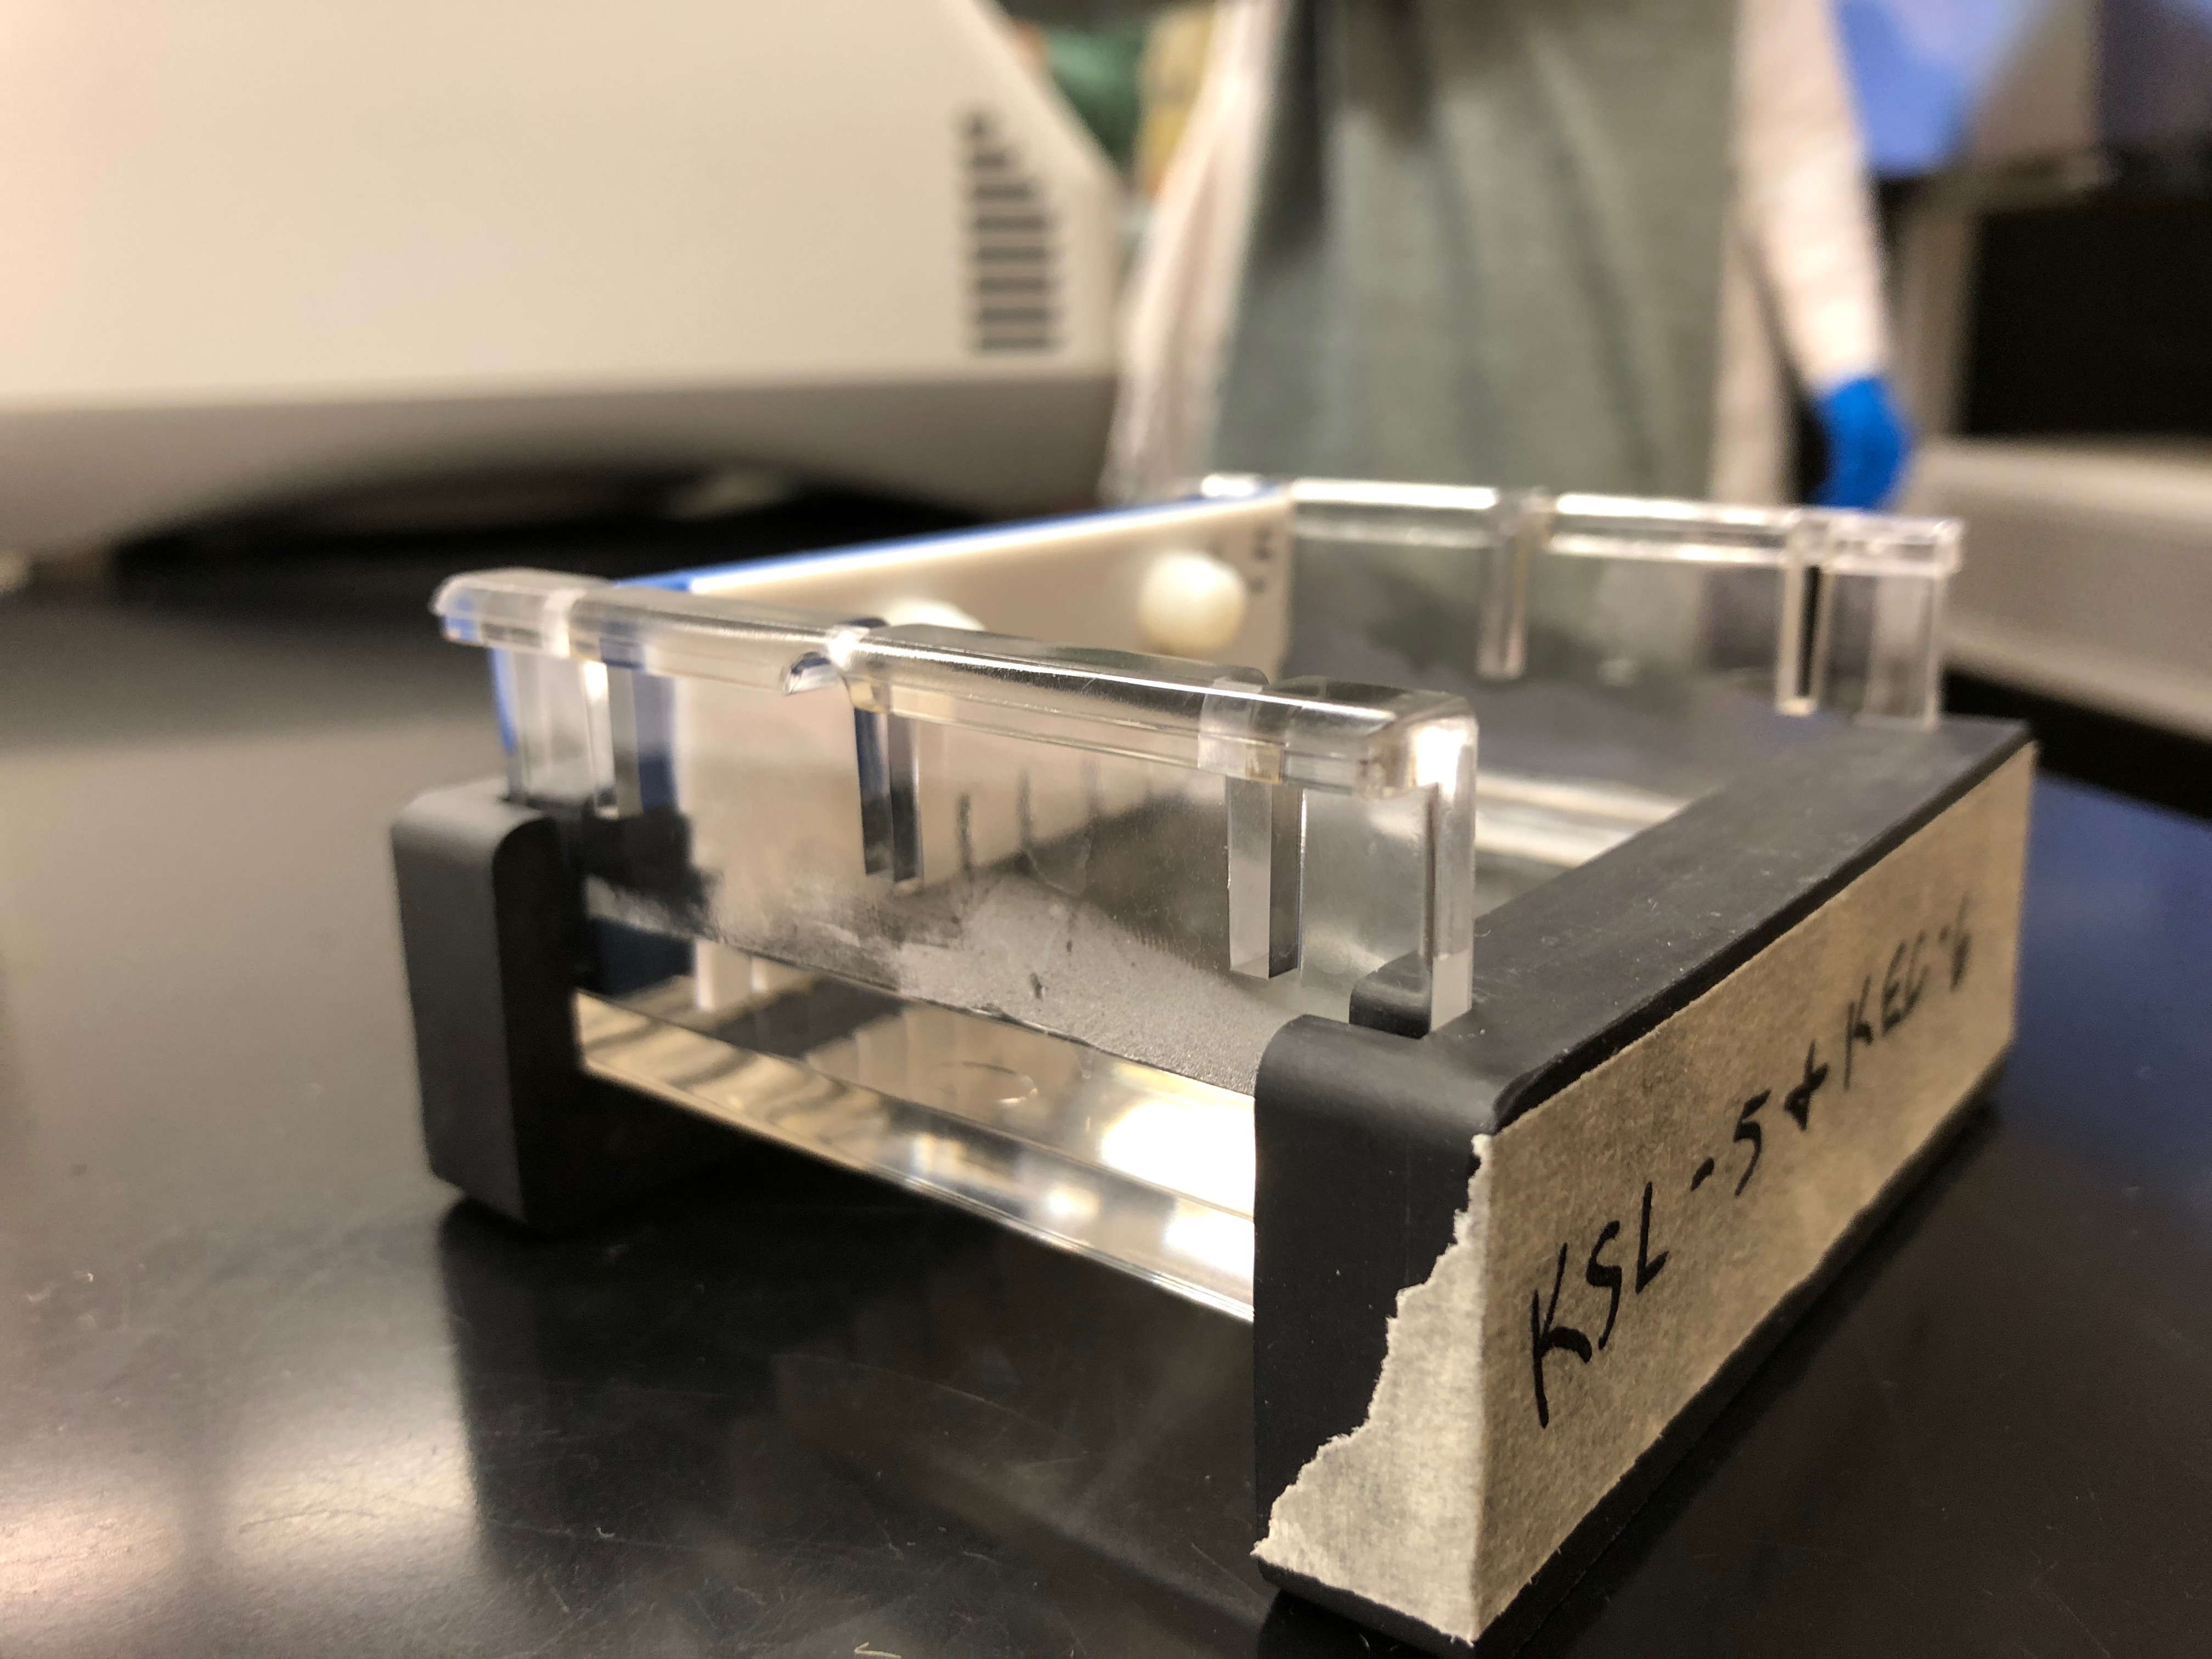
Our PCR tube that were labeled 21-5; -, +, eDNA, were placed in the thermocycler so we may run PCR, our gel was left on the table to be stored later for next lab and was labeled “KSL-5 + KEC-6”. These will be used to run gel electrophoresis during the next lab. Our eDNA sample was placed in a tube rack that was stored in the freezer for later use.
Future Goals:
In the future, I hope that our new gels, after our next run of gel electrophoresis, show that the Chelex extraction is a successful procedure that may continuously give us the results we want. If we are able to rely on this procedure then we may be able to add it to our metabarcoding protocol and have the eDNA we created be sent for sequencing and potentially aid us during taxonomic identification. I hope that this run of our experiments will be successful and we are able to consider it as an effective protocol.