Lab 10: Preparing for Gel Electrophoresis (cox1/v4 primers) 3/22/18

Objective:
The goal of the lab is to learn how to create a gel after having to perform multiple calculations. Being able to calculate how much of a substance goes into another substance can help us in later experiments in our research careers. Another objective of this lab is to understand the nano drop results and how they are crucial as we continue further research. We also have the continuous goal of becoming better more educated science majors by revising our rough drafts of our research papers to see how well we can communicate what we are doing in an accurate, precise, and scientific way.
Purpose:
The purpose of this lab is to prepare the samples with the primers so that we may later use them for gel electrophoresis. We eventually hope to see successful results in our gels that we created during gel electrophoresis. Many groups also hope to further advance our to our goal of metabarcoding ciliates once we get over this small obstacle related to PCR and gel electrophoresis since we have done this before. Another purpose of performing these experiments is to help determine which protocol, Power Soil or Chelex, provided the best results and if the results can be replicated.
Procedure:
1.) Obtain a tube rack containing water, the DNA that was extracted from the previous lab, six tubes containing 12.5 micro-liters of 2x master mix, the cox1 and v4 primers, 10x TAE buffer, a serological pipette, a 100mL Erlenmeyer flask and 0.6 grams of agarose powder (and weigh paper).
2.) Label the six tubes containing 2x Master mix with the number 1-6.
3.) In tubes 1-3, pipet 0.625 micro-liters of the cox1 primer.
4.) In tubes 4-6, pipet 0.625 micro-liters of the v4 primer.
5.) In tubes 1 and 4, (these are the negative control tubes) pipet 1 micro- liter of water.
6.) In tubes 2 and 5, (these will contain the positive control using a DNA sample from a paramecium culture) pipet 1 micro- liter the positive control sample into each.
7.) In tubes 3 and 6, (this will contain the environmental sample that was extracted using either the MoBio Power Soil kit or the Chelex protocol that was performed during the previous lab) pipet 1 micro-liter of the DNA that was extracted from the previous lab.
8.) After this is done, store your samples in the tube rack at the front of the room.
9.) In order to create the gel using a 1x TAE solution from the given 10x TAE solution, we added 90mL of water to 10mL of the 10x TAE and now we have the new solution.
10.) We then needed a total of 35mL of a 1.8% agarose TAE gel buffer. This was determined by multiplying the total amount of milliliters we needed with the percentage of agarose need and came up with 0.6mL and 1mL is about 1 gram. We concluded that we needed 0.6 grams of agarose to be added to the 1x TAE buffer.
11.) Once everything was added into a smaller 100mL Erlenmeyer flask, the flask was placed in the microwaved to be heated at power 7 for 1 minute and 20 seconds, or until boiled.
12.) Once it was boiling, it was removed from the microwave to cool for a few minutes. Then the ethidium bromide was added (make sure you wear gloves because this is a carcinogen).
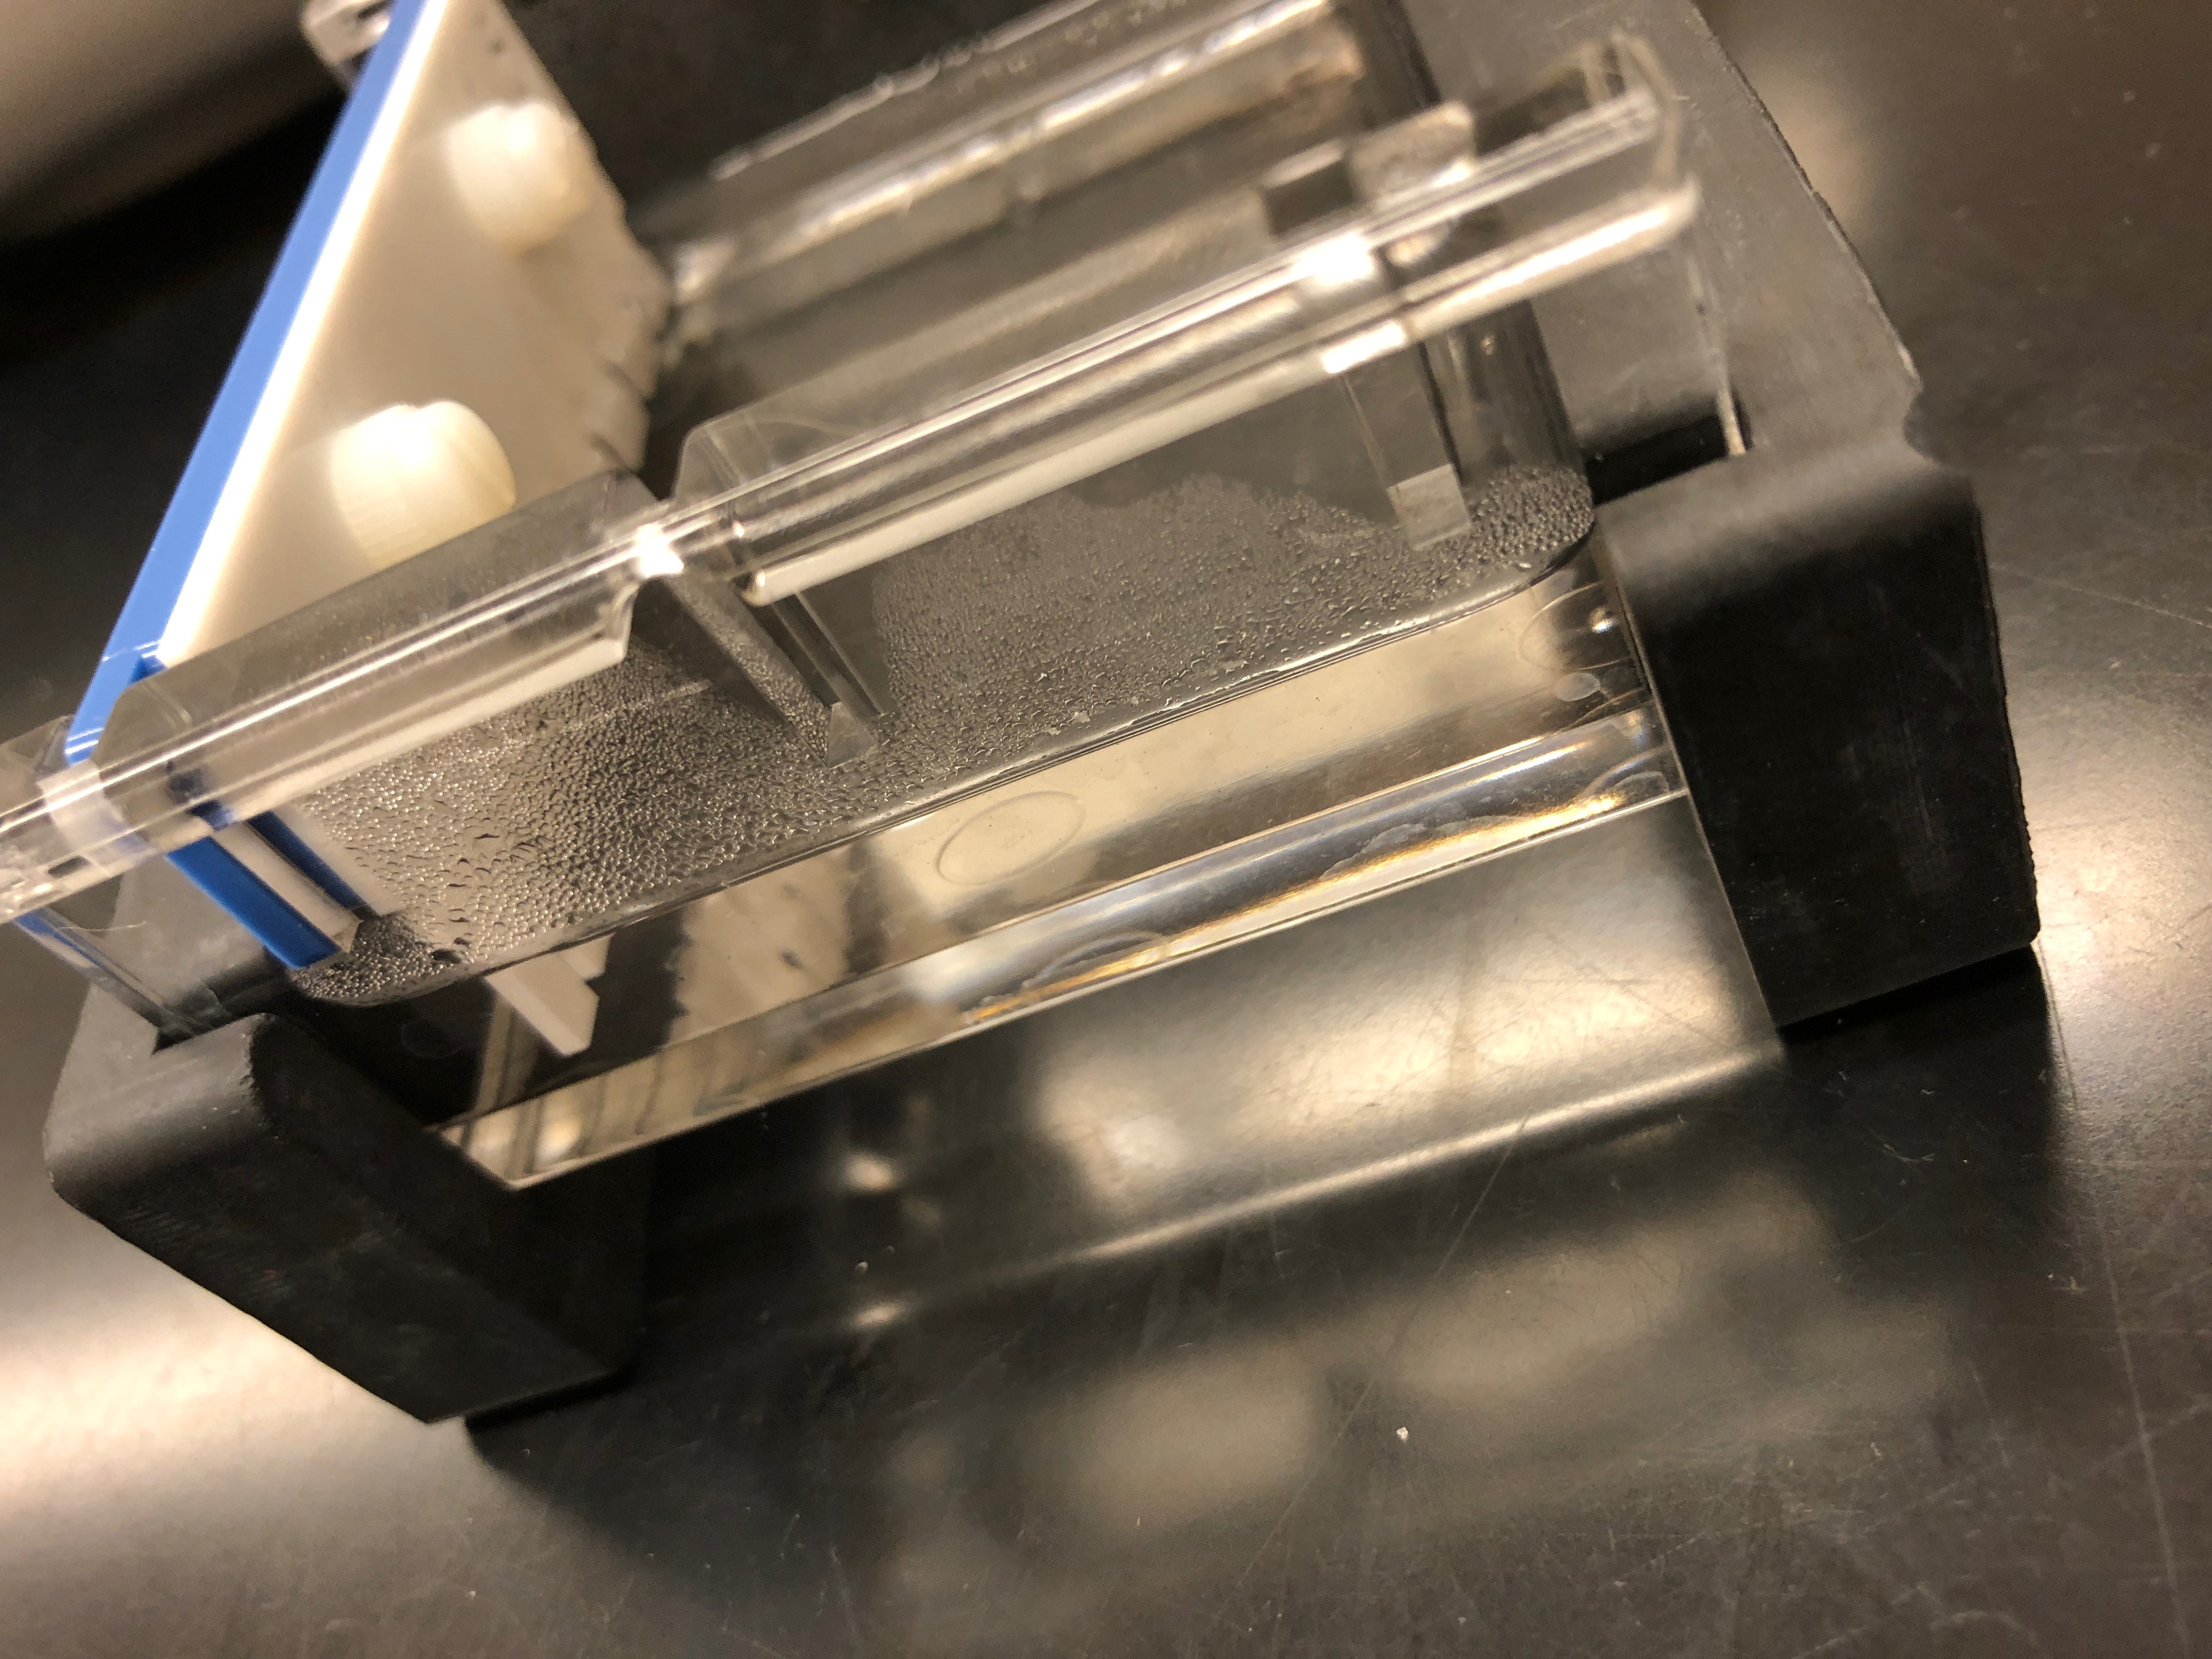
13.) While that is being completed, make sure that the gel mold is properly assembled and ready for the hot agarose to be added.
14.) Retrieve the flask from Dr. Adair and quickly return to the gel mold and pour the hot agarose liquid into the mold before it cools.
15.) Let the gel set for several minutes so that it may harden and be later used for gel electrophoresis.
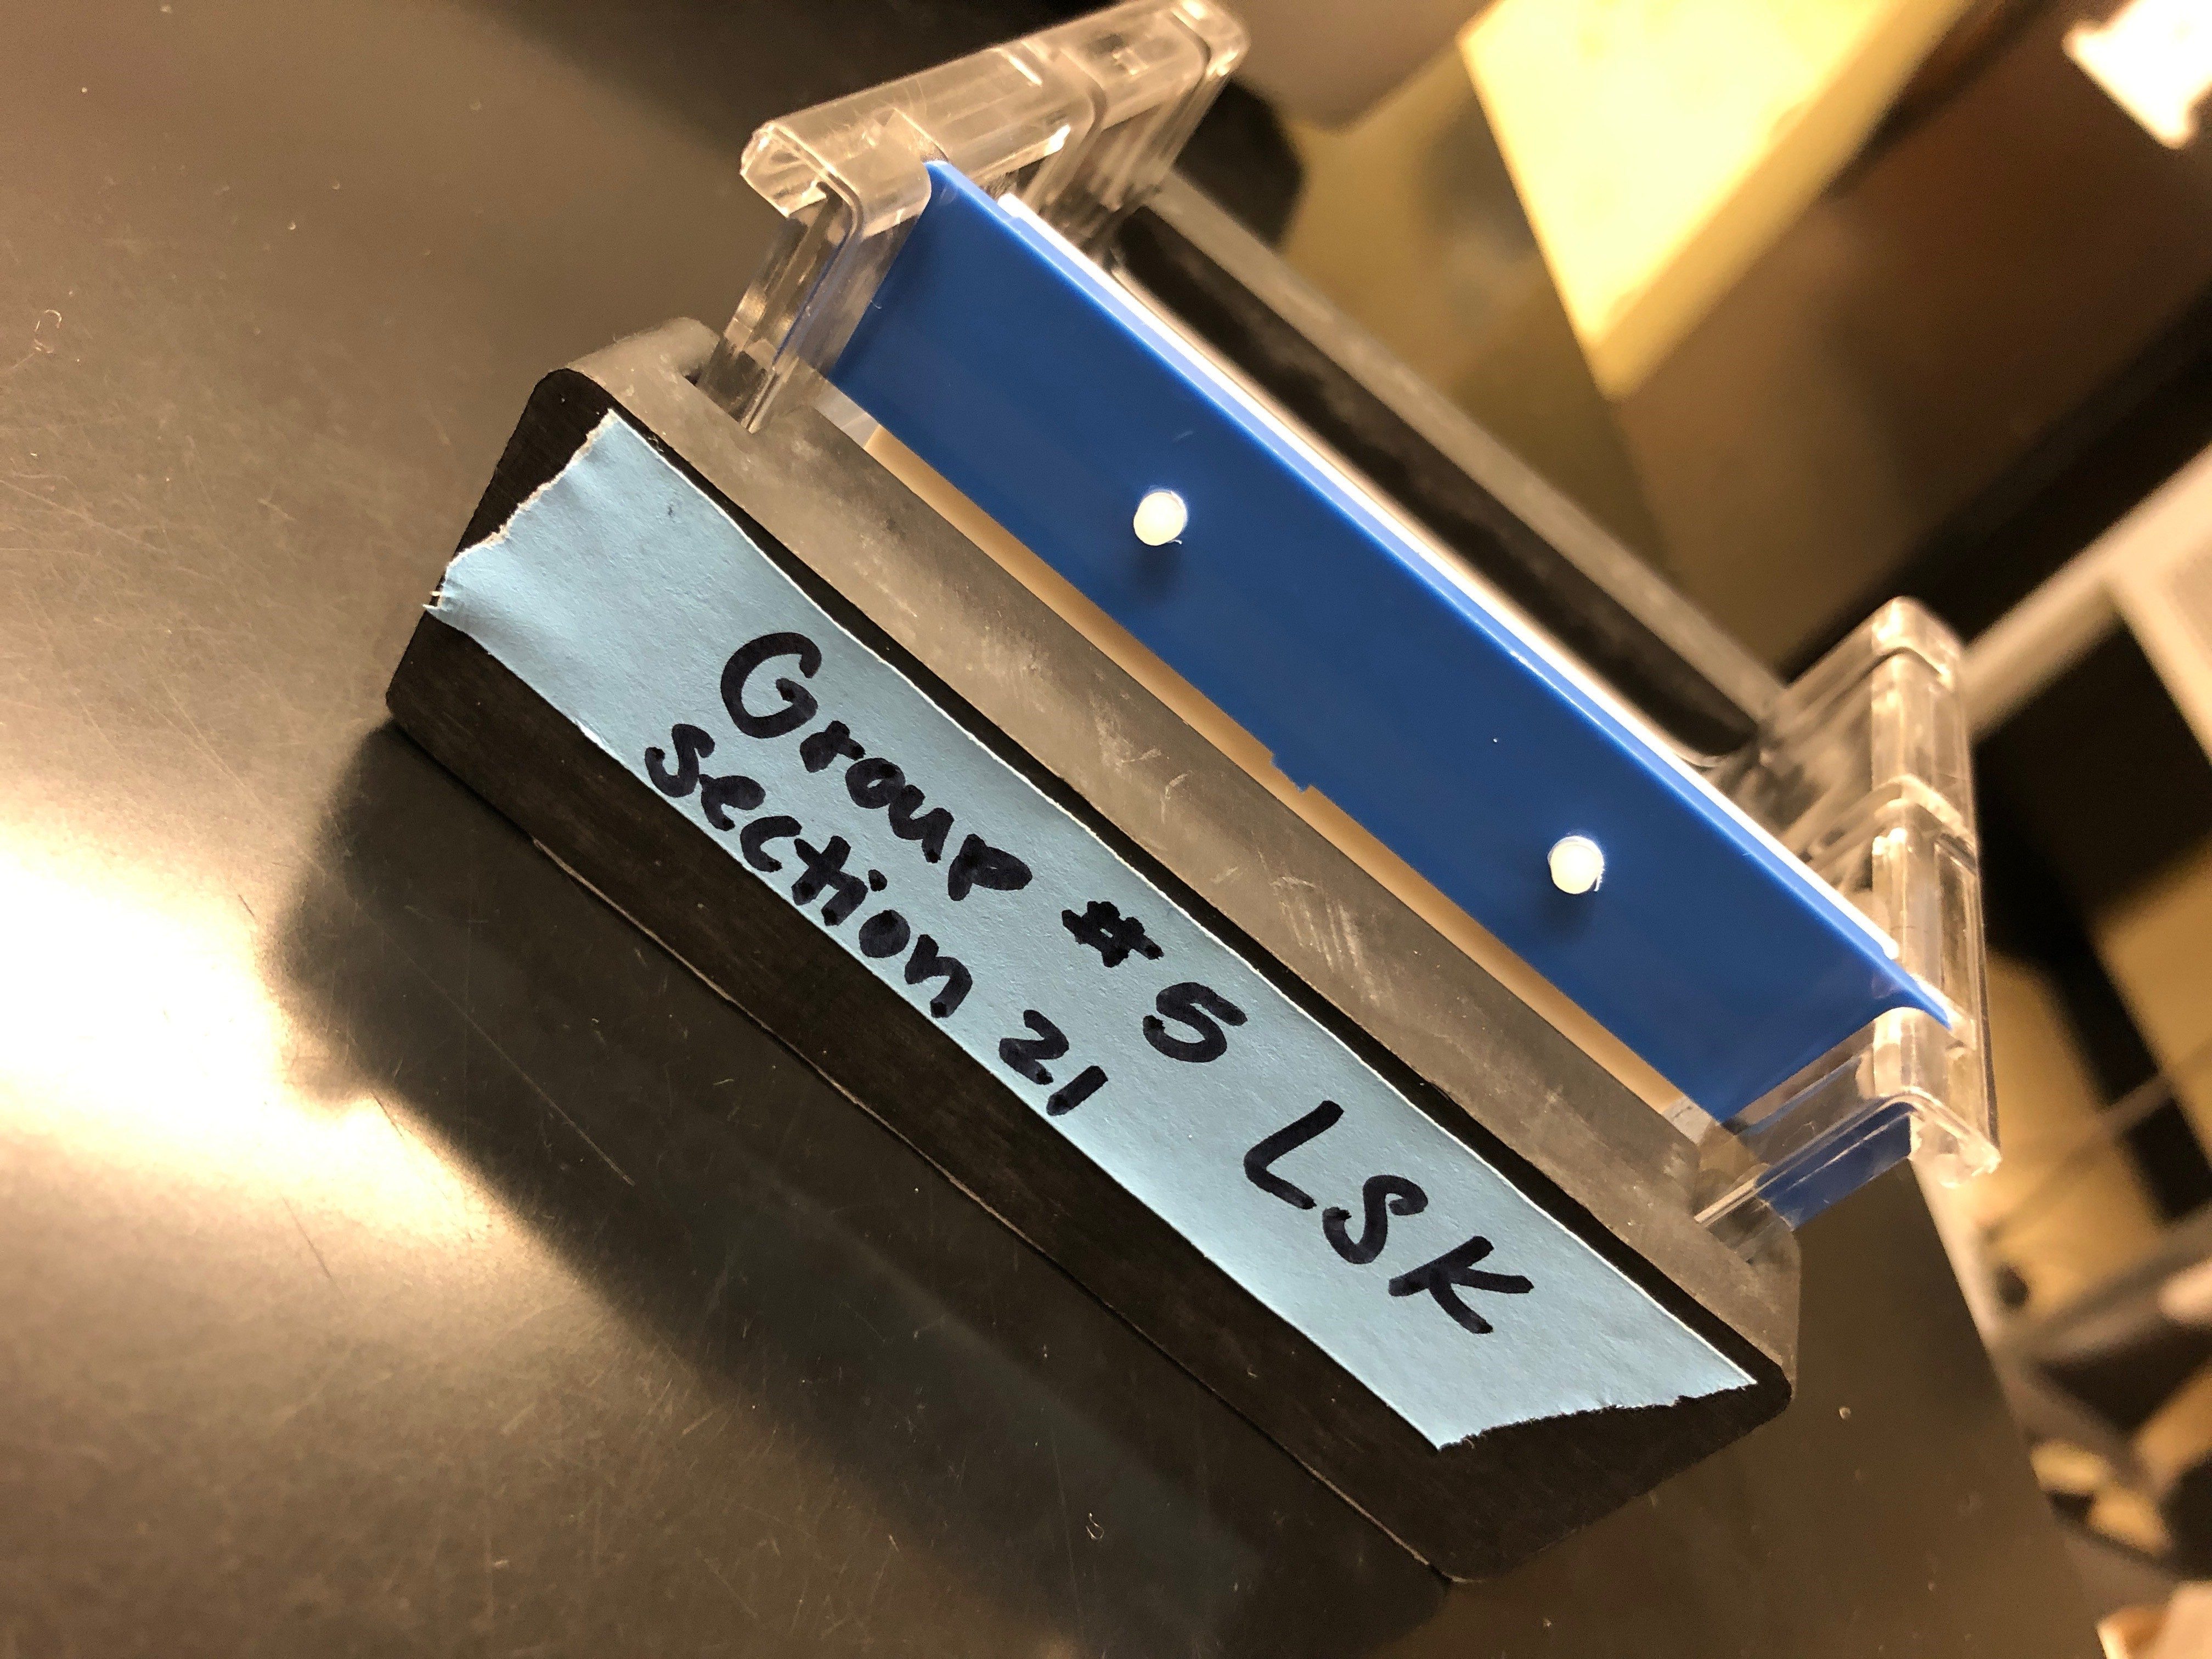
16.) Obtain blue tape from hope and write your groups identifier on it and place on the side of your gel mold.
Data/ Observations:
During this lab, we had to create our own concentration of the TAE buffer to create the gel. I poured the gels both times we have had to do this in lab and I’ve found that making an even gel is crucial to the amount of time in between adding the ethidium bromide after it boiled and pouring it into the mold. The last time I poured the gel I waited for the flask containing the agarose to cool a little bit but I noticed that the mixture started to harden within the flask so that when I poured it in the mold, it was uneven because the pieces that had harden prevented the remaining liquid from being distributed evenly throughout the mold. When I poured the gel this time, Dr. Adair gave me the flask (after she had added ethidium bromide) when it was still extremely hot and told me that it was okay to pour. I almost burnt my hand through my gloves as I was carrying the flask back to my lab station. As soon as I got to lab station, I poured the hot agarose liquid into the gel mold and it seemed to have evenly dispersed throughout the mold and because I didn’t really let it sit in between, there were no clumps that had started to hardened that prevented the liquid from evenly filling the mold.
*My group used the MoBio Power Soil Kit
*Our nano drop results showed 1.98.
Storage:
After we finished preparing our primers and creating our gel, we labeled the gel mold using a piece of blue tape that says “G#5 LSK Section 21”. The gels still needed to set before they could be moved so we left them on our lab stations to be later stored for the next lab session.
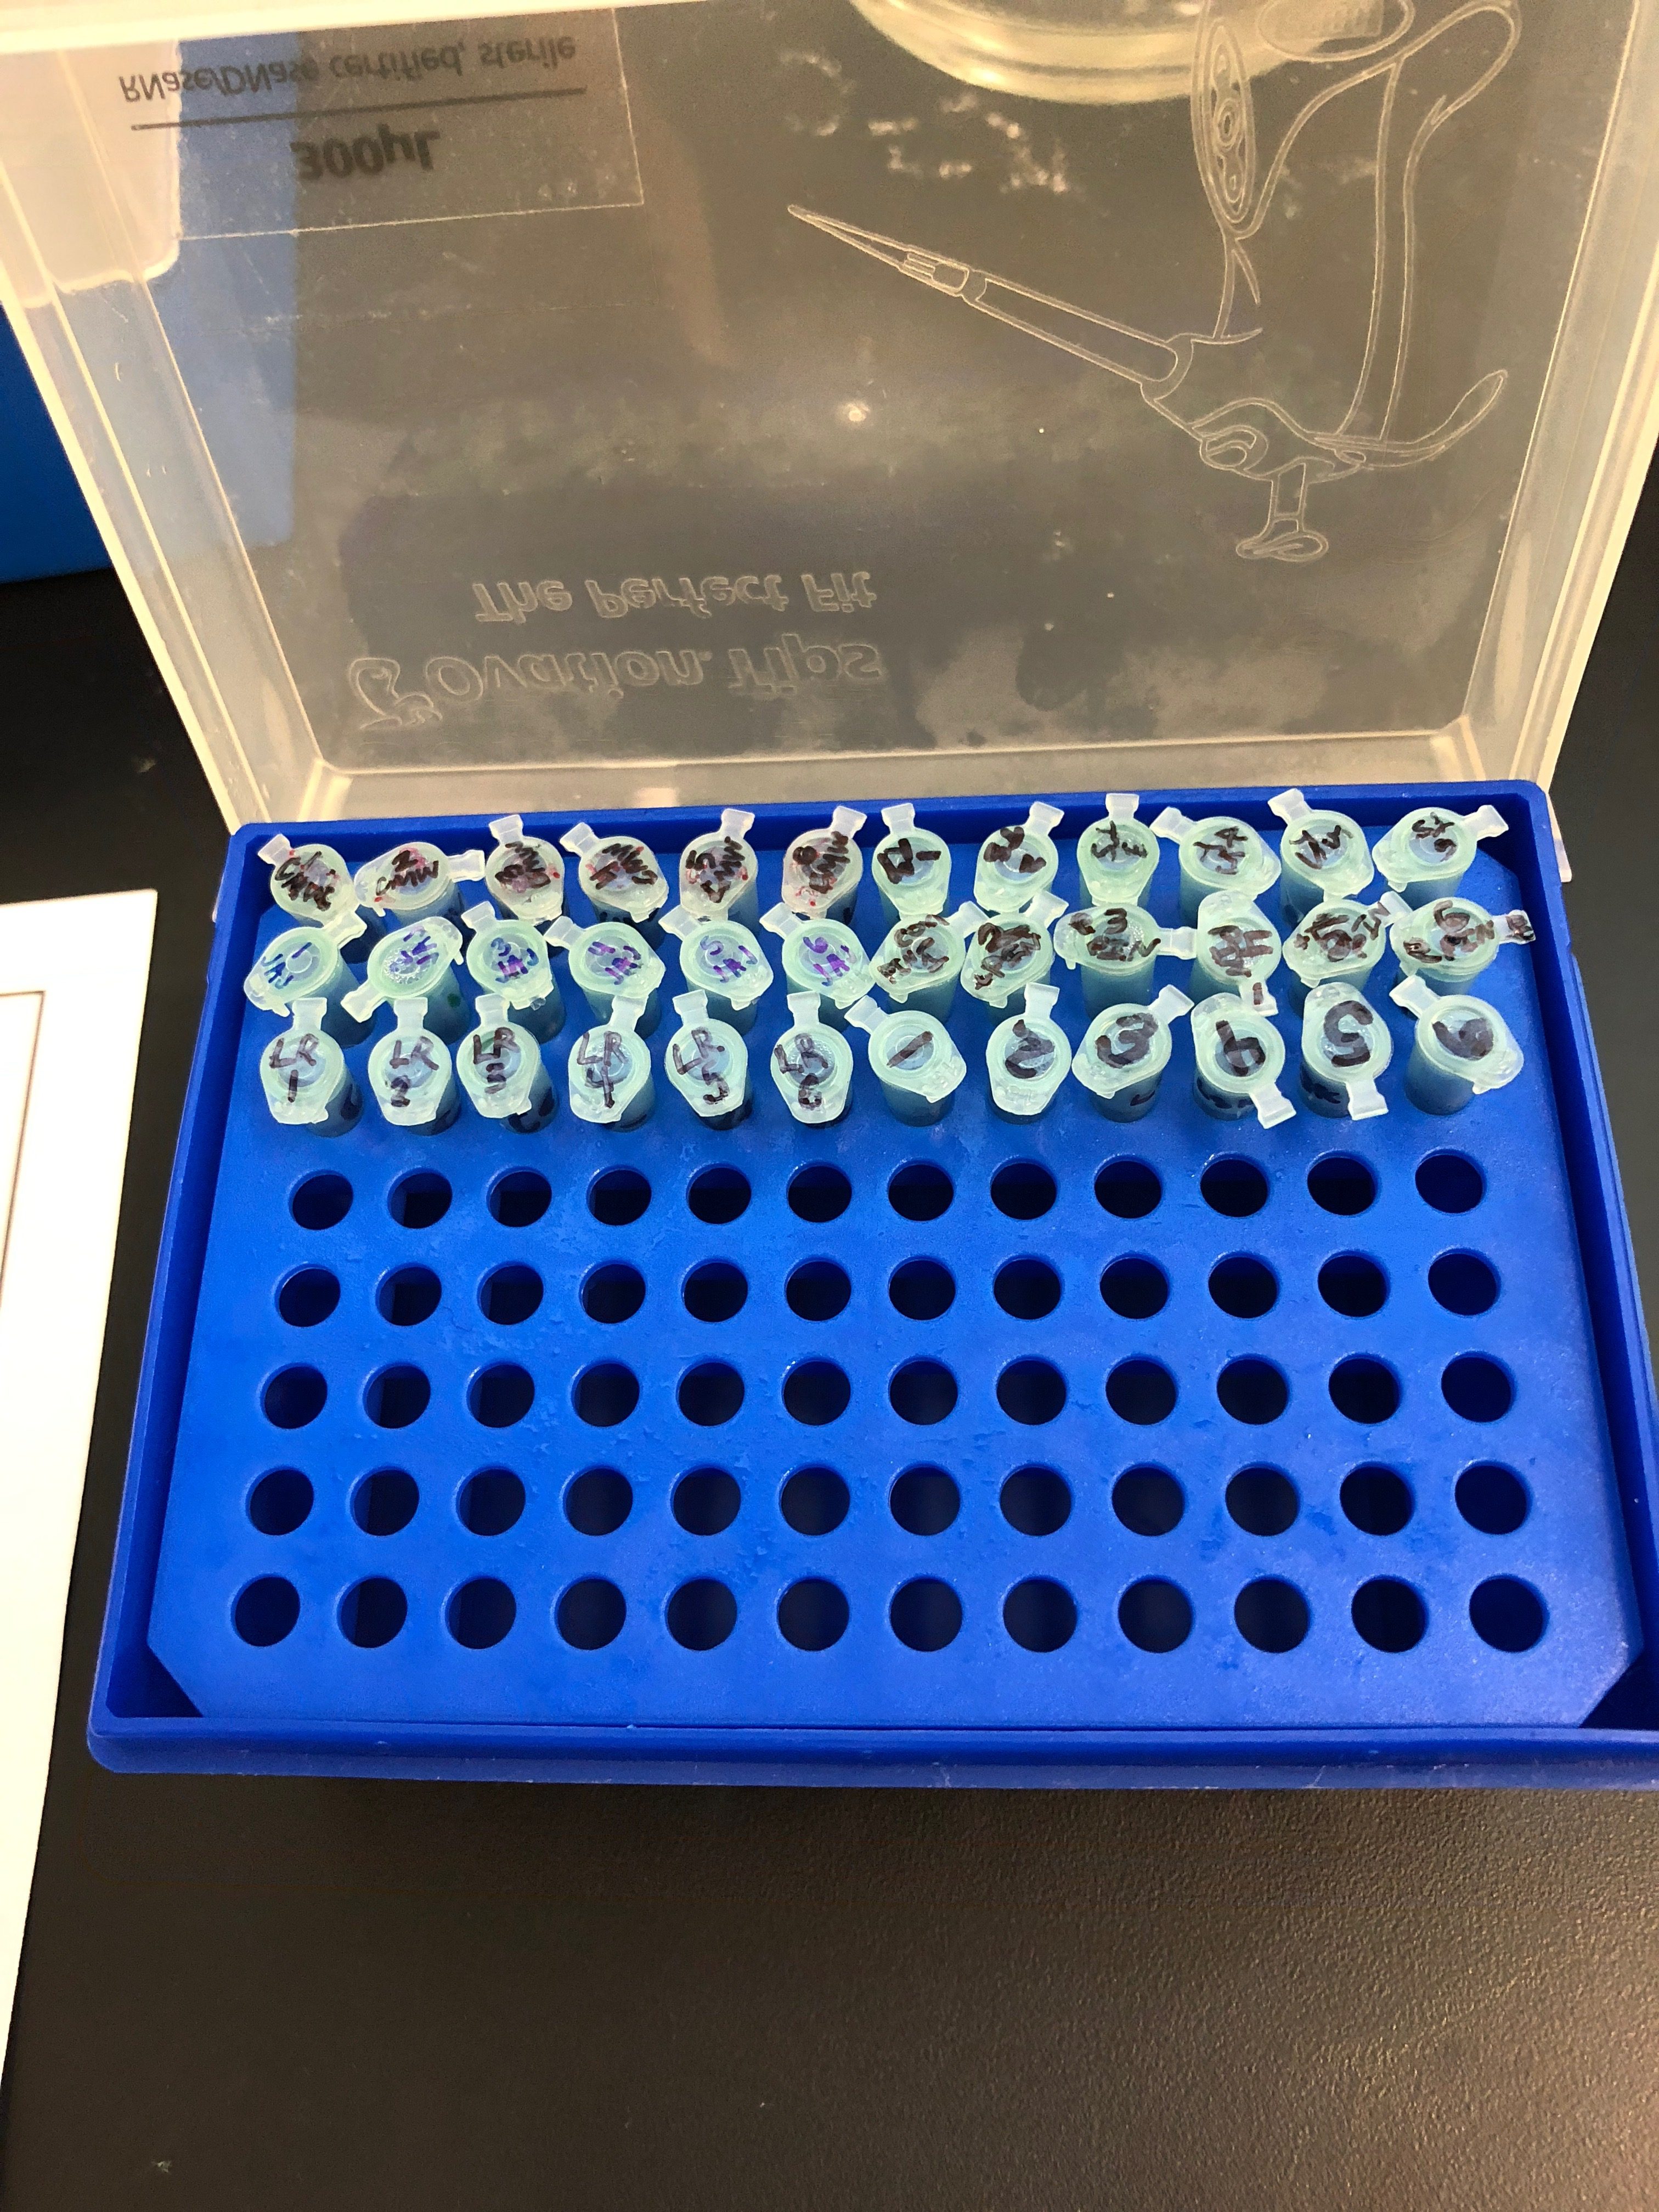
We stored our samples (to be later used for gel electrophoresis) in the micro-centrifuge tubes in a tube rack at the front of the rooms and labeled them with the number one through six to represent whether they were the COX 1 primer or the V4 primer. Tubes 1, 2, and 3 were using the COX 1 gene and they contained (in order from left to right), the negative control, the positive control, and the sample containing the environmental DNA. Tubes 4, 5, and 6, used the V4 primer and contained (in order from left to right) the negative control, the positive control, and the environmental DNA sample.
Future Goals:
In the future, I hope that we are able to successfully run gel electrophoresis. In the past when we have run gels, we did not see any DNA marker bands but we also didn’t have very great numbers from the nano drop results. This time our nano drop results are better and show that there is in fact DNA present in the samples, so I am hopeful that the gel we will run in the future will accurately show the DNA present within the sample we isolated using the MoBio Power Soil kit. I also hope that we can see that the DNA does in fact carry the cytochrome oxidase one gene and the V4 gene.