Purpose:
The purpose of this lab was to prepare both positive and negative control samples, as well as our soil DNA samples in tubes to be put through the PCR amplification process of denaturation, annealing, and elongation. In addition, we discussed and learned the details of the PCR amplification process to ensure that everyone in the class had a clear understanding of how we would be amplifying the DNA we found in our samples. We discussed the possibility of skewed results, due to our unreliable and questionable results of testing for DNA in our samples. It is possible that our cell layers were contaminated by other substances in the DNA extraction procedure and this is what is causing our results to be unreliable and unusual. Therefore, when we run PCR it is possible that other cells’ DNA, not just ciliates, will be amplified in the process as well. Lastly, an objective of this lab was to make an agarose gel that we would be using for gel electrophoresis on our amplified DNA samples in next week’s lab.
Procedure:
- Discuss Learning Objectives of the lab and the details behind the PCR amplification process.
- Discuss the results of analyzing our DNA concentrations from the samples that we were able to extract using the procedure from last week’s lab.
- Begin preparation for the PCR procedure:
- Obtain 3 tubes already filled with 12.5 μl of 2x Master Mix. Label each of these tubes with a +,-, and S to indicate which tube will be the positive control, negative control, and soil DNA sample tube. The master mix consists of the appropriate buffer, DNA nucleotides, and Taq polymerase. Perform each of the following steps quickly and carefully, so as to limit the amount of DNA exposure and contamination throughout the experiment.
- For each of the tubes, add 1 μl of COX 1 forward and reverse primers using a micropipette.
- For the negative control tube: pipette 11.5 μl of deionized water into the solution. No DNA template will be added to this tube. Set aside once its preparation has been completed and it has a total of 25 μl.
- For the positive control: pipette 5 μl of the DNA template stock solution of Paramecium (concentration of 10 ng/mL) into the solution. In addition, pipette 6.5 μl of deionized water into the solution, to reach a total of 25 μl in the tube. Set aside for storage.
- For the soil DNA sample tube: pipette 5 μl of the extracted DNA from our soil samples into the solution (concentration unknown and unreliable.) In addition, pipette 6.5 μl of deionized water into the solution, to reach a total of 25 μl in the tube. Set aside for storage.
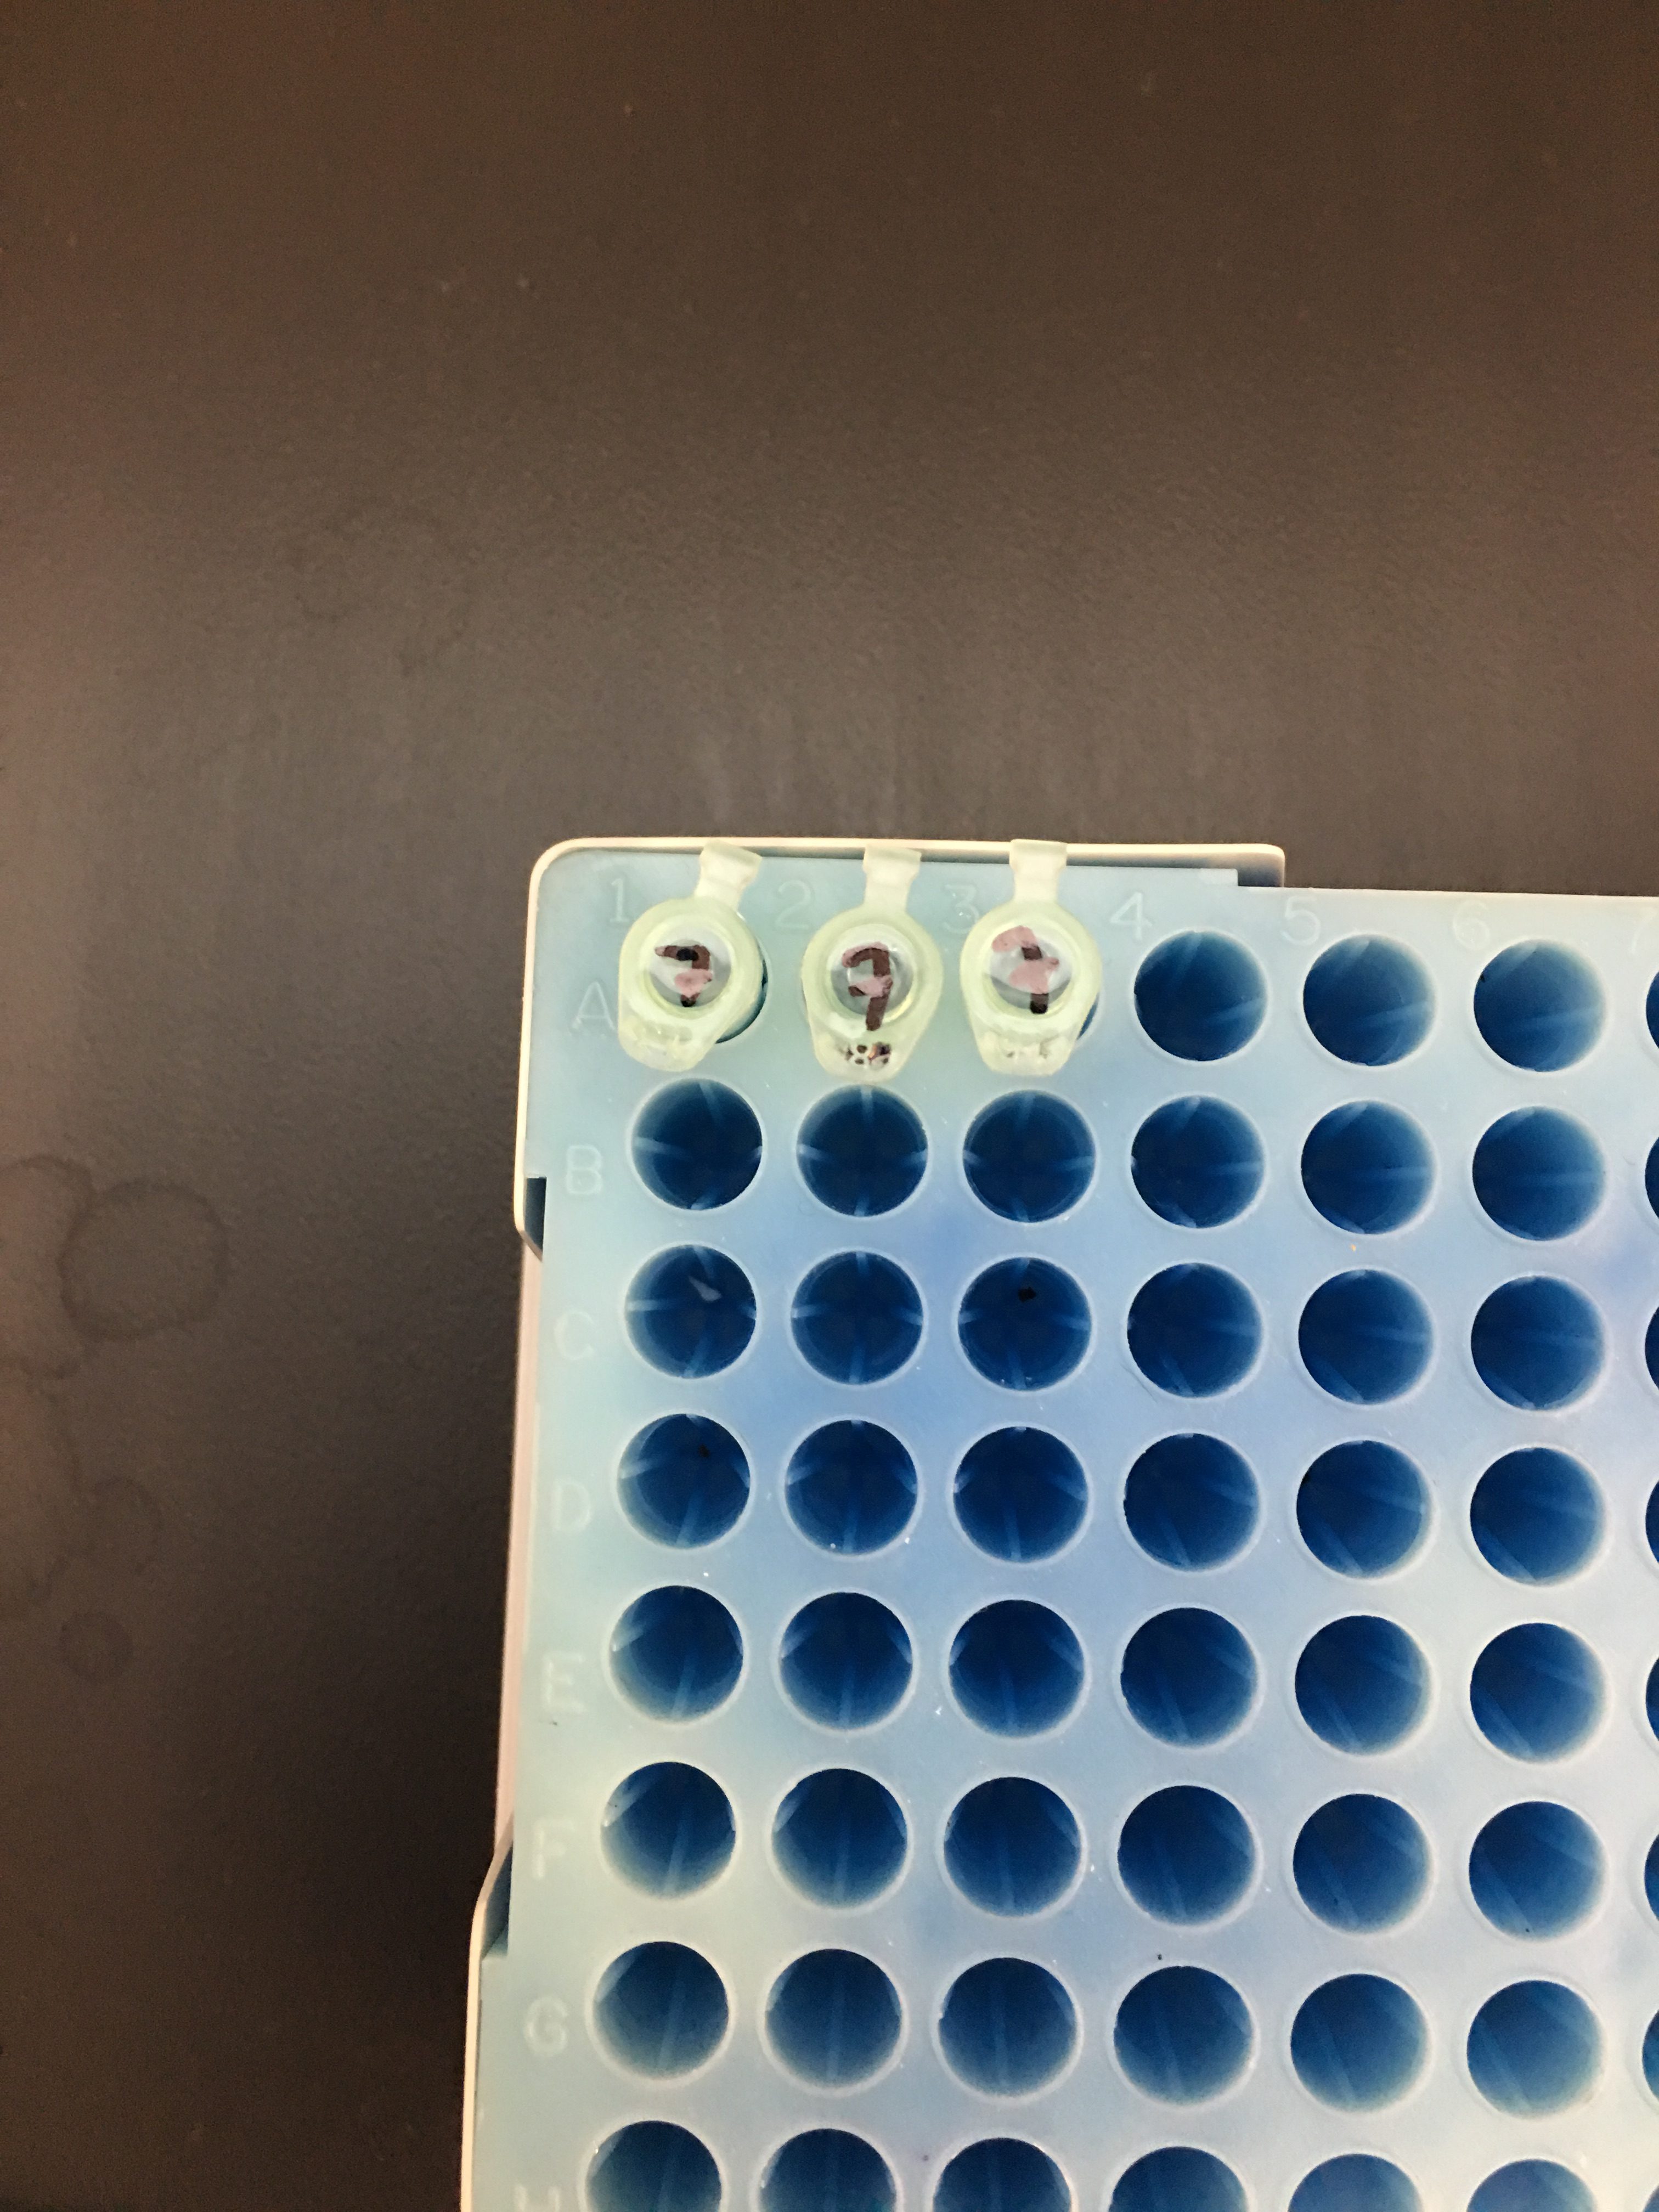
- Place the three tubes in the class rack at the front of the room. Record the location of your tubes in the rack and what you indicated each of them with. Our tubes are labeled with a “7” on the lid and are located in slots A1, A2, and A3 in the rack.
- Begin making Agarose gel:
- Measure out 0.6 grams of Agarose. Add to 40 mL of T.A.E. Swirl the erlenmeyer flask with the solution to begin to mix. Cover the flask with weighing paper and a small plastic cap to prevent contamination.
- Microwave the flask apparatus for 1 minute and 20 seconds. Remove carefully, solution is boiling.
- Place flask into a water bath at 55 degrees Celcius for 5 minutes to allow it to cool.
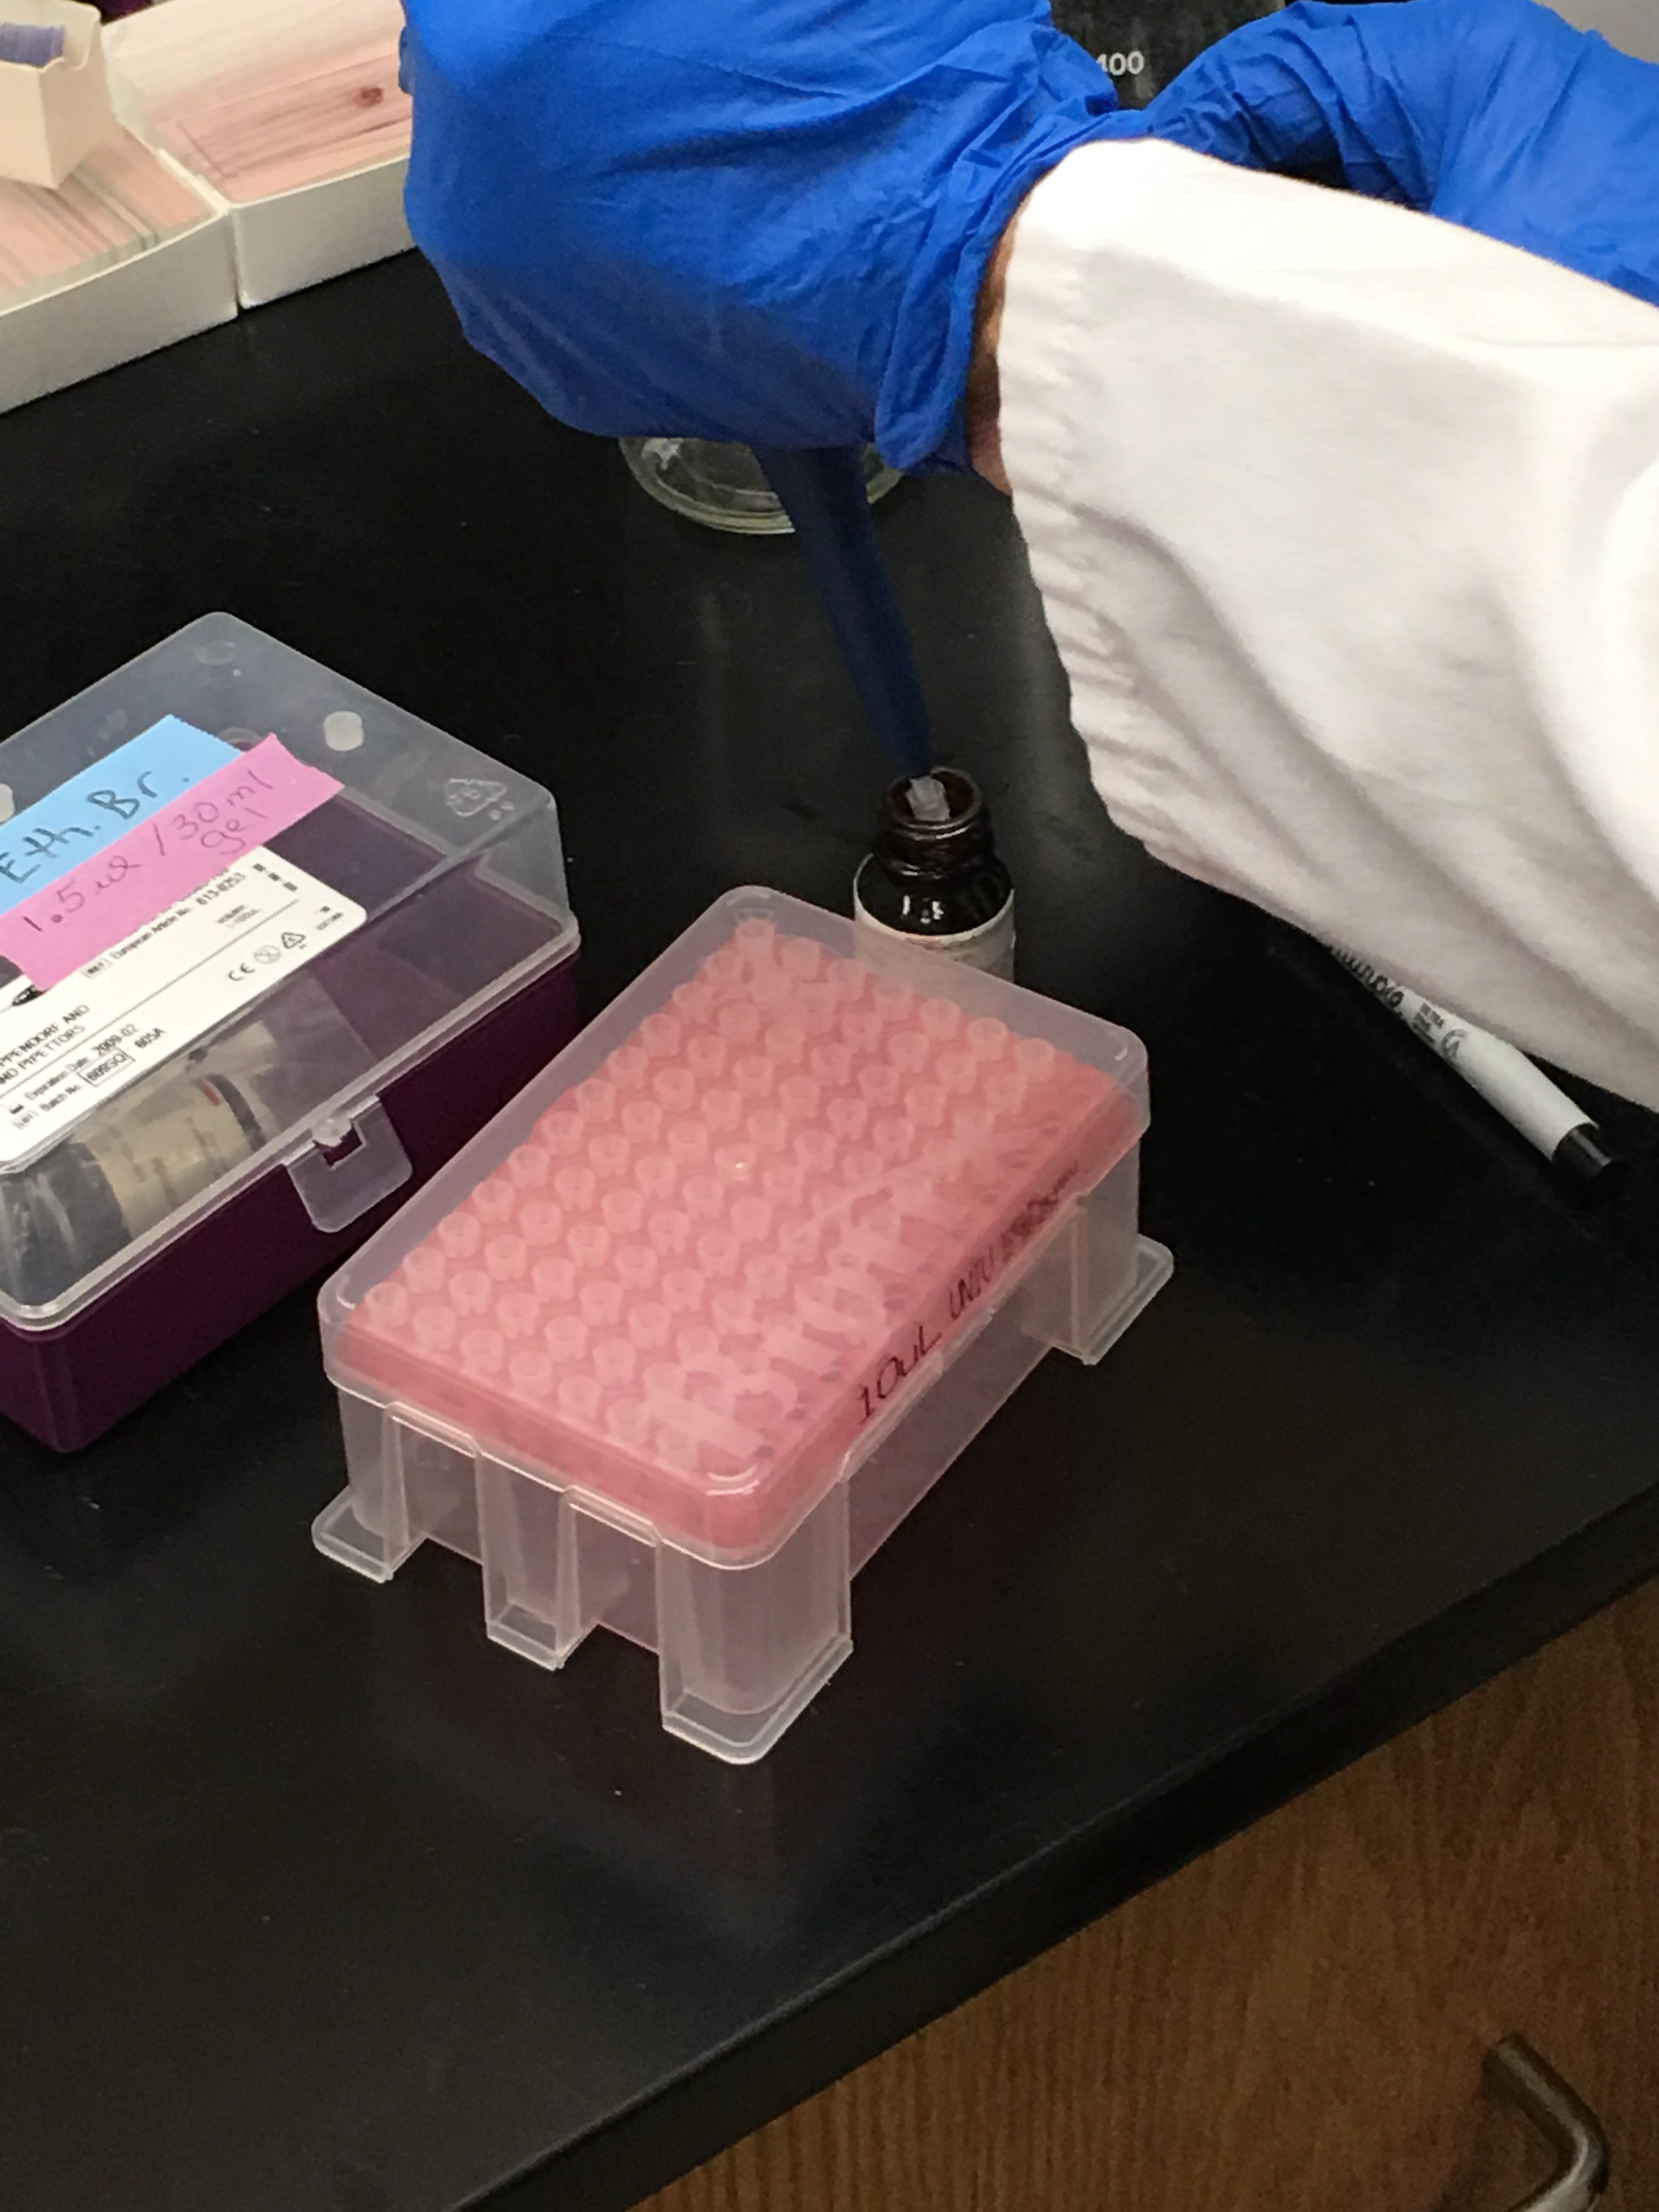
- Add 2 μl of ethidium bromide to the flask, swirl the solution to mix.
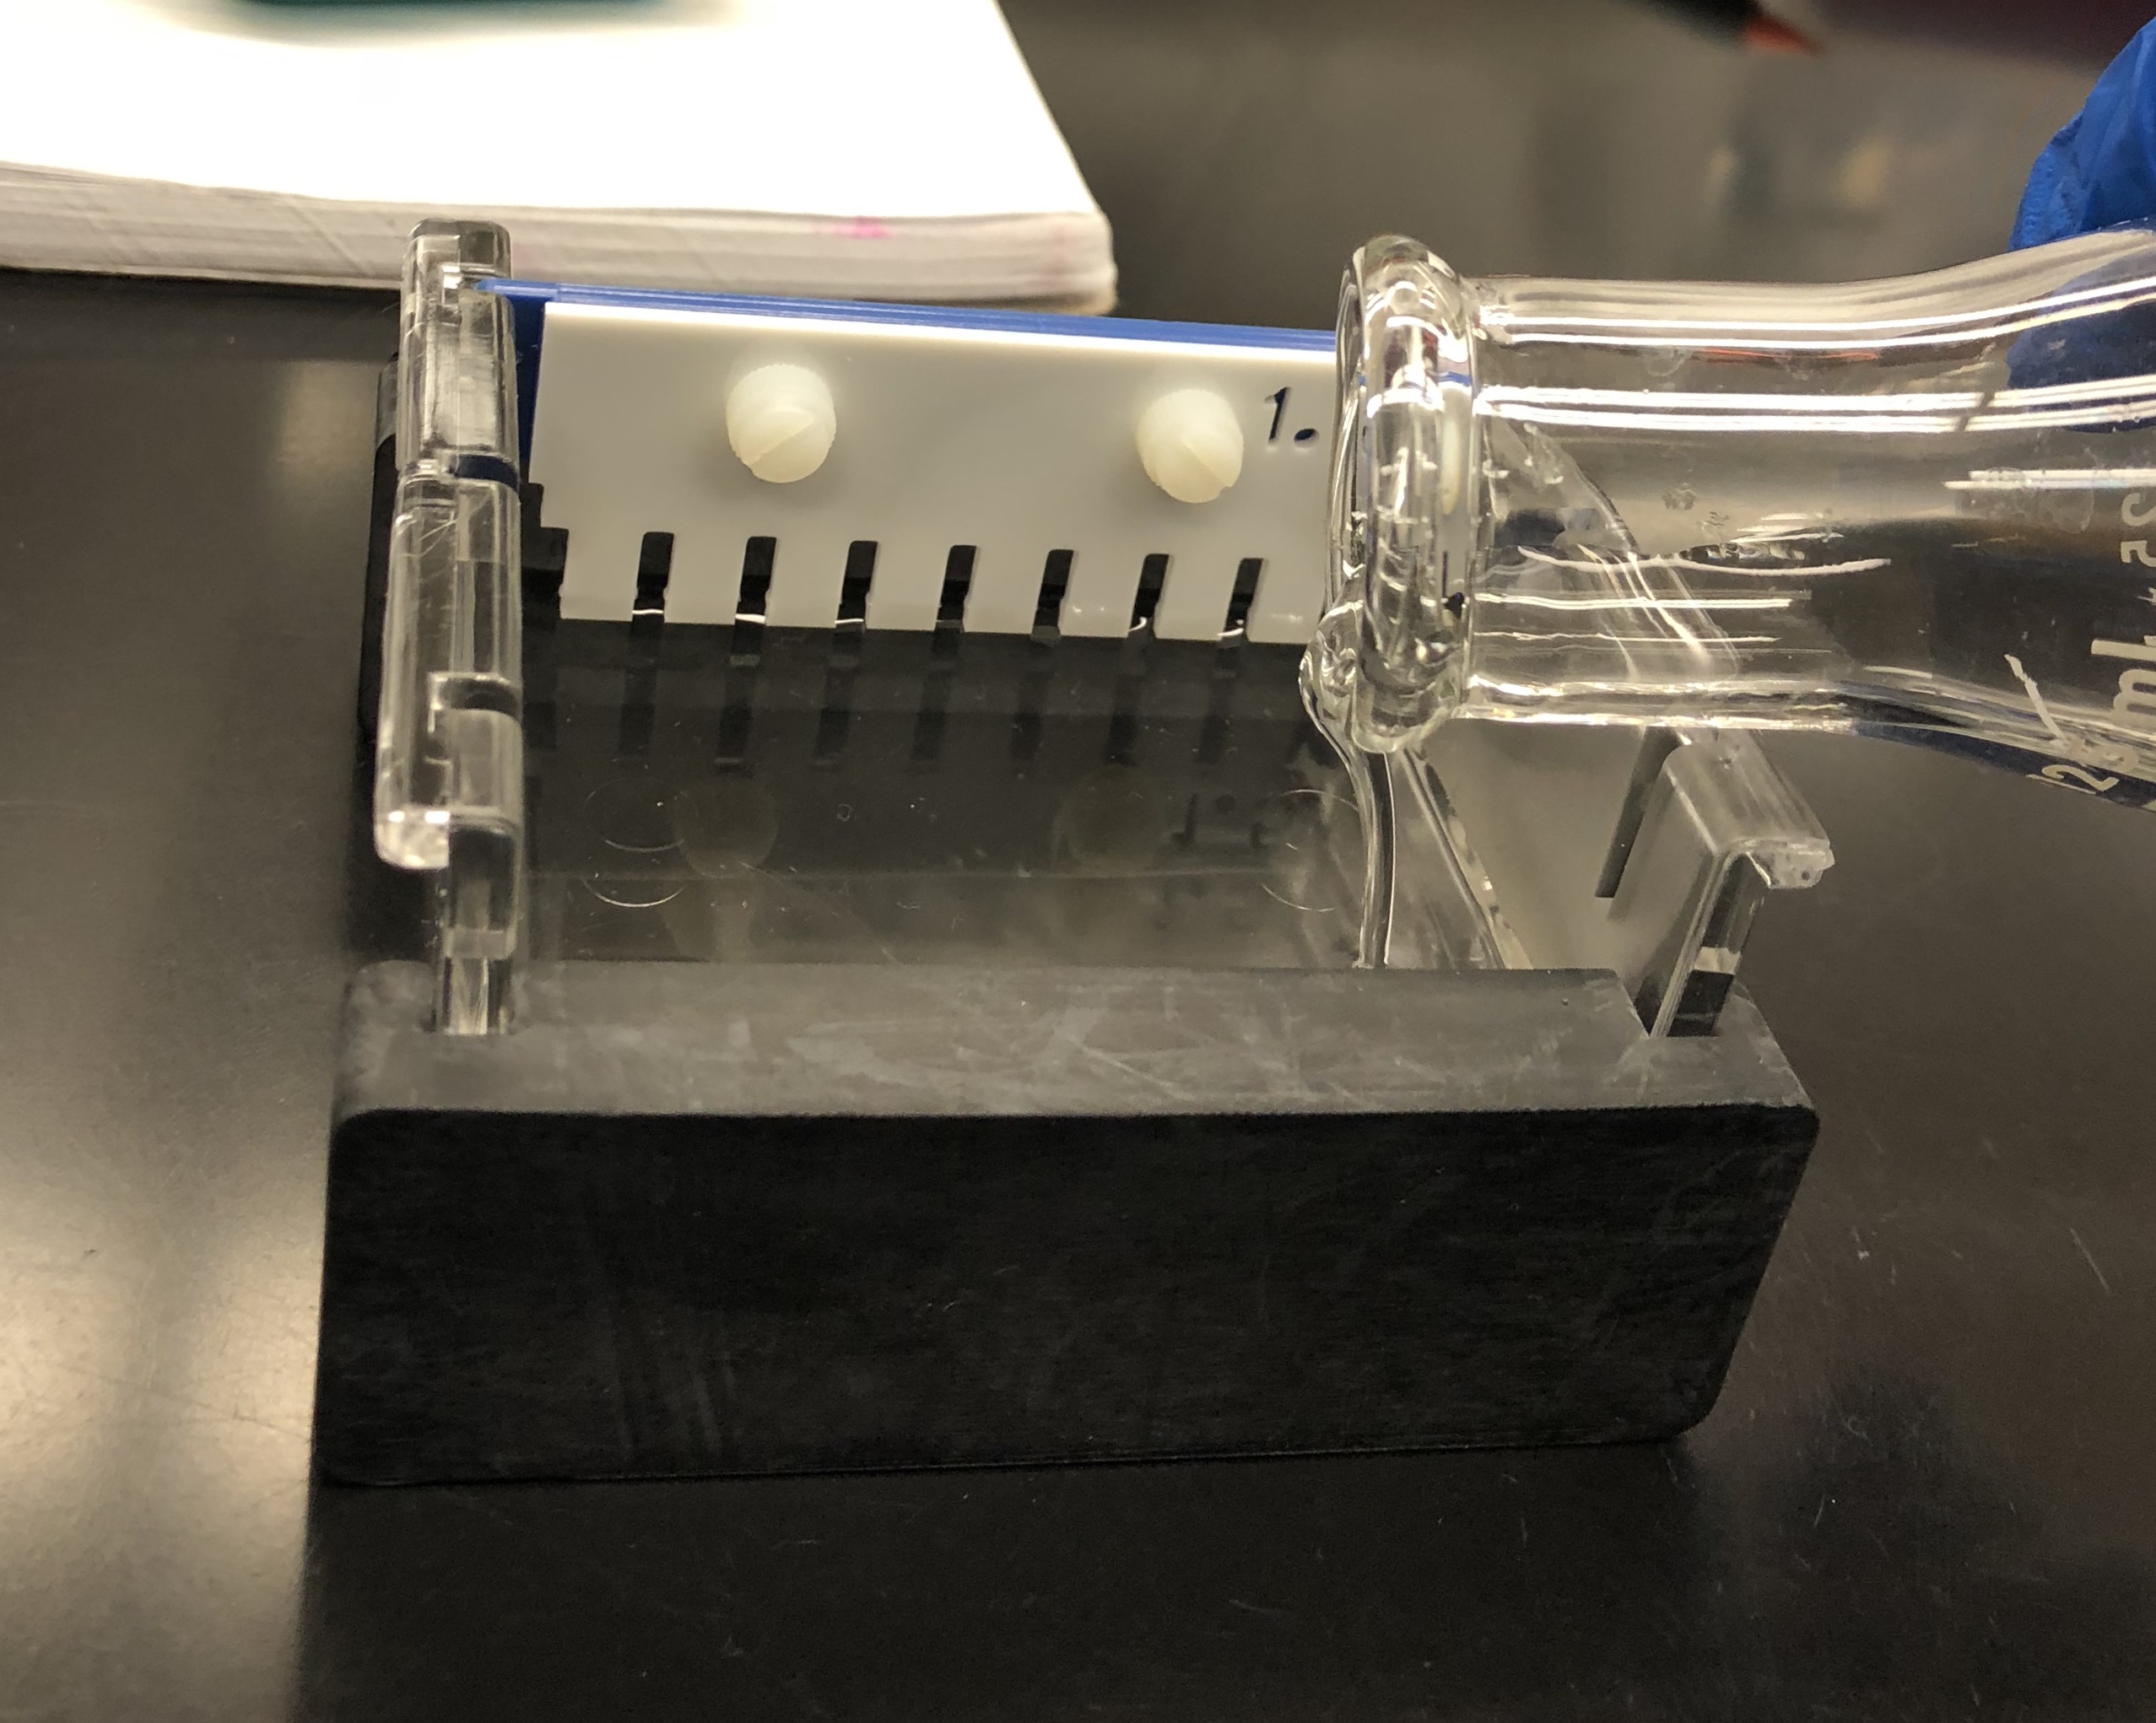
- Once mixed, pour the solution into a gel rack to sit, cool, and harden into gel to be used for gel electrophoresis next week. Store away in proper place in the classroom and clean your lab area.
Data:
| Component |
Volume of Negative Control Tube |
Volume of Positive Control Tube |
Volume of Soil DNA Tube |
| 2X Master Mix |
12.5 μl |
12.5 μl |
12.5 μl |
| DNA template |
0.0 μl |
5.0 μl |
5.0 μl |
| Primers |
1.0 μl |
1.0 μl |
1.0 μl |
| Water |
11.5 μl |
6.5 μl |
6.5 μl |
| Total volume |
25.0 μl |
25.0 μl |
25.0 μl |
Once we completed our preparation for the PCR of our control tubes and soil sample tube, we began to make the agarose gel that we will be using for gel electrophoresis in next week’s lab. In order to create a 40 mL 1.5% T.A.E. solution agarose gel, we measured out 0.6 grams of agarose and added it to 40 mL of T.A.E. and swirled to begin to mix the solution. We microwaved the solution for 1 minute and 20 seconds, then let the erlenmeyer flask of our solution cool in a water bath at 55 degrees Celcius for 5 minutes. Then, we added 2 μl of ethidium bromide to the flask, swirled the solution to mix, then poured the solution into the gel rack to sit, cool, and harden into gel to be used for gel electrophoresis next week.
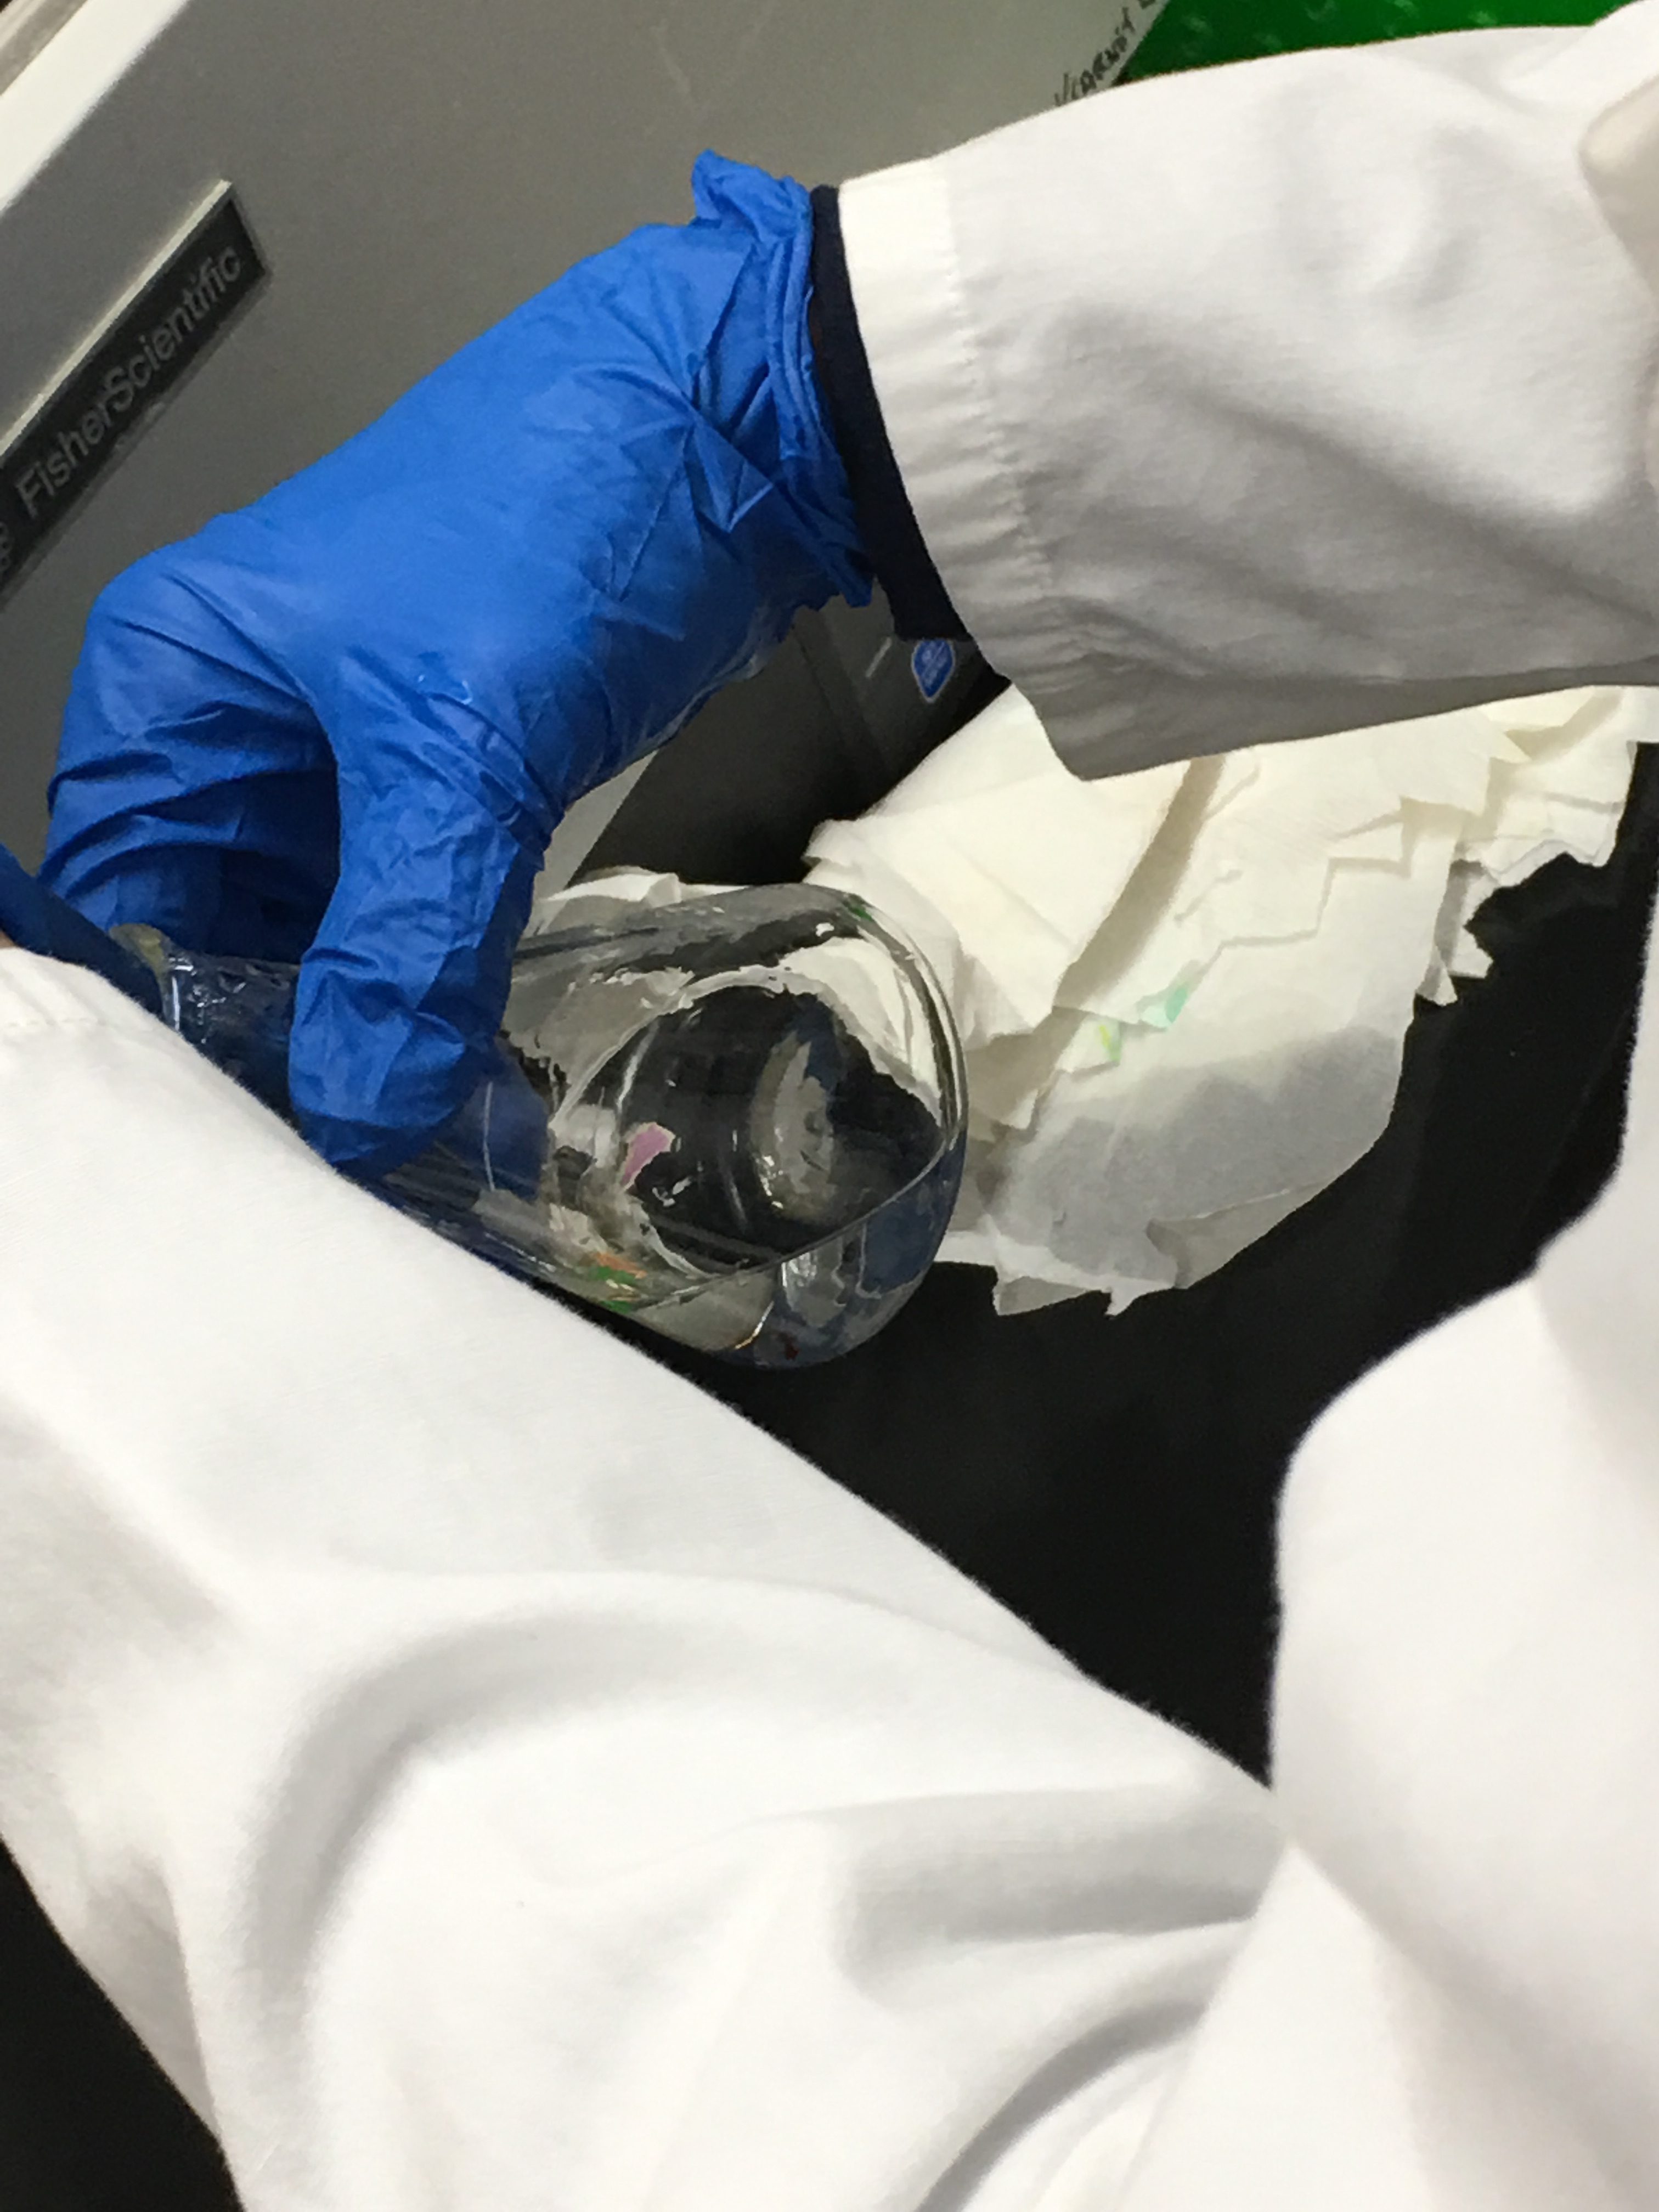
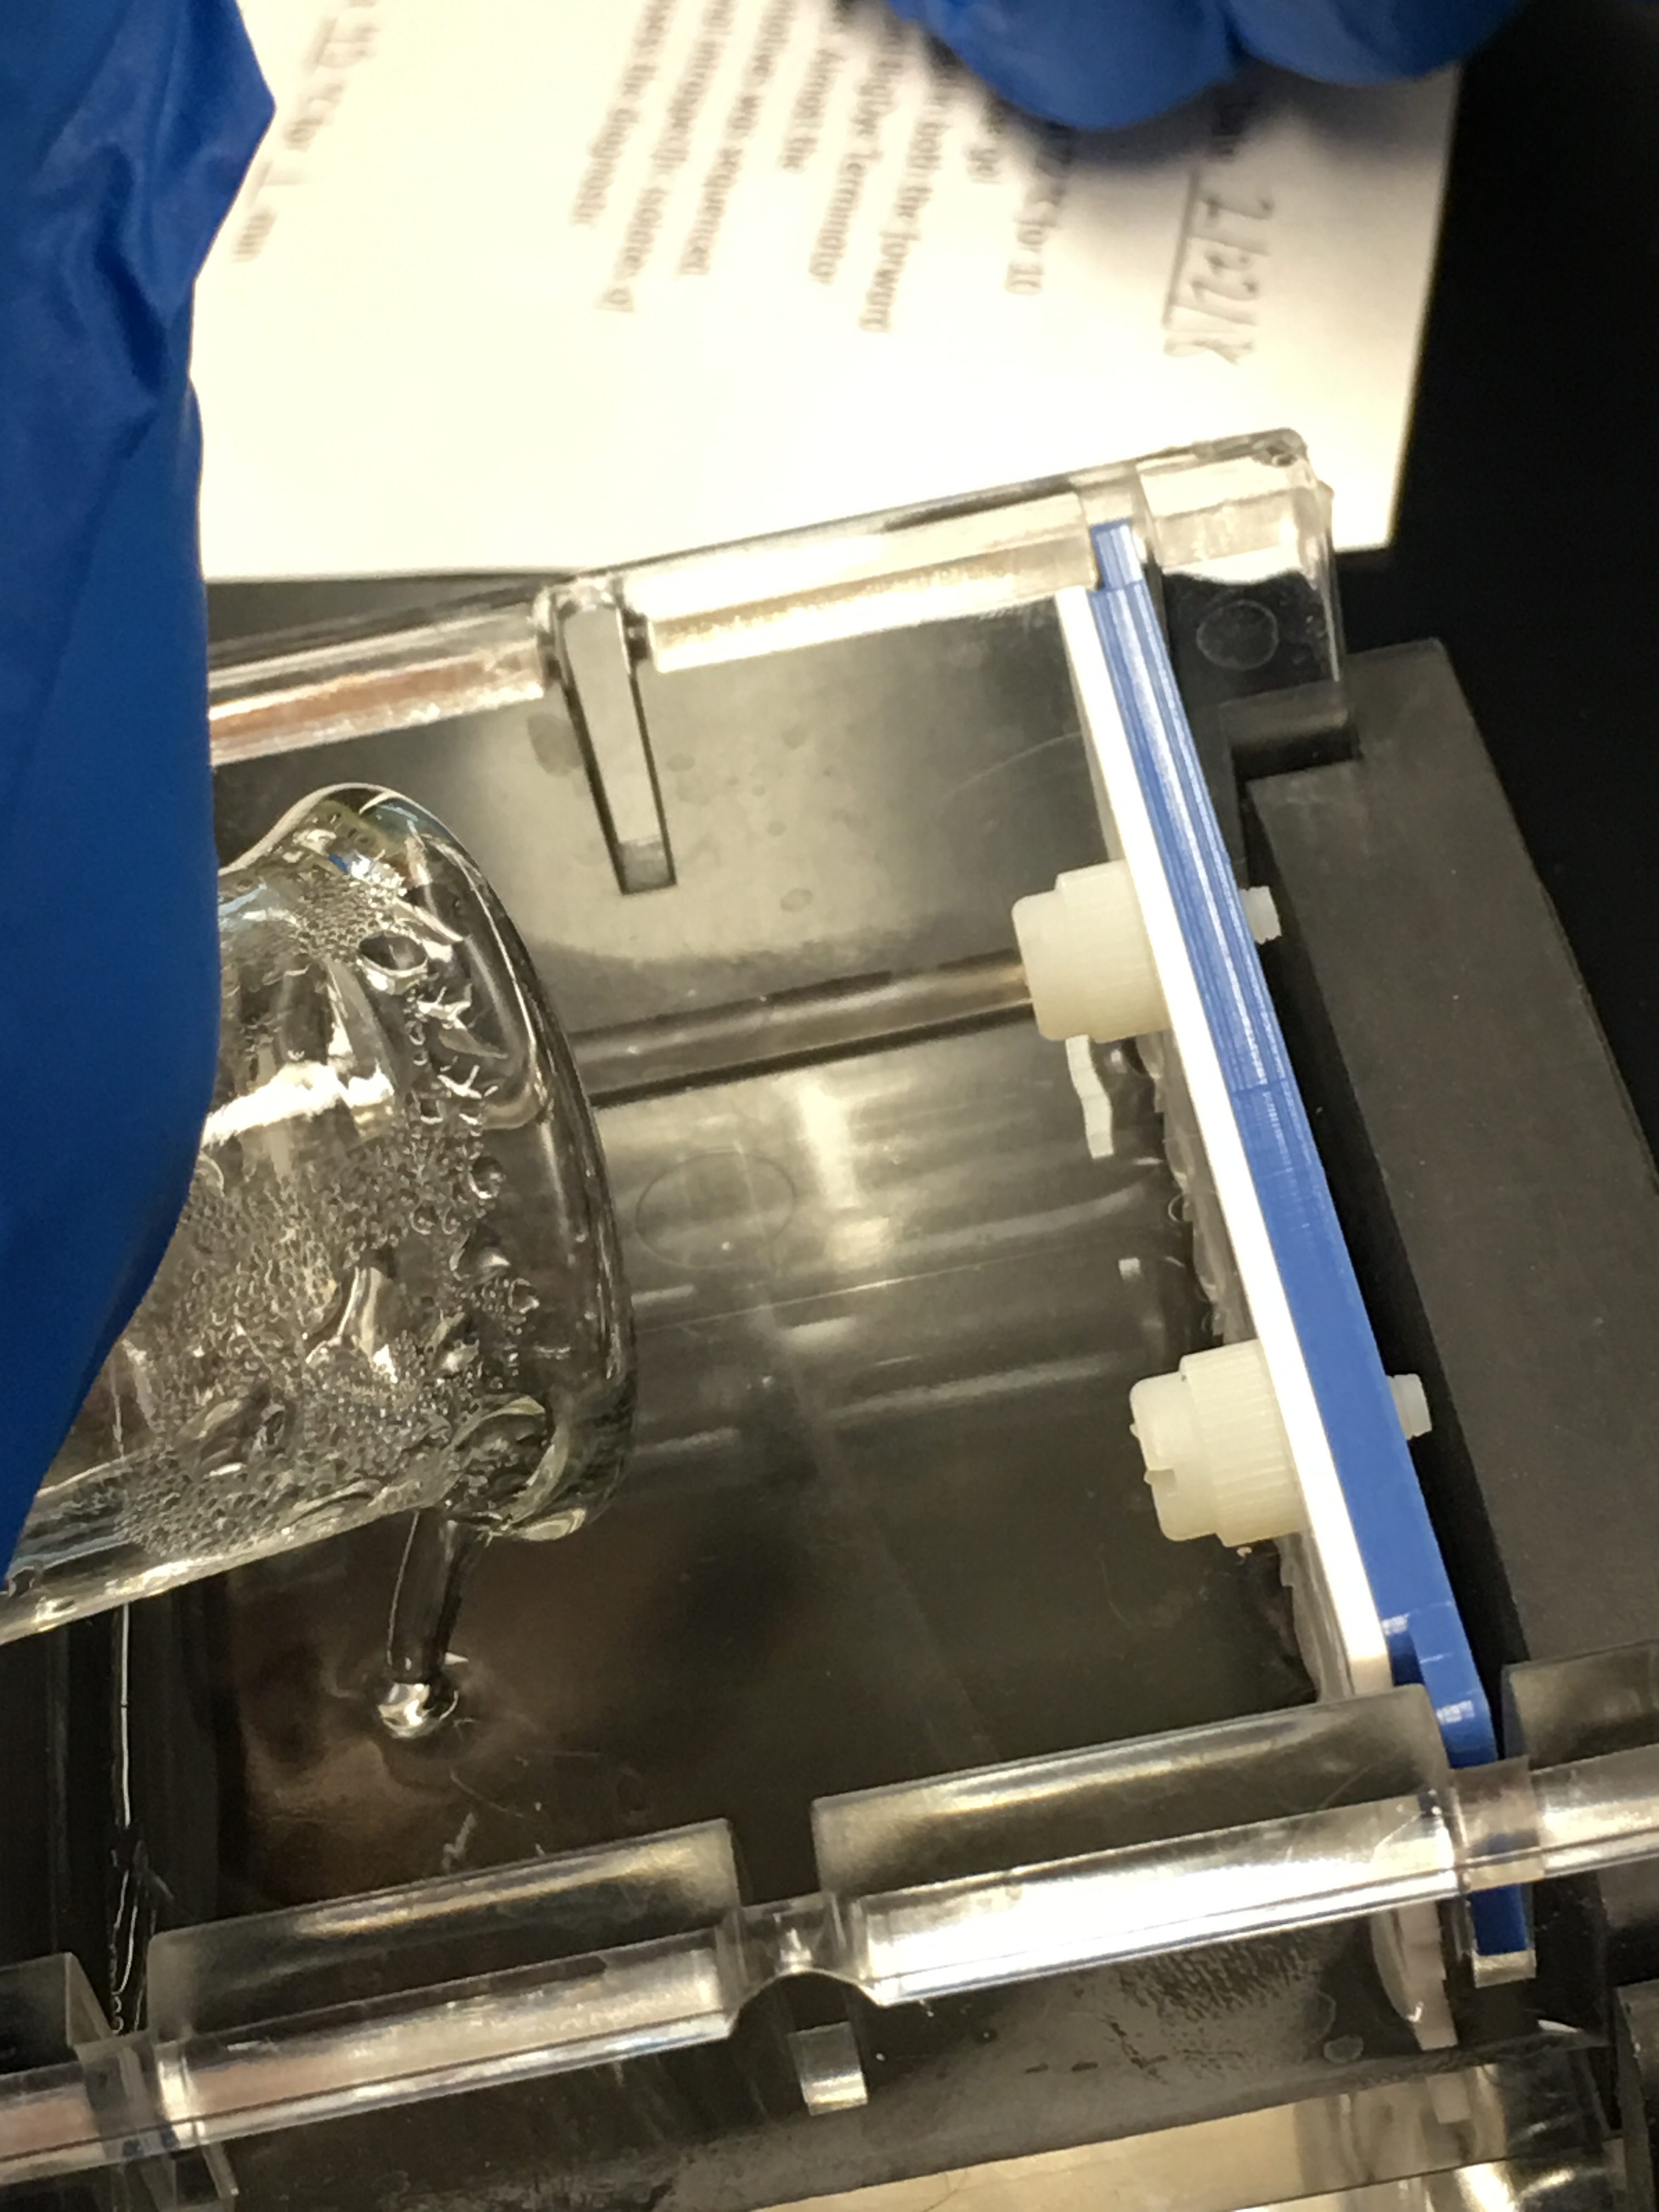
Each of the tubes from our PCR procedure are labeled “7” on the top of the lid and are labeled “+”, “-“, and “S” on the sides of the tubes for the positive control, negative control, and soil DNA tube, respectively. The positive control tube, negative control tube, and soil DNA tube were each placed in slots A1, A2, and A3 in the class’s rack, respectively. My group’s gel rack is labeled “Group 7, 1106-21” and has each of our initials: LHR, SGS, and KGI written on a piece of tape that is placed on the side of our gel rack. The gel rack was stored along with the other gels the other groups had made and was let out to sit and harden into a gel-like jelly on top of our lab counter. We cleaned up the rest of our lab station and returned all of the materials we used to their proper place in the lab room. We cleaned out our erlenmeyer flask with bleach and hot water after pouring our agarose solution into the gel rack. The flask was placed to the side on the counter next to the sink to dry. Below is a picture of our gel solution just after we finished pouring it into the gel rack. 
Conclusion:
We were able to work quickly and efficiently in this lab and we were even able to finish the lab procedures before the lab class time was finished. We had some good discussion at the beginning of class about the specifics of PCR amplification and we were able to clear up any confusion or misconception that we had on that topic.The discussion time at the beginning of class was extremely helpful because it allowed me to clearly understand the purpose of forward and reverse primers and how this process could allow us to sequence several copies of strands of DNA, specifically targeting the v4 region of the 18s rRNA We were also able to make agarose gel to be used in gel electrophoresis in next week’s lab. This was useful because the next step in our experiment would be to run gel electrophoresis for each of our control and soil DNA samples that we are able to amplify once we complete the PCR process. This will allow us to visualize our DNA strands and estimate their size and length in nucleotides when we compare them to the DNA ladder we will also run. I am looking forward to completing this procedure in next week’s lab!