02/22/18- Lab 7- CO1 PCR

Purpose
The purpose of today’s lab is to set up the gel for electrophoresis in order to prepare the DNA for amplification.
Procedure
Part 1: Introduction
Write down the general process for PCR.
Part 2: Prepare
- Obtain 3 tubes of pre-assorted Master Mix, which each contains 12.5 ml of 2x Master Mix.
- Label each of the positive control, negative control, and soil sample tubes.
- Add 5 ul of the DNA template sample tube (10 nq/uL), and 5 ul of the DNA template to the Soil sample tube.
- Add 1 microliter of the cox1 primer to each of the tubes.
- Add 11.5 micro-liters of water to the negative control tube.
- Add 6.5 micro-liters of water to the soil sample test tube and the positive control test tube.
Part 3: Make 1.5% Agarose Gel
- Weigh out 0.6 g of agarose and add it to a Erlenmeyer flask.
- Add 40 ml 1xTAE to the Erlenmeyer flask.
- Cover the Erlenmeyer flask lightly with weighing paper and loose-fitting cap.
- Heat solution in the microwave until the solution is clear and small bubbles come off the bottom when gently swirled.
- Allow the solution to cool until the Erlenmeyer flask is comfortable to hold.
- Have your TA add 2 ul ethidium bromide and swirl gently.
- Assemble the electrophoresis box, making sure ends are sealed.
- Pour agarose smoothly into prepared mold, with as few bubbles as possible.
Data Collection
Part 1:

Above is the picture I drew explaining PCR. Nucleotides are always added to the 3′ end and two primers are used in the process.
Part 2:
| Component | Negative Control Volume | Positive Control Volume | Soil Sample Volume |
| 2X Master Mix | 12.5 ul | 12.5 ul | 12.5 ul |
| DNA Template | 0 | 5 ul (10 nq/ul) | 5 ul |
| Primers | 1 ul | 1ul | 1 ul |
| Water | 11.5 ul | 6.5 ul | 6.5 ul |
| Total Volume | 25 ul | 25 ul | 25 ul |
Our tubes were labeled +*, -*, and S*.
Part 3:
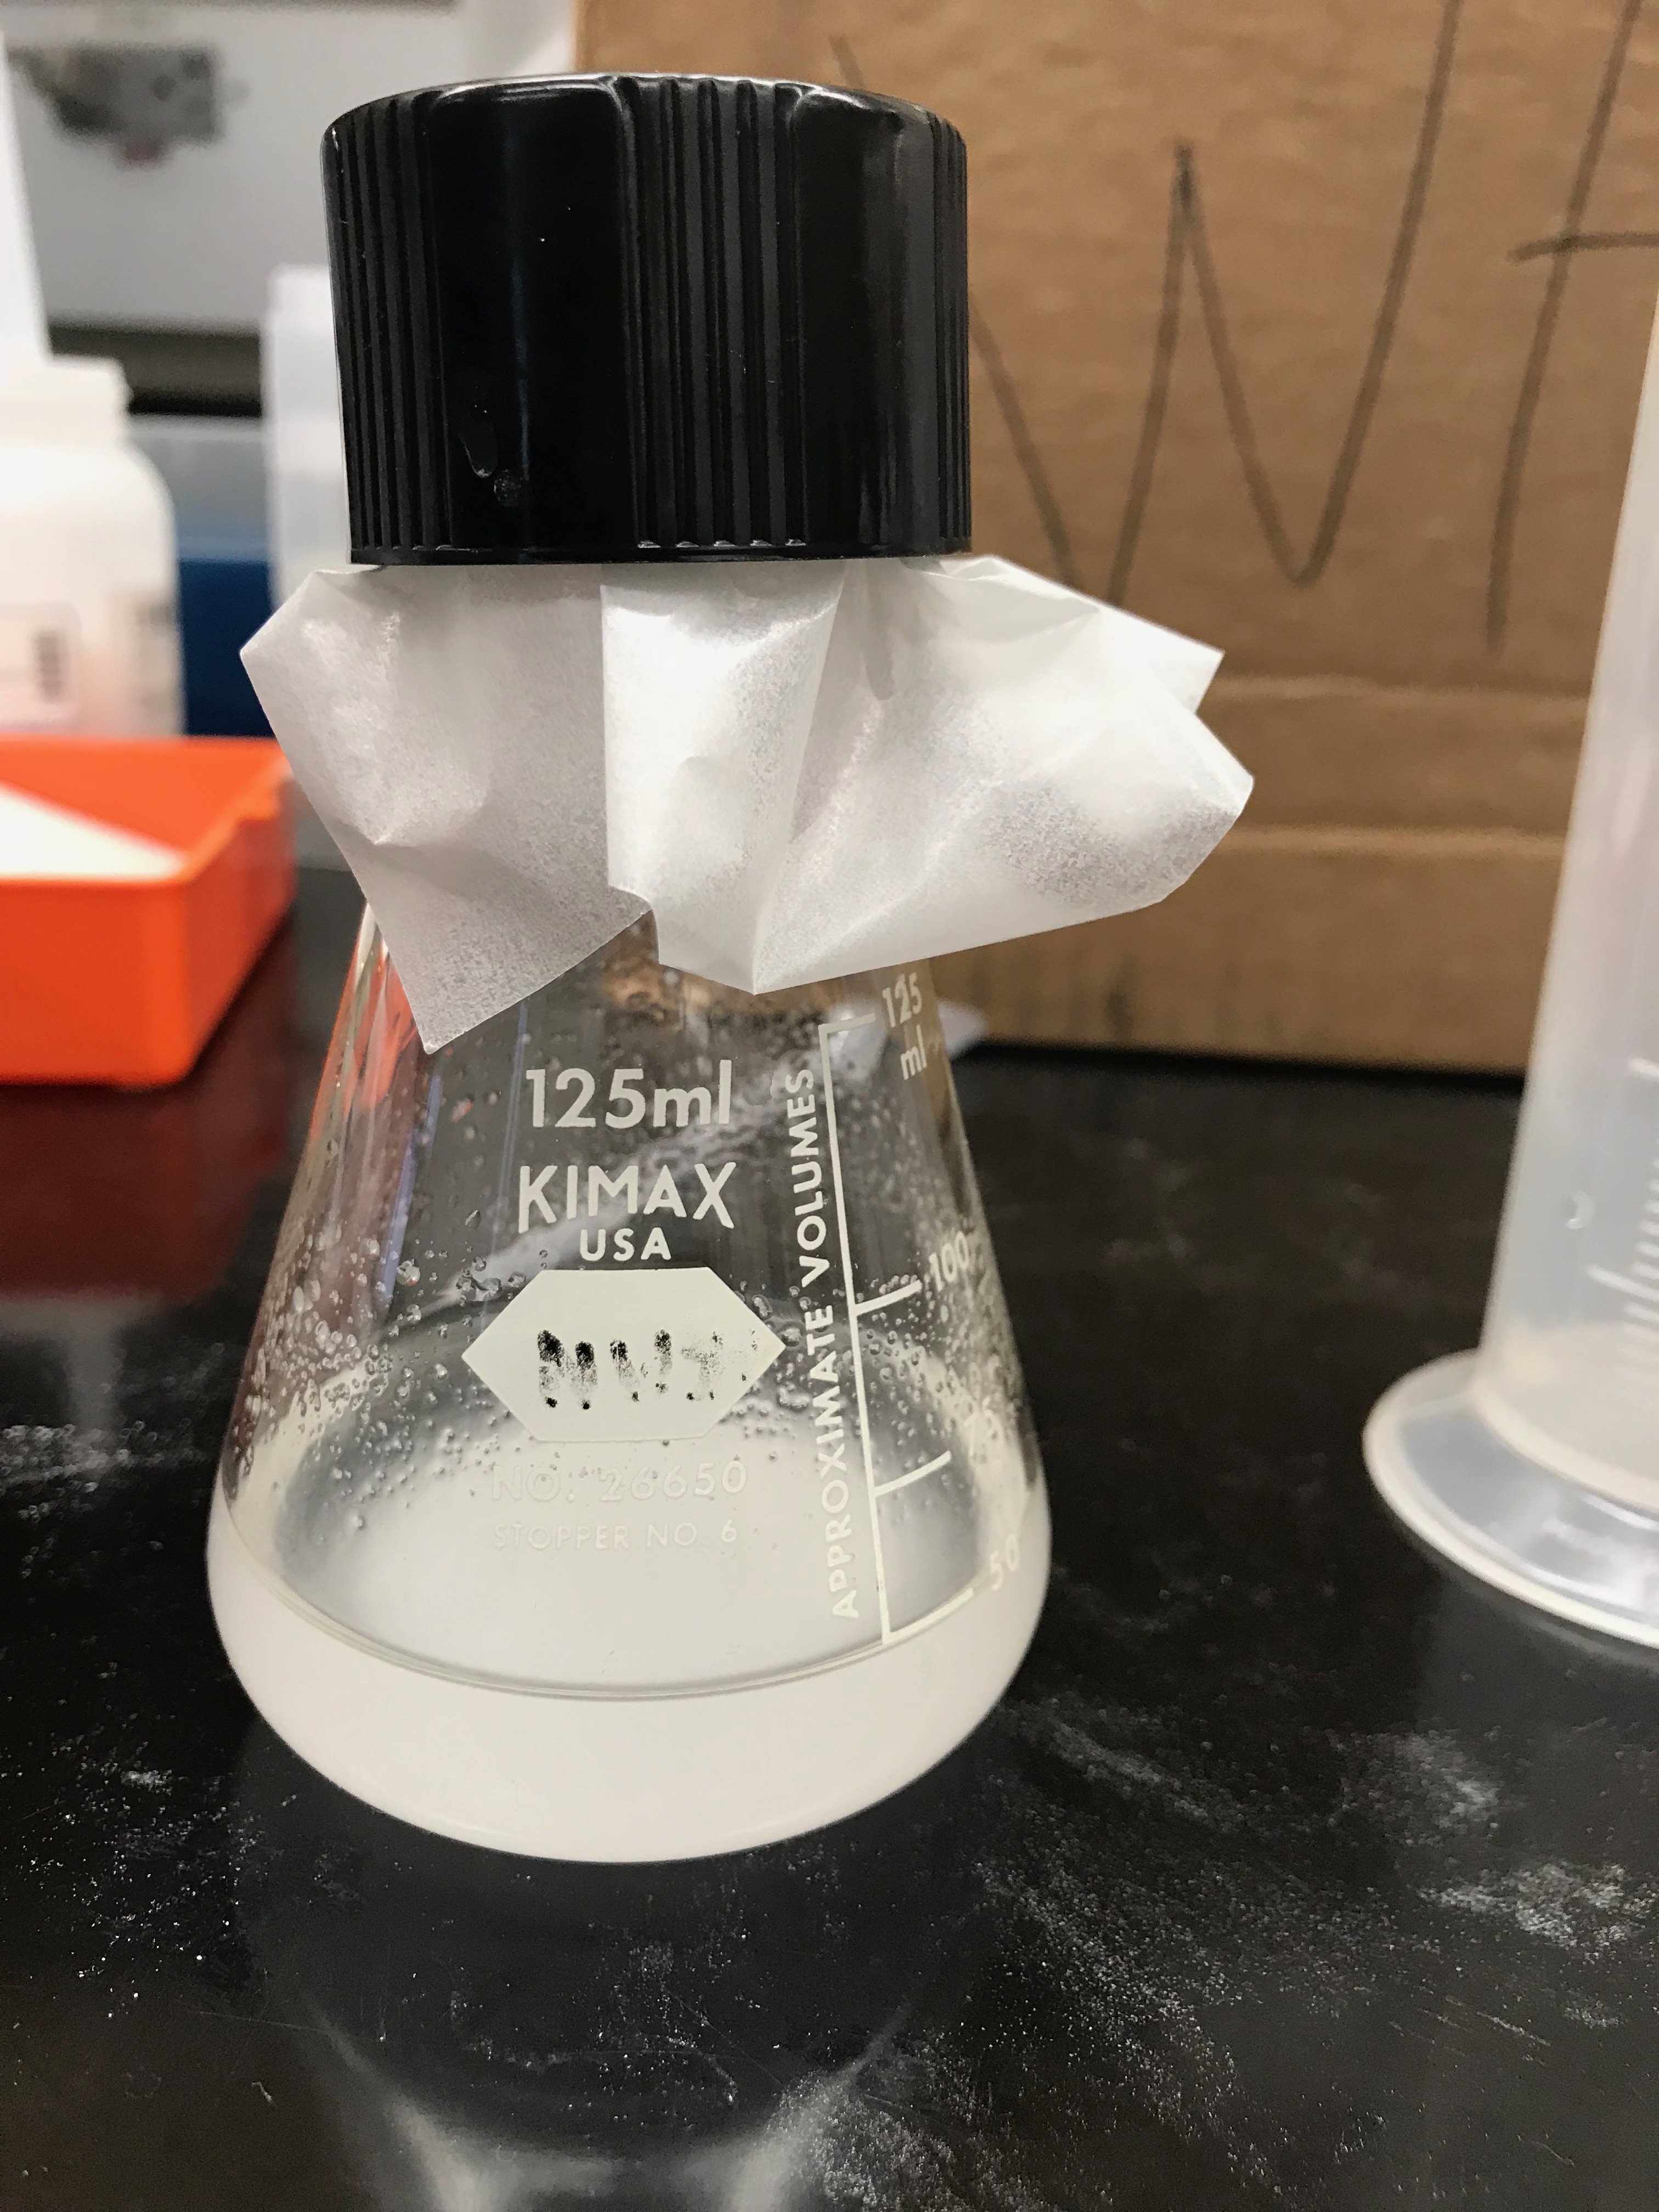
This was our solution before being heated. The solution is a cloudy white color and is a homogeneous mixture.
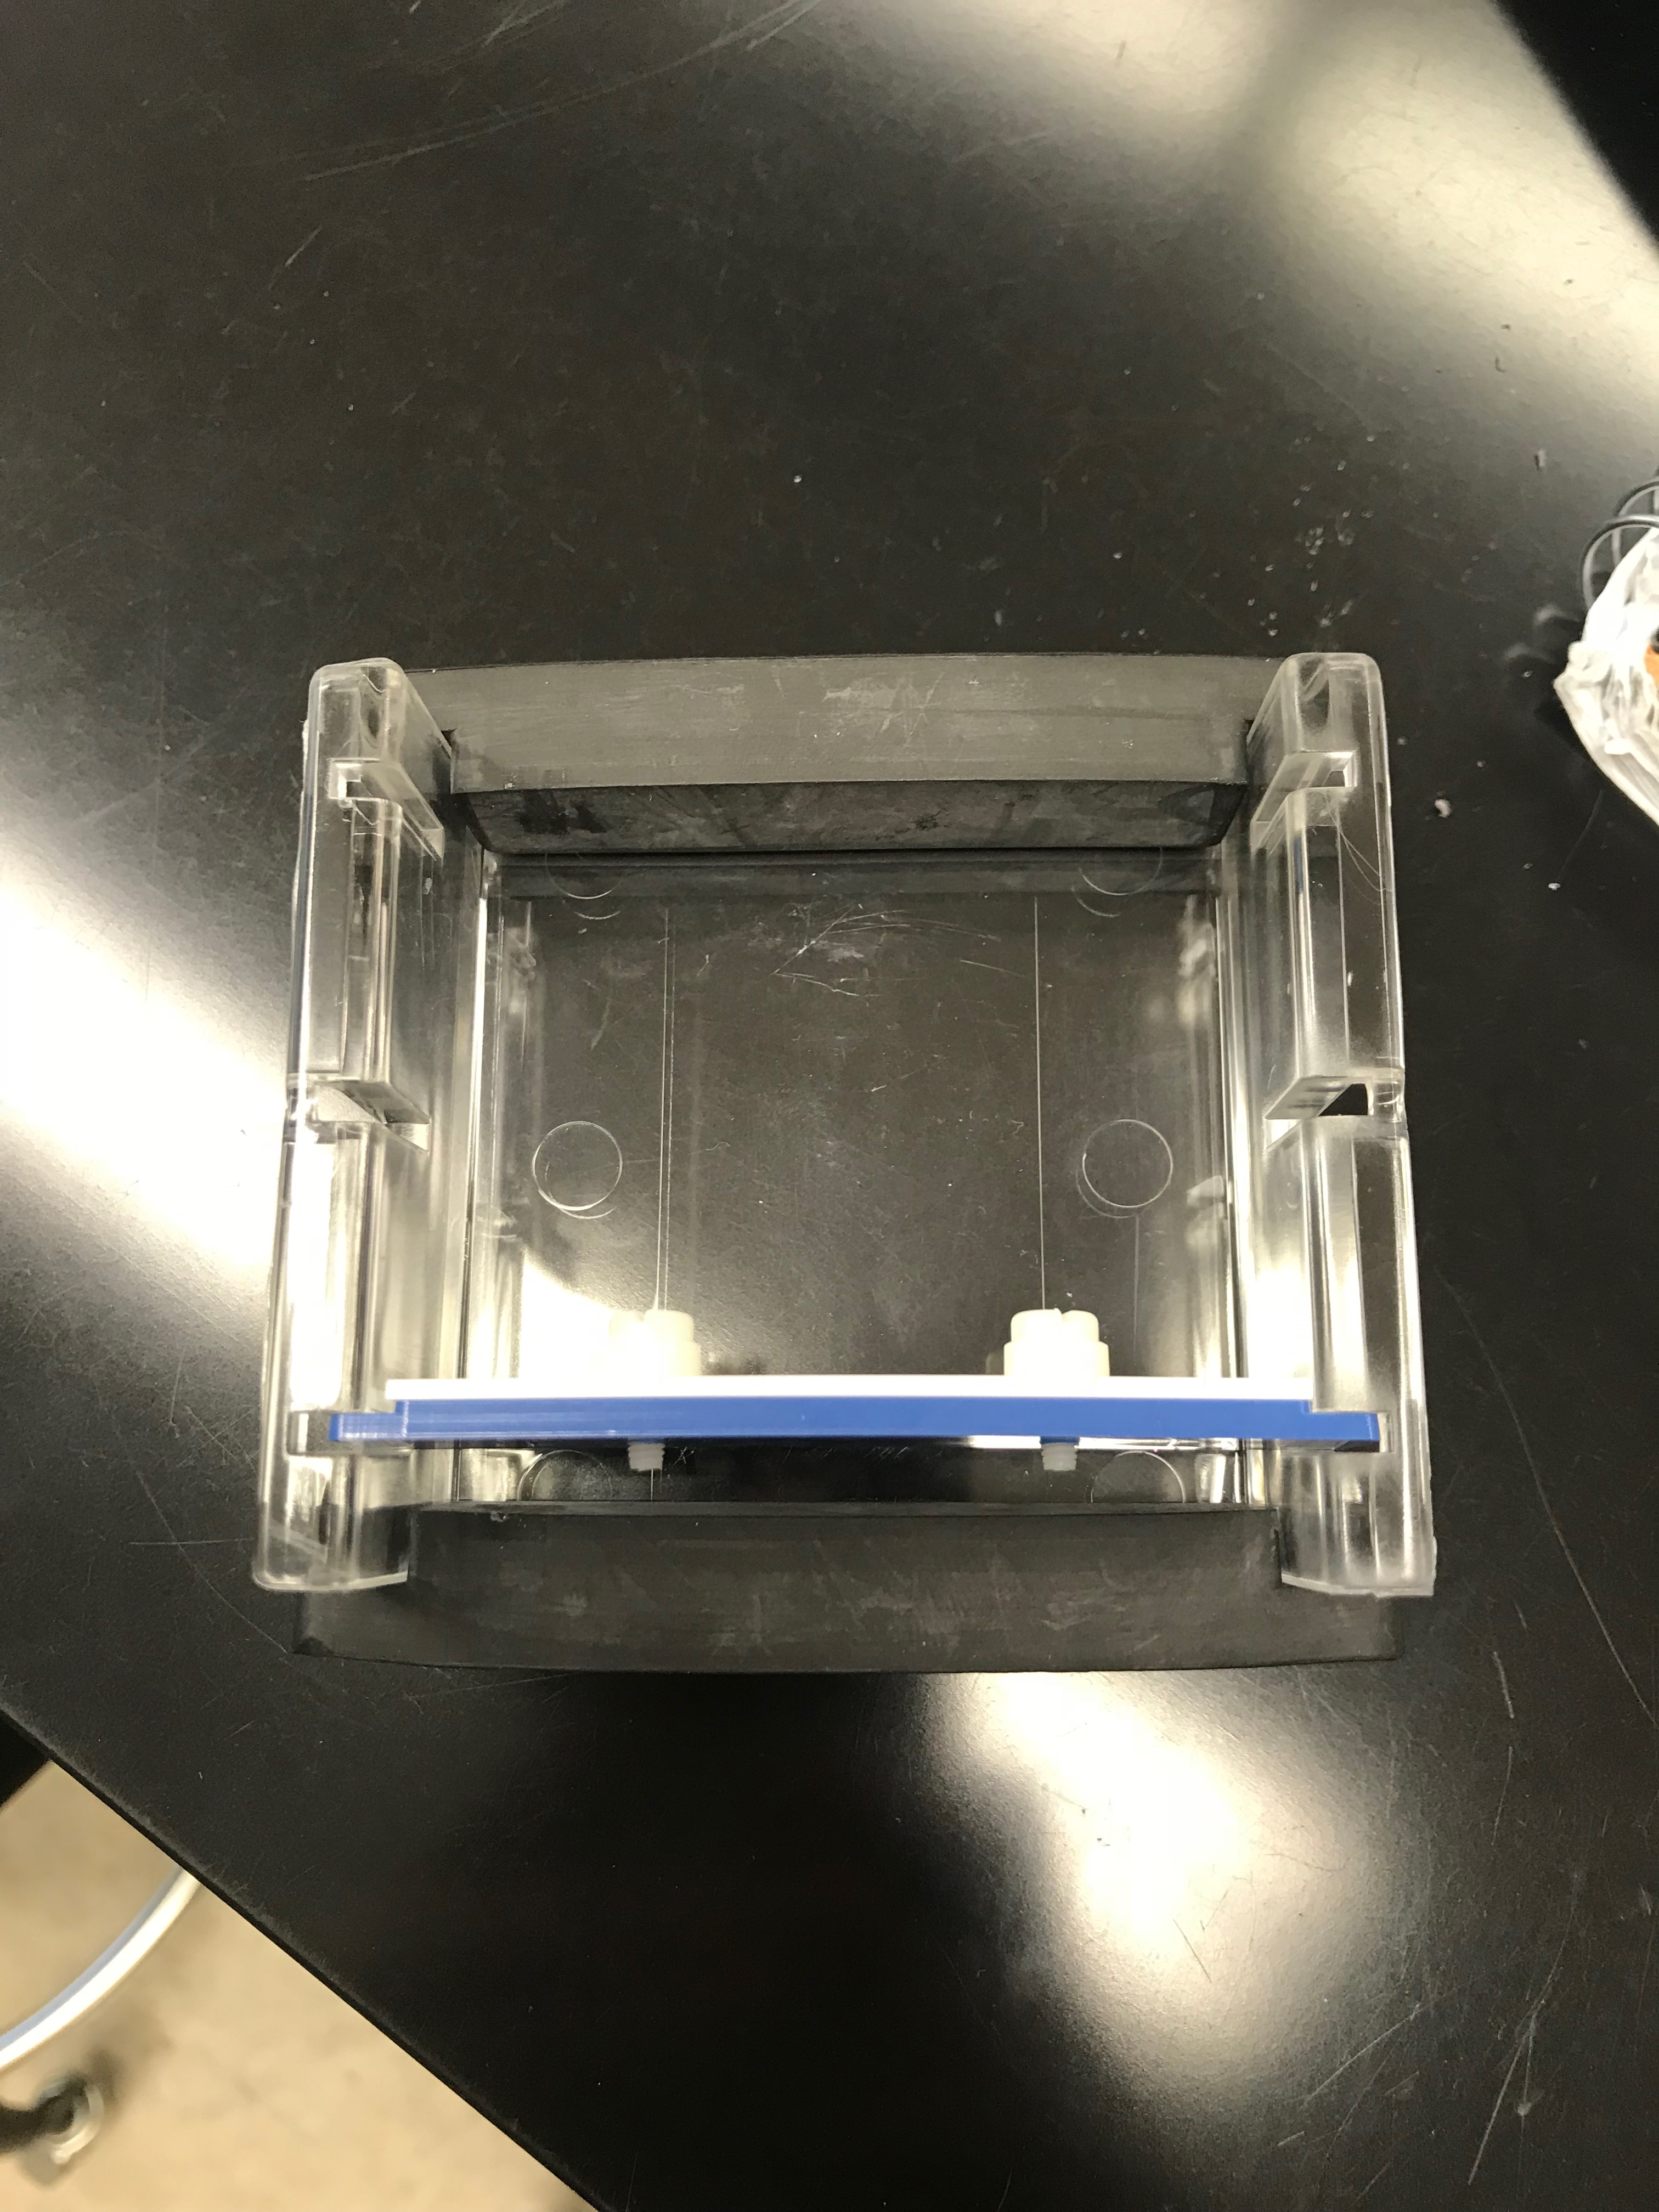

Both of the pictures above are the agarose in the electrophoresis apparatus. The solution is smooth with no air bubbles, which is great because it will prevent more issues when electrophoresis is carried out.
Conclusion and Storage:
The electrophoresis apparatus was left to be stored by Dr. Adair in the freezer. It is labeled LAK*. Overall, the lab was successful as we were able to prepare our sample for PCR. The hardest part was making sure that no air bubbles got in the agarose when transferring it to the electrophoresis apparatus. The next step is to proceed with amplification of the DNA through electrophoresis.