Lab 7: PCR amplification of Ludox extracted DNA 02/23/2018

Introduction
After completing theDNA extraction from last week we are now going to try and amplify our DNA samples. In the pre-lab we learned about the nano-drop, review of PCR and how to make agarose gel. We will be using two different primers: one with the SSU ribosomal/universal primers (EUKV4) and 1 with the Cytochrome oxidase (COX1) primers. While setting up the PCR procedure, utilizing the correct aseptic technique is crucial. The three most in important part of this whole process are the DNA primers (that can be whatever nucleotide sequence you want), nucleotides and DNA polymerase (the protein that helps replicate DNA naturally and through PCR).
Purpose
The purpose of today’s lab is to set up what we need for PCR and to prepare our agarose gel to run next week.
Procedure/Data
PCR Set Up
- Clean the table and anything that will eventually touch the table with bleach
- Label the three small tubes that contain the previously mixed mixture
- Add to the negative tube
- 12.5 uL of 2x Master Mix
- 1 uL of primer
- 11.5 uL of water to have a total volume of 25 uL
- Add to the positive tube
- 12.5 uL of 2x Master Mix
- 5 uL of DNA template
- 1 uL of primer, and 6.5 uL of water to have a total volume of 25 uL
- Add to the S tube
- 12.5 uL of 2x Master Mix
- 5 uL of DNA template, 1 uL of primer
- 6.5 uL of water to have a total of 25 uL in the tube labeled “S”
- Label each tube with your group number (8)
- Place these tubes in the rack at the front of the room with the rest of the class
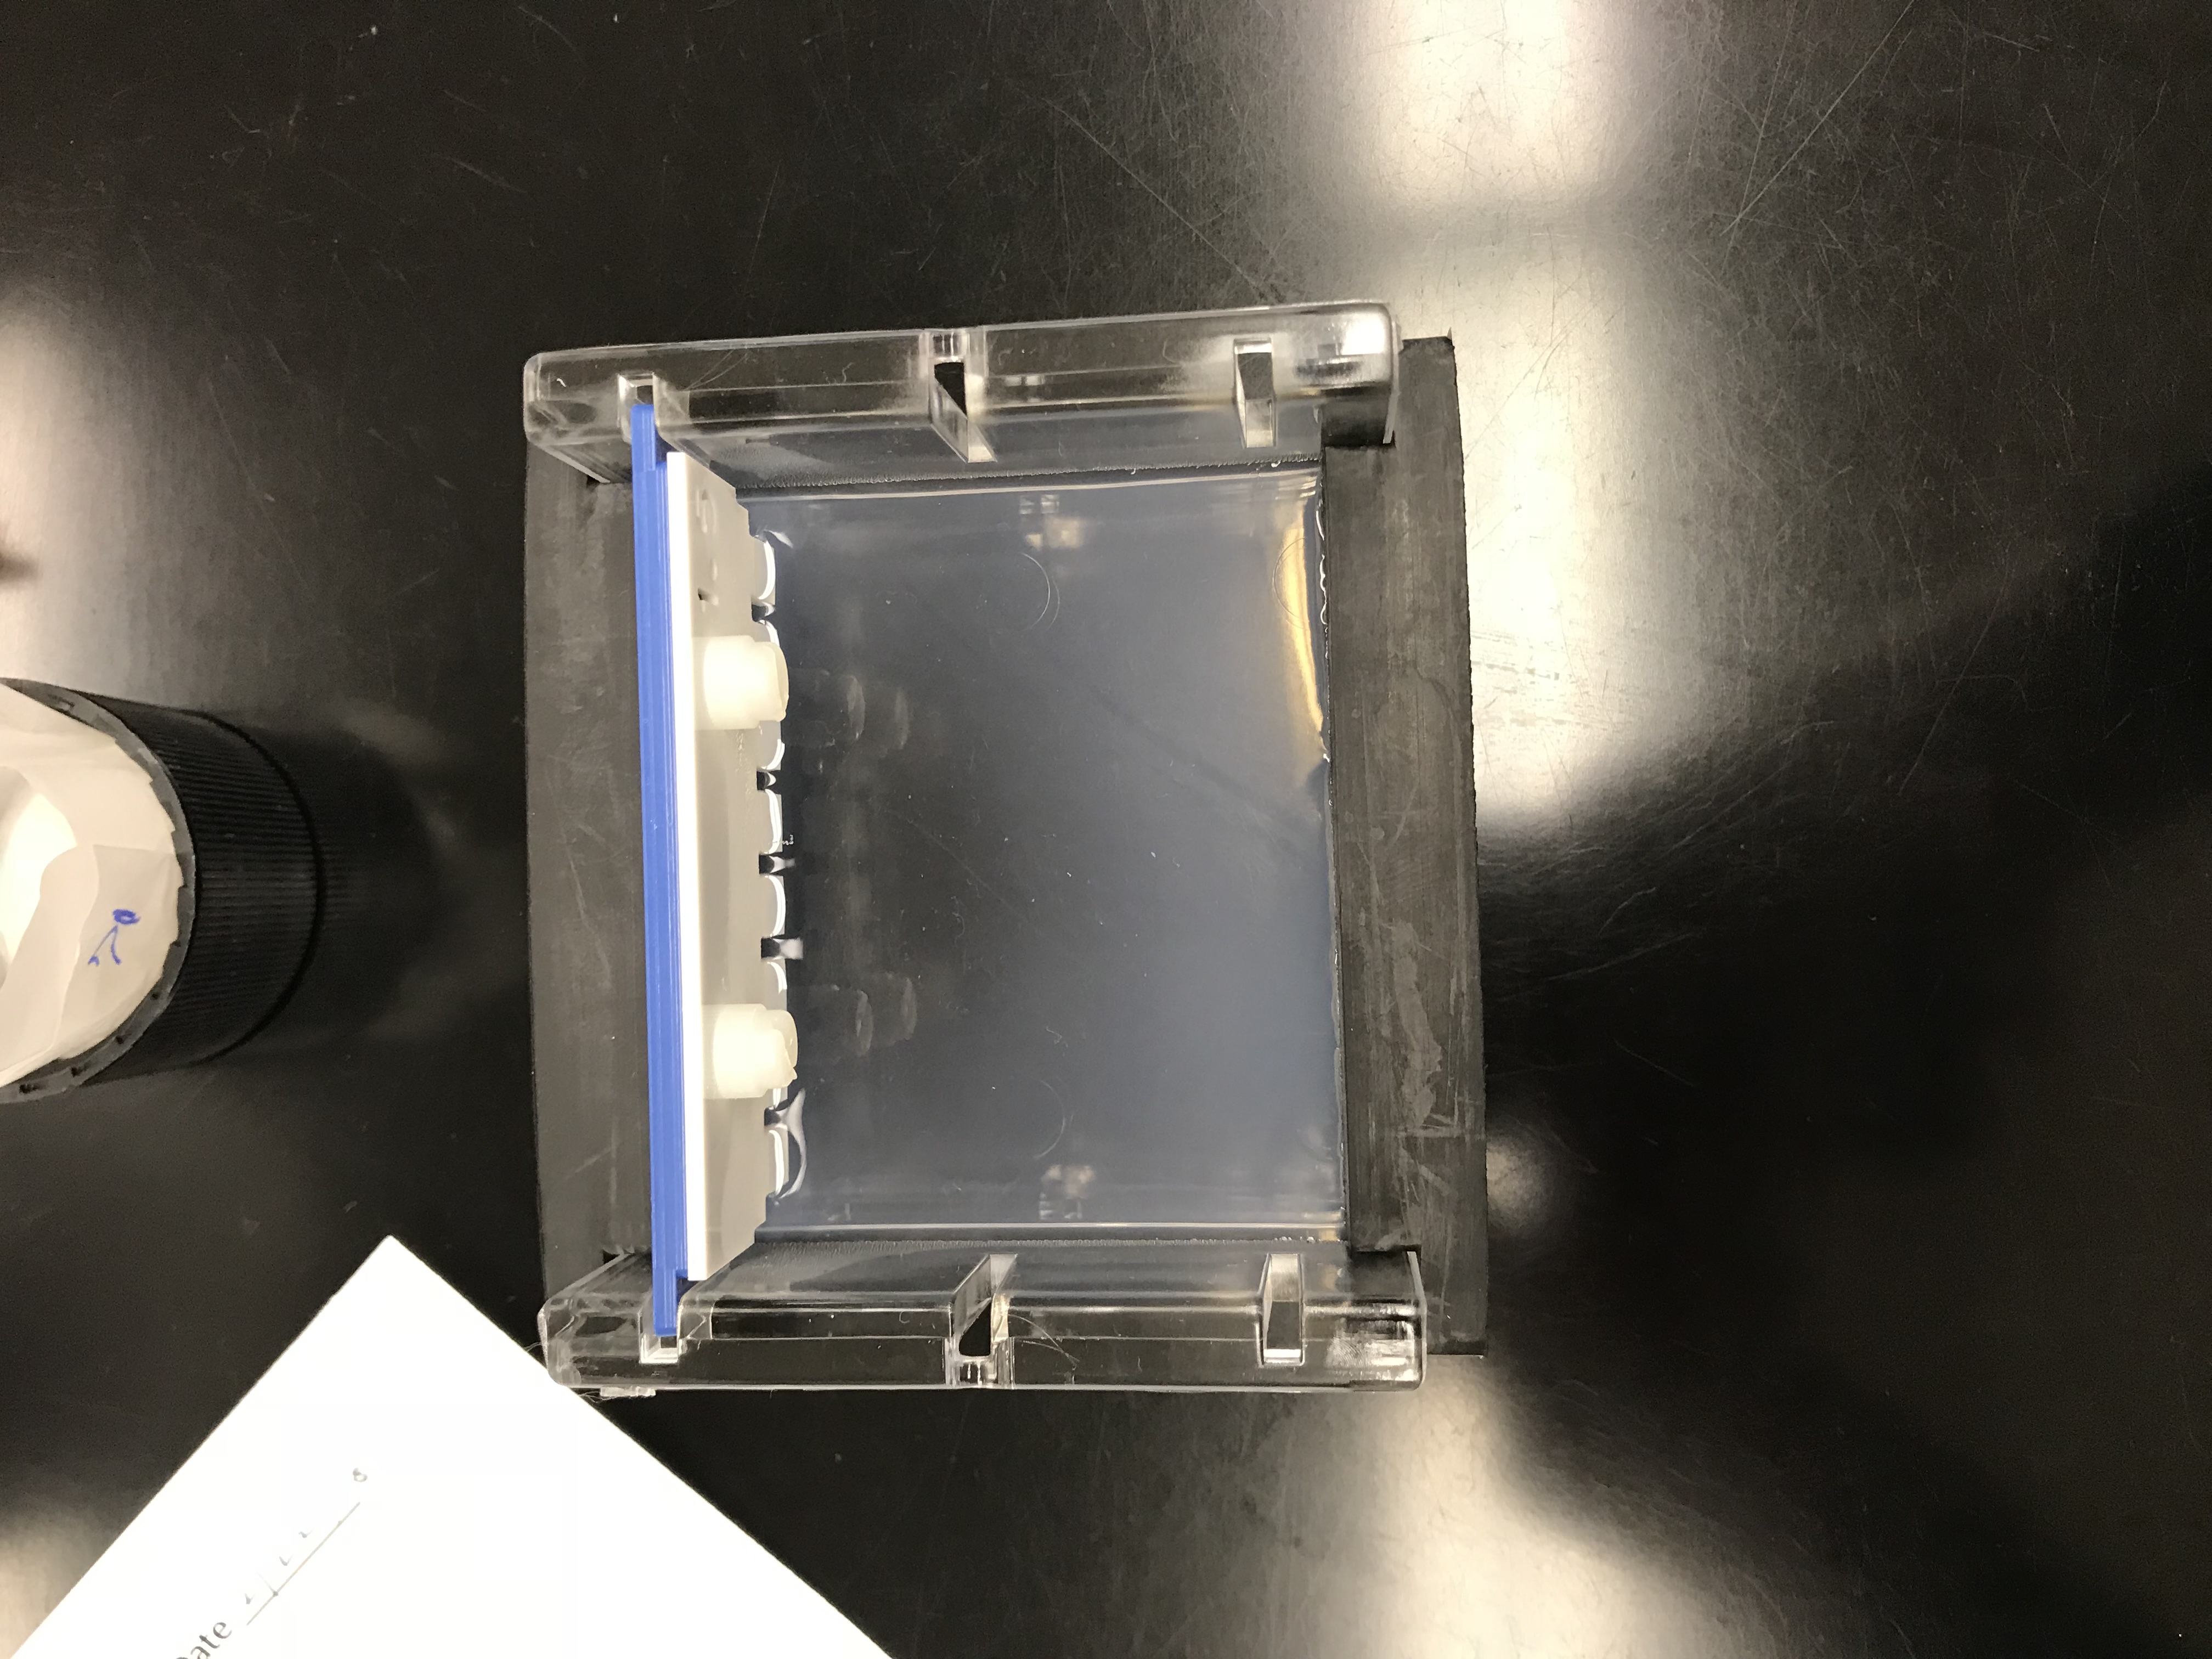
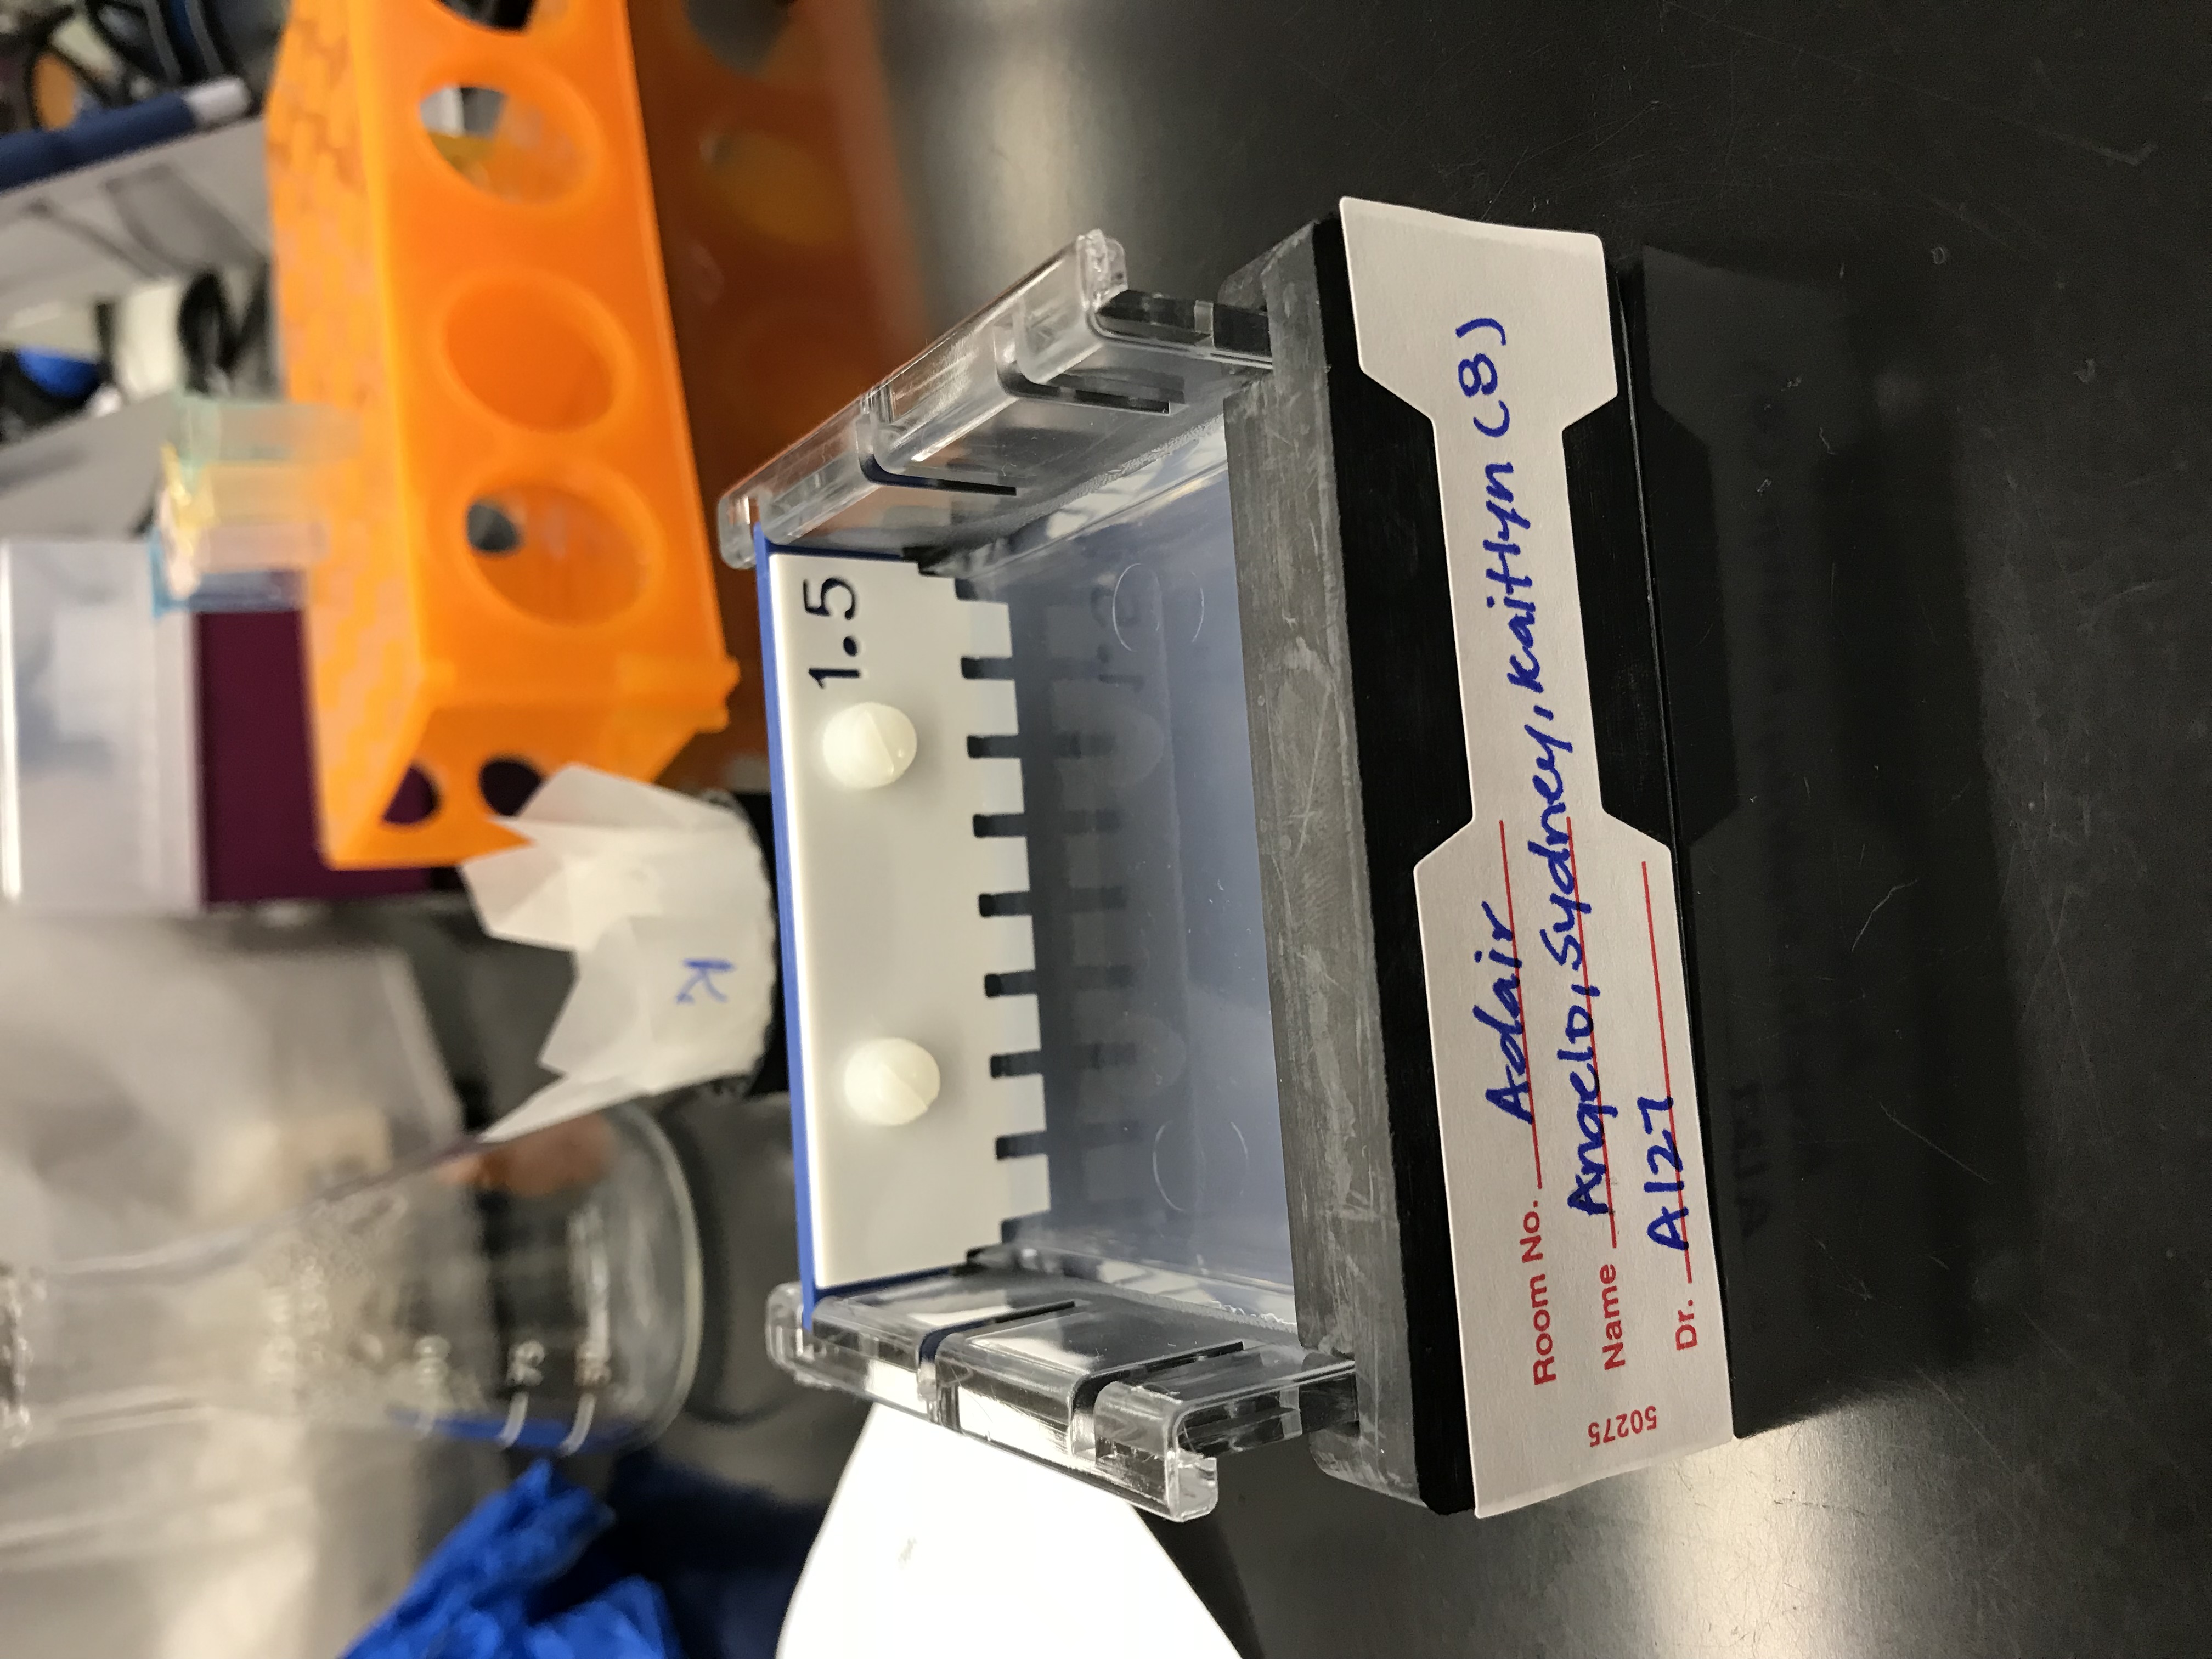
Agarose Gel
- In an Erlenmeyer flask add 40 mL of 1x TAE to 0.6 grams of agarose
- Cover the flask with weighing paper
- Heat the flask in the a microwave for 1.5 minutes on power 7
- Take the flask out and place into a water bath for 5 minutes to cool
- Add ethidium bromide to the solution
- Pour into gel tray
- Label the tray with tape and let the gel set for about 30 minutes or until foggy
Conclusion
After today’s lab we were able to fully understand the process of how to set up PCR and how the agarose gel is made. Furthermore, we were able to learn more about why we use specific primers and how they will be beneficial to our procedure. While the protocol was a little confusing to follow it became easy once we got the hang of it. I am excited to see if we will be able to successfully run the DNA in the gel.